IMPORTANT
WP Ultimo was abandoned by the author. But there is a free fork maintained by the community that you can use as a replacement of WP Ultimo. Read more and get the fork plugin here.
We’ve already configured the global settings for our front-end dashboard with WP Frontend Admin.
In this section, we’ll show you how to set up your frontend dashboard design.
You can do this by yourself, using any WordPress theme or any page builder.
But you can also do it using one of our frontend dashboard templates.
This will save you a lot of time, so we will use a template here on.
Here you can view some of our Elementor templates:


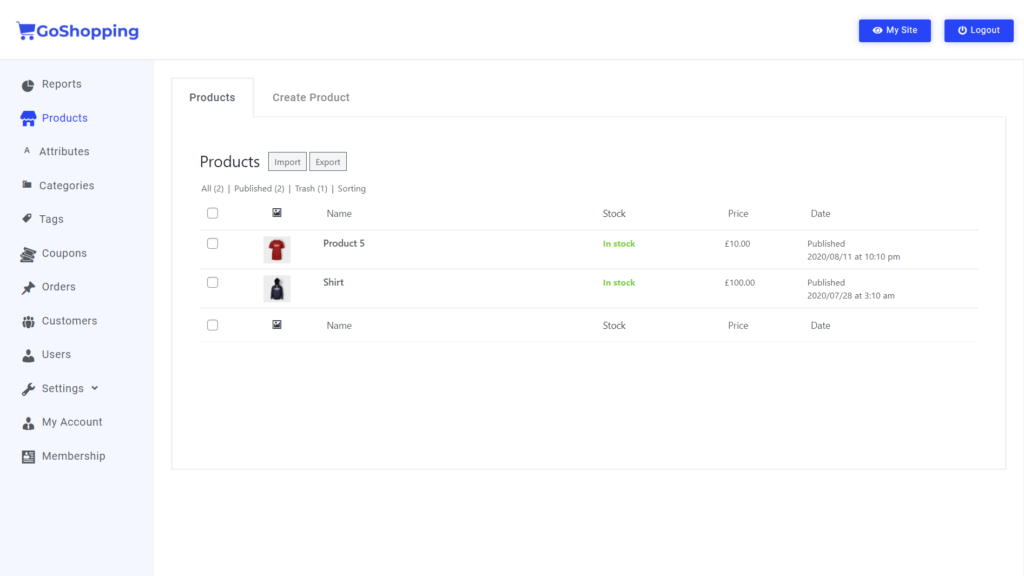
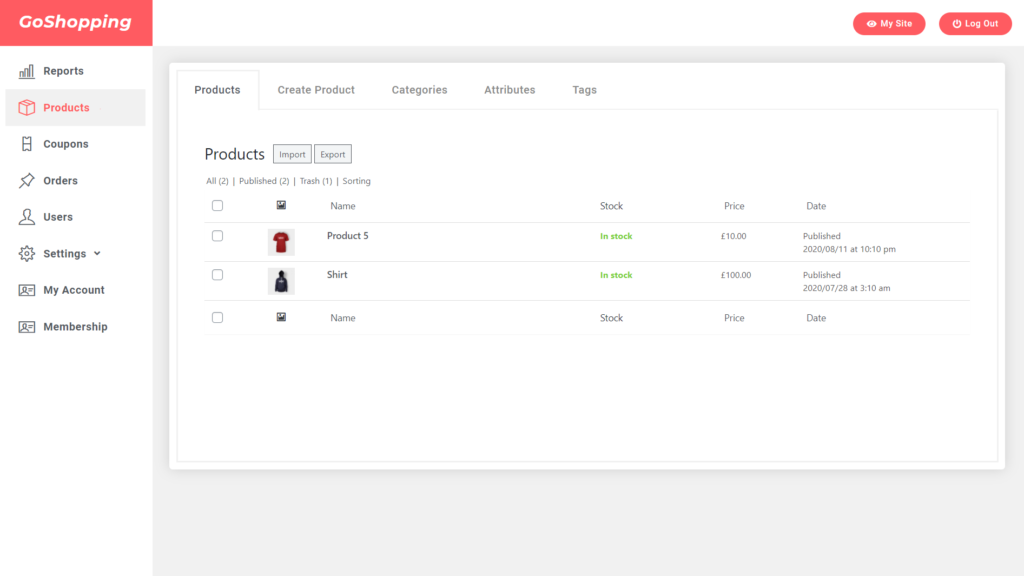
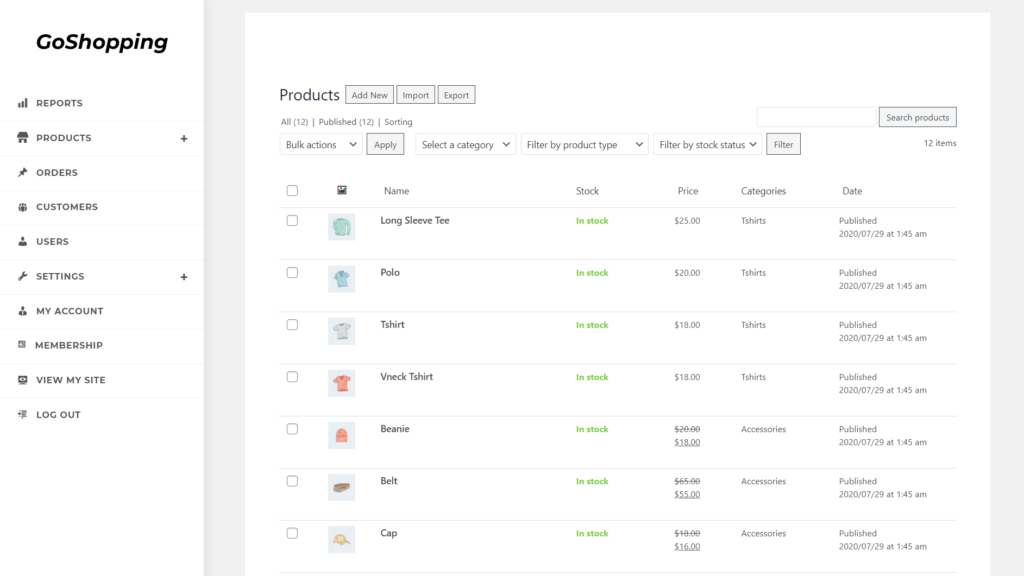
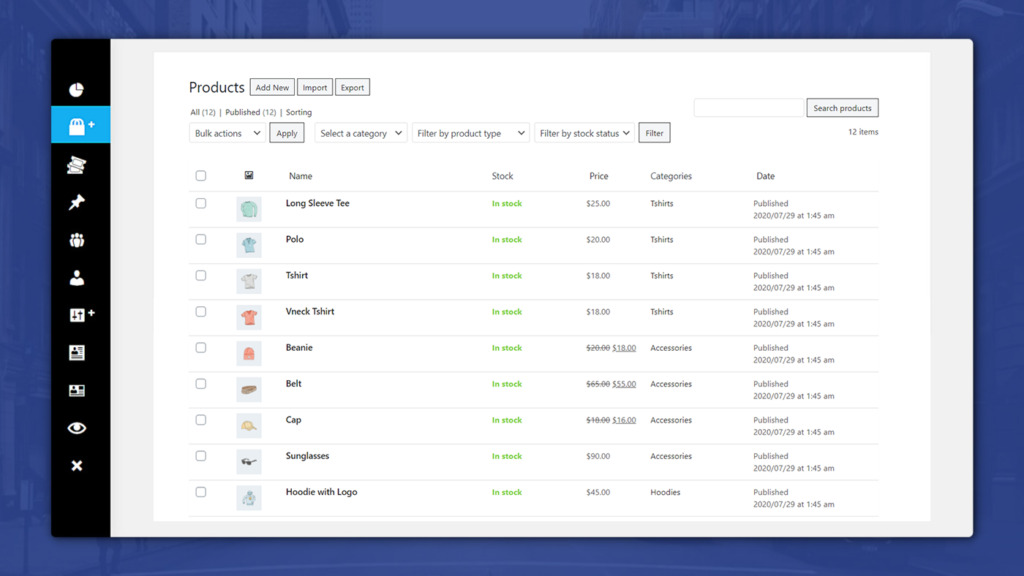
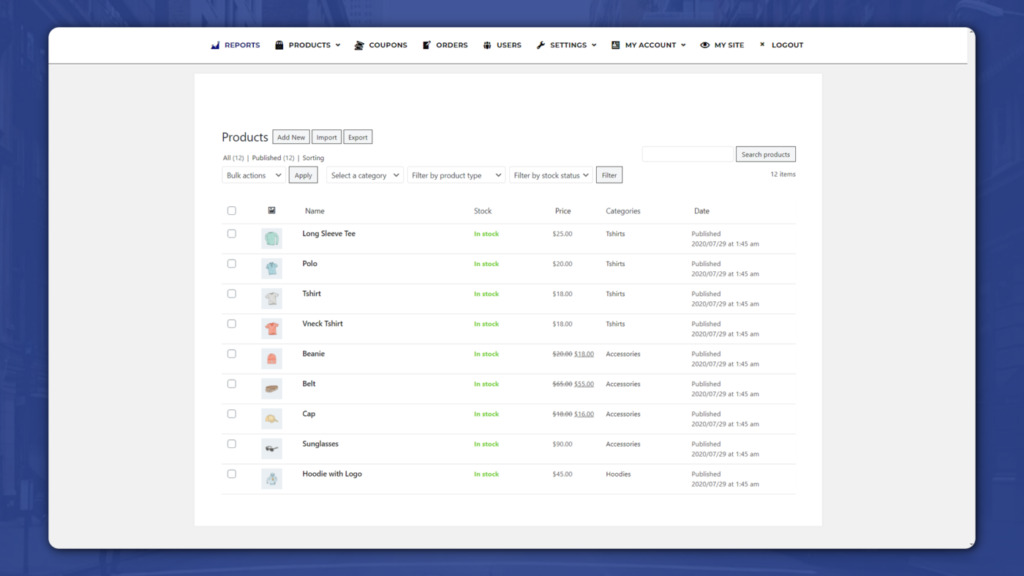
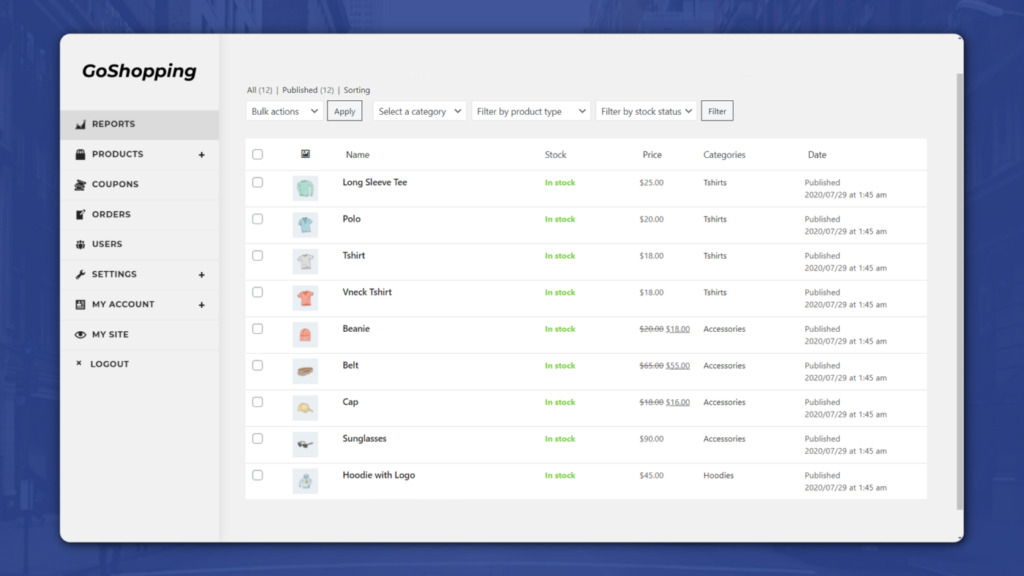
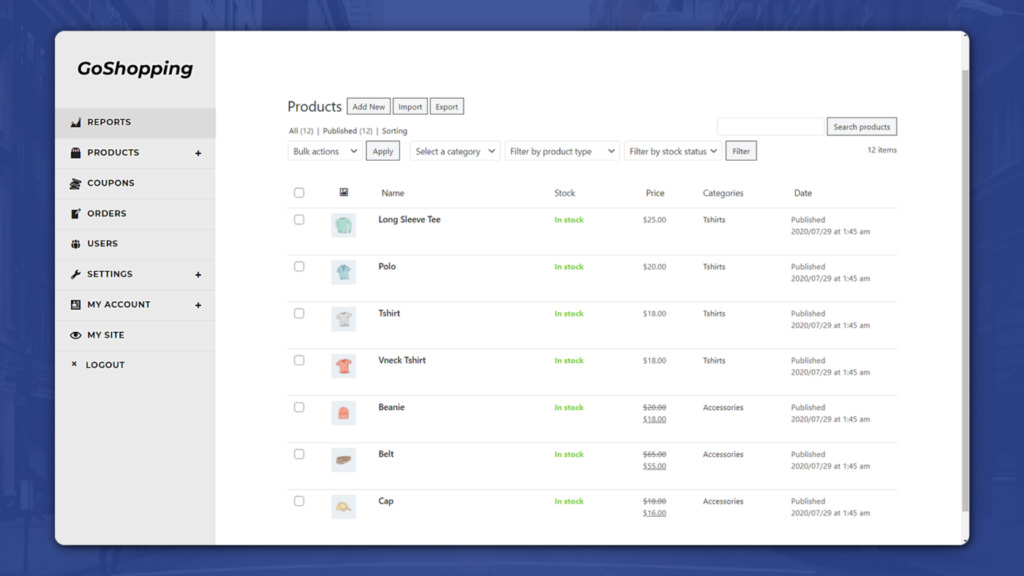
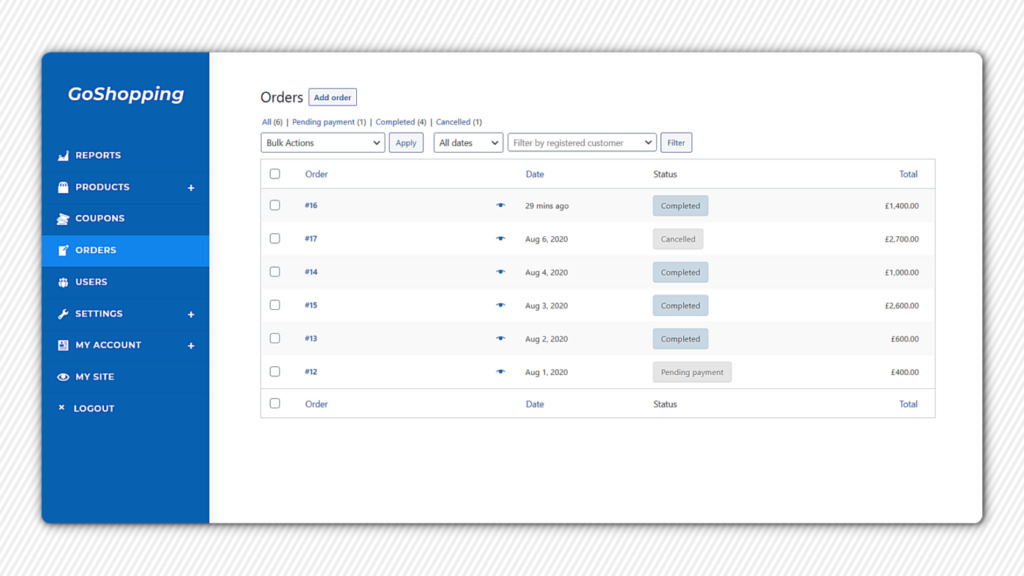
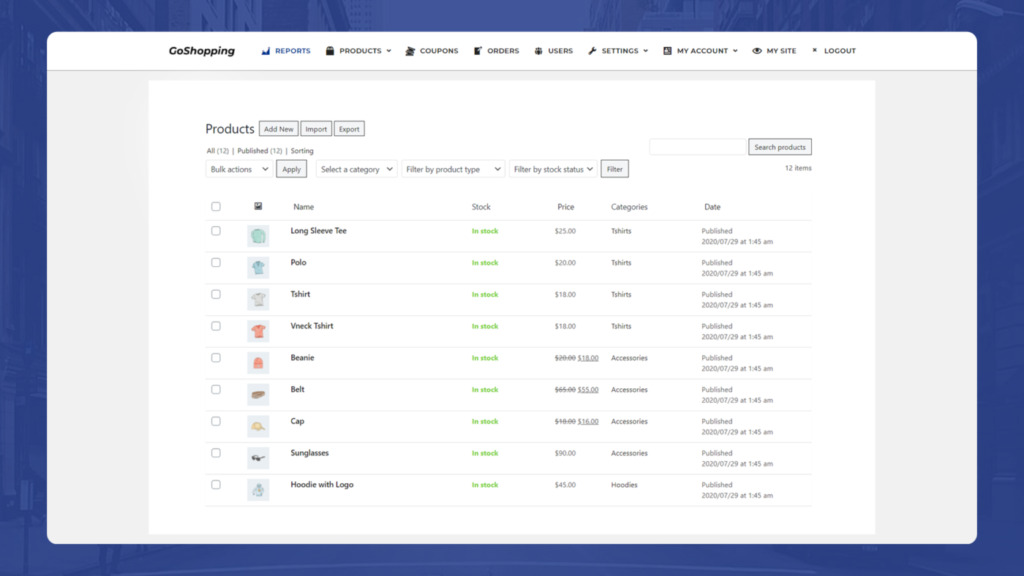
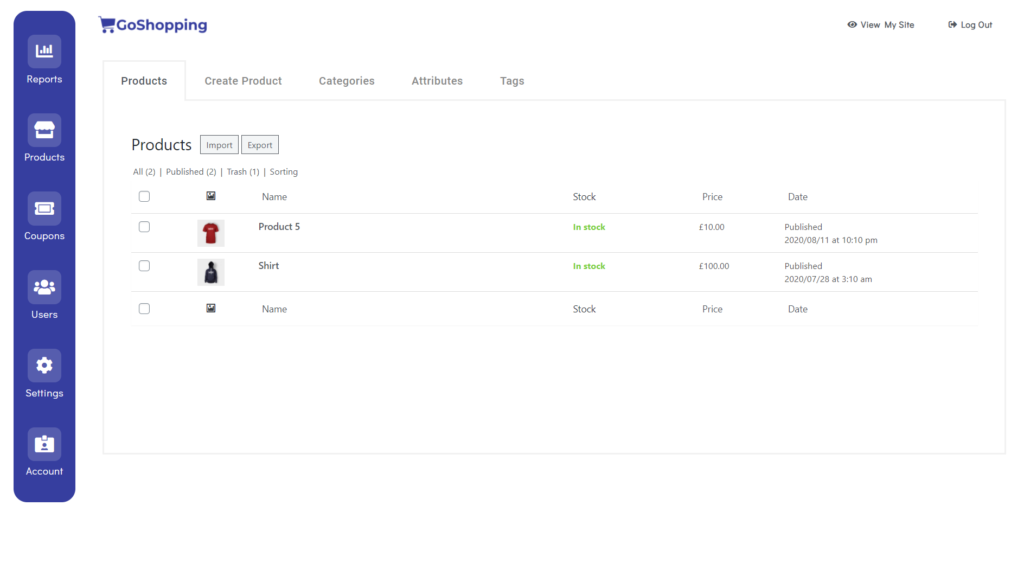


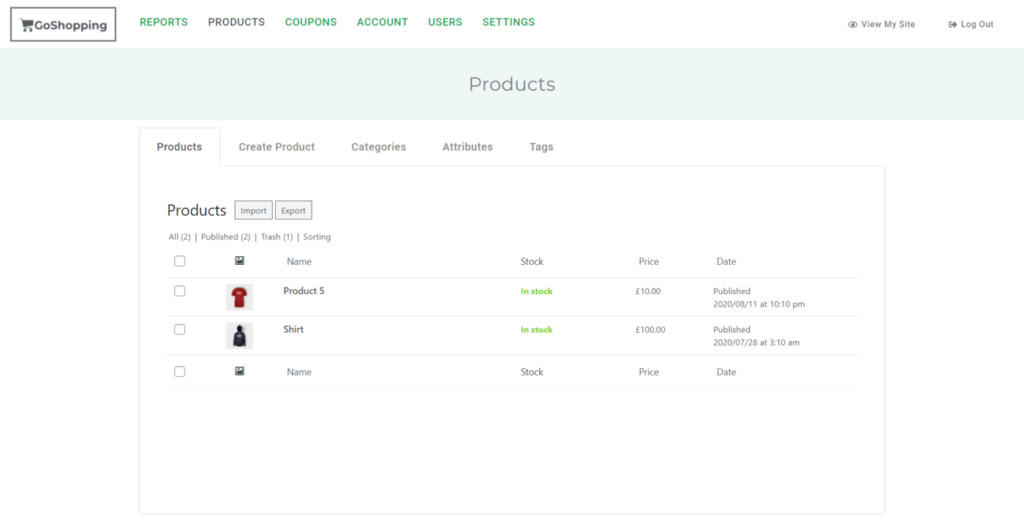

You can visit our frontend dashboard templates page to download the one you want to use.
1- Import the dashboard template
In this example, we’ll use Template 1, but you can use the one you like.
If you’re using Template 1 as well, you can download it using this button:
After downloading the template, we need to open the Frontend Dashboard Site.
It’s the site we created in the first section of the previous lesson.
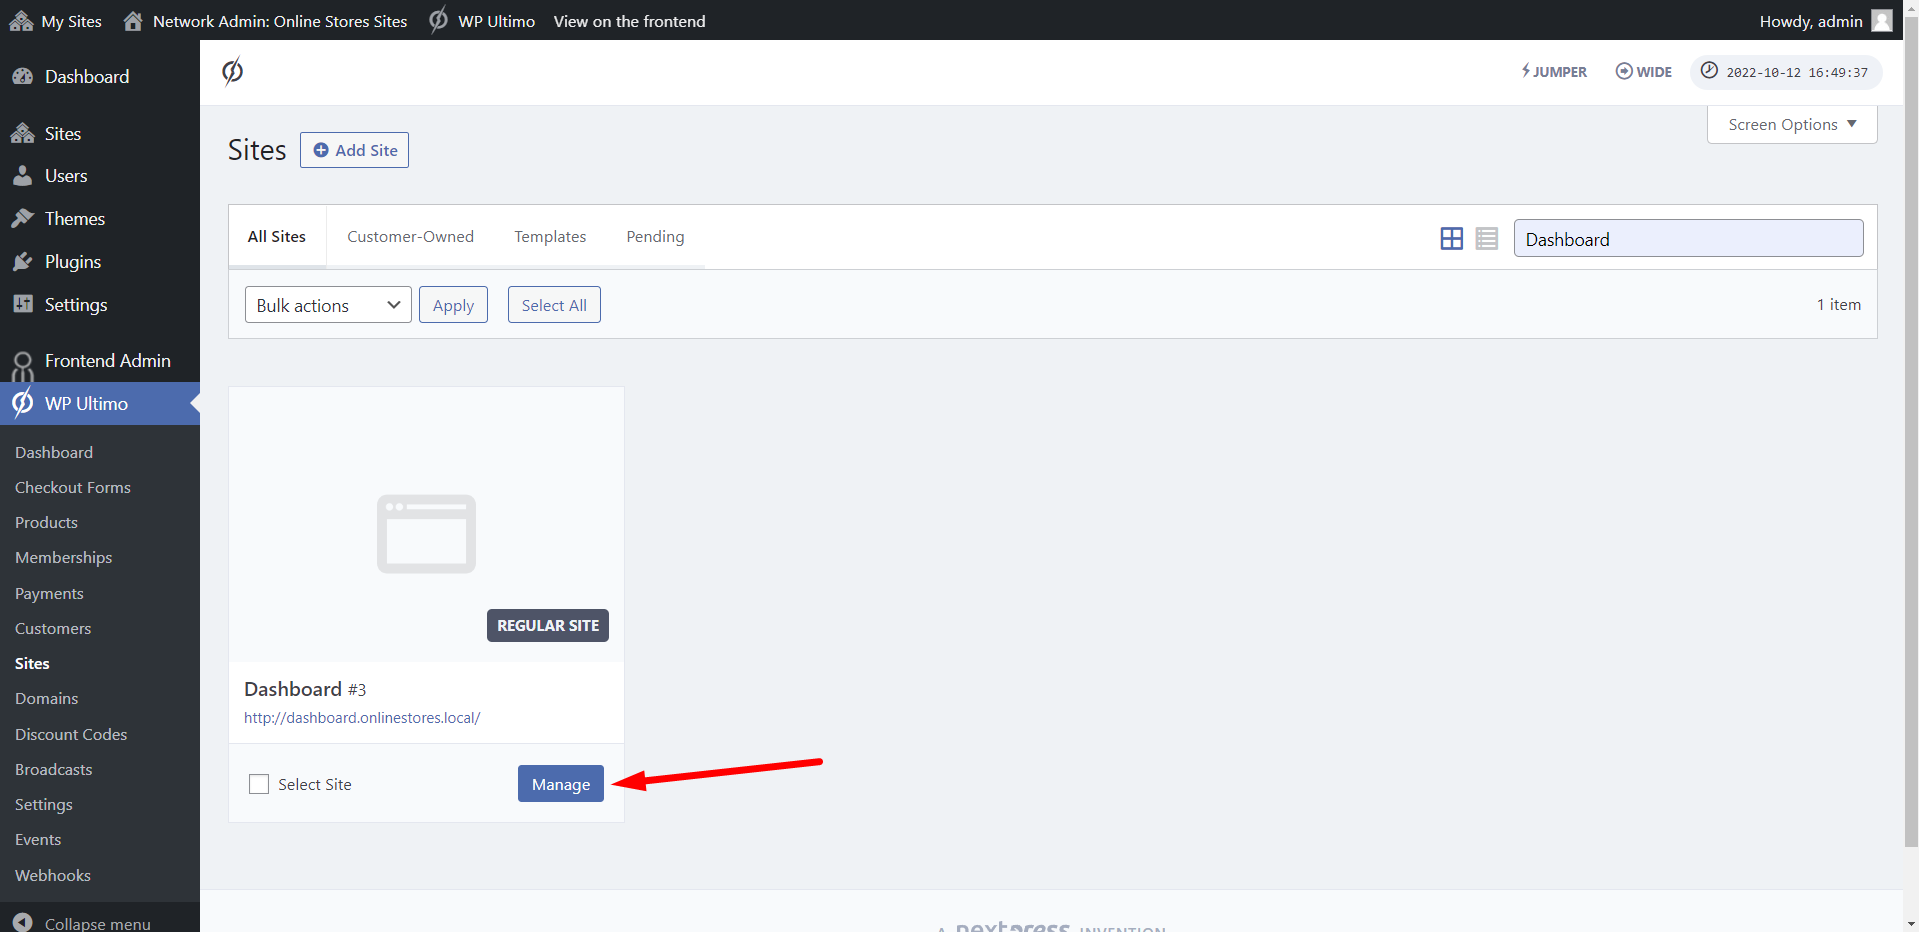
Go to Network Admin > WP Ultimo > Sites.
Find the frontend dashboard site, and click on Manage.
Click on Dashboard.
Note – You can remove the sample content like posts, pages and comments from this site.
Add a new navigation menu
We’ll start by adding a new navigation menu.
Go to Appearance > Menus.
Create a new menu and save it.
Import the template
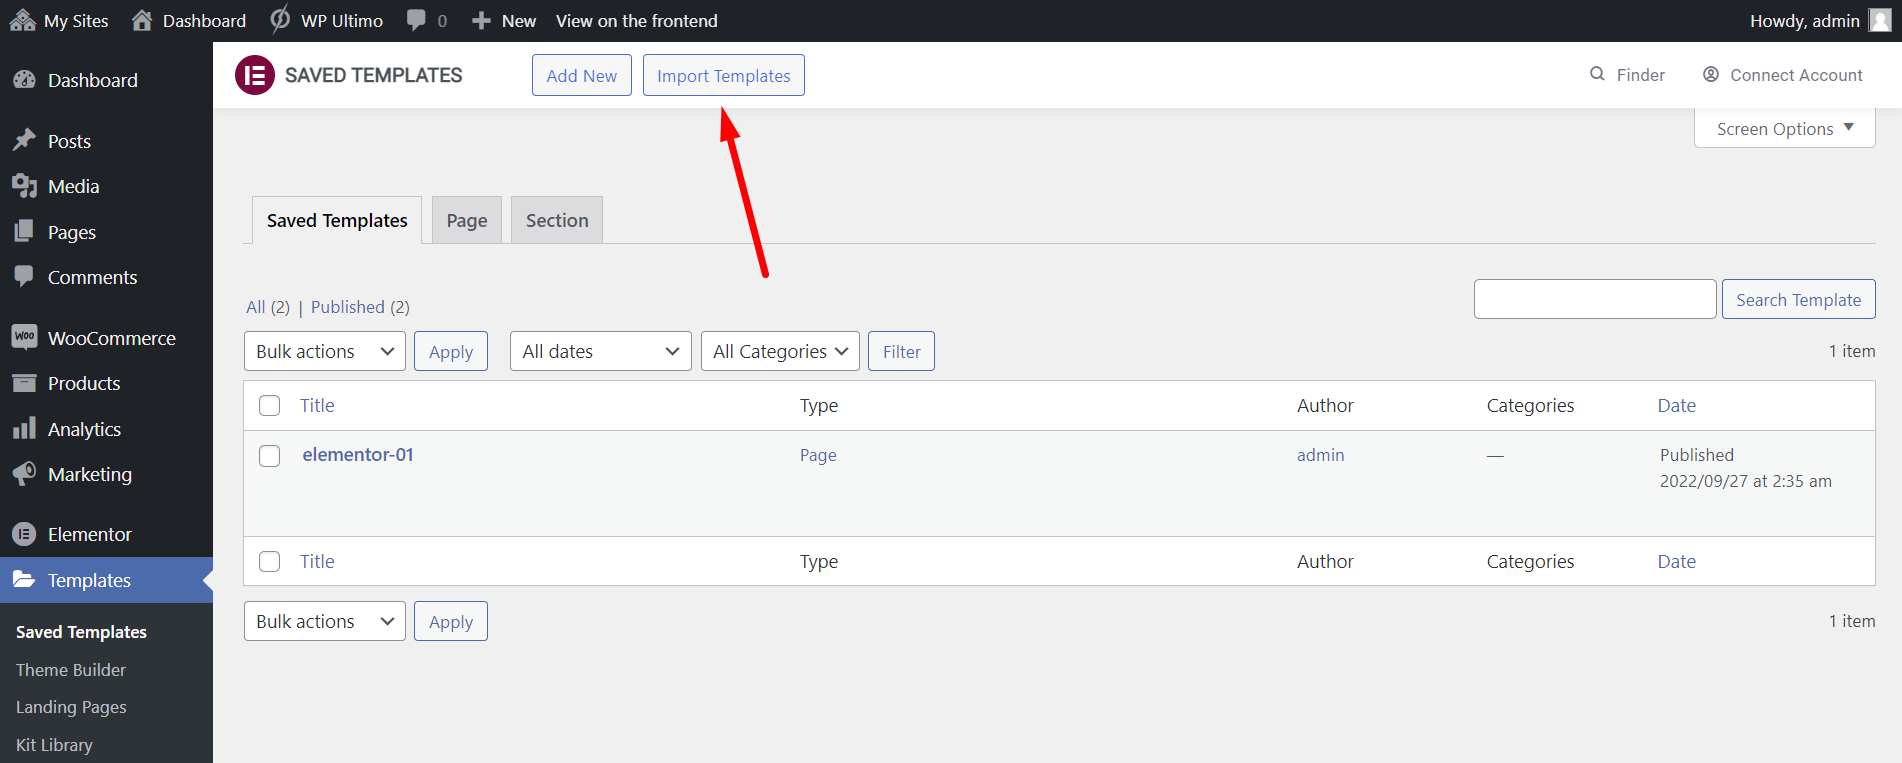
Go to Templates > Saved templates.
Click on Import Templates.
Click on Choose File.
Find the template file on your computer.
Click on Import Now.
2- Set up the dashboard template
Since this is the template we’ll use to build our dashboard pages, we need to apply some changes now, to avoid having to edit the template every time we add it to a new page.
Click on Edit with Elementor.
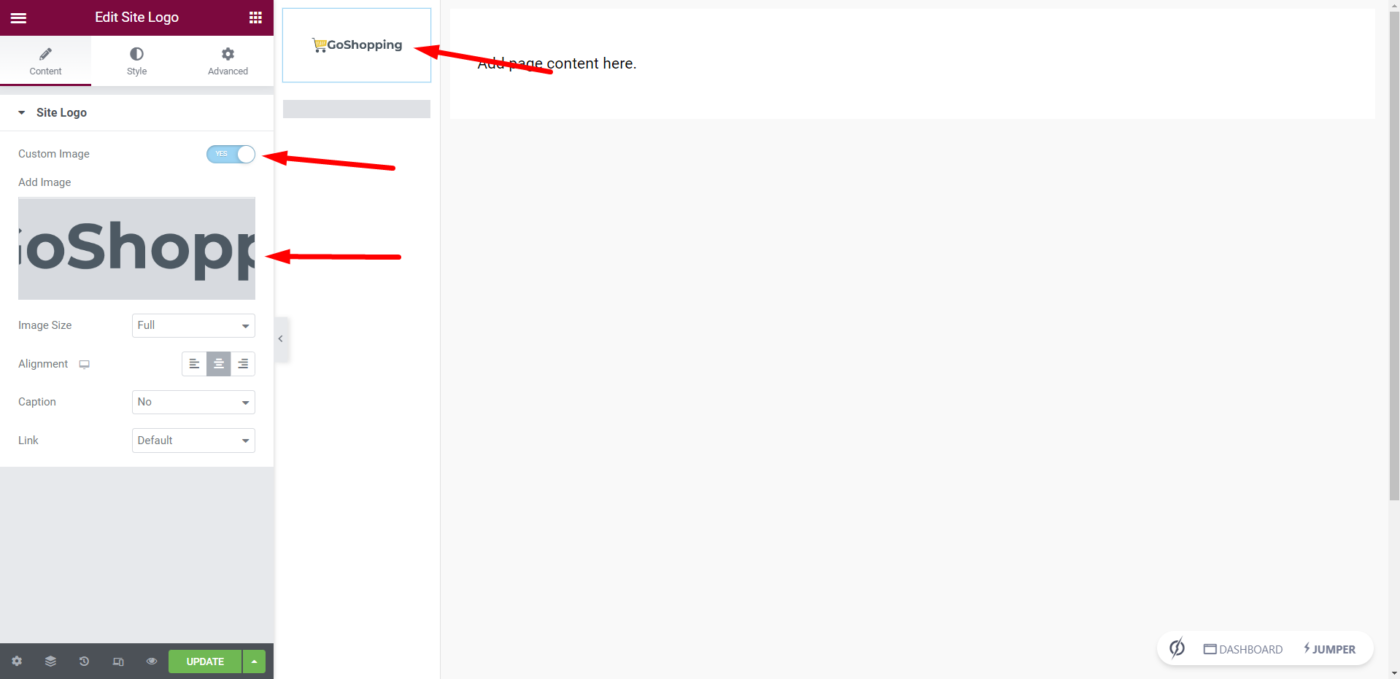
Add your site logo to the template
Our templates are configured to automatically recognize the site’s logo.
You can to set up the site’s logo using the customizer, or you can add a custom image.
Tip – If you set the logo with the Customizer, it will be easier when you change the logo, because all the dashboard pages will be updated automatically. This does not happen if you select a custom image.
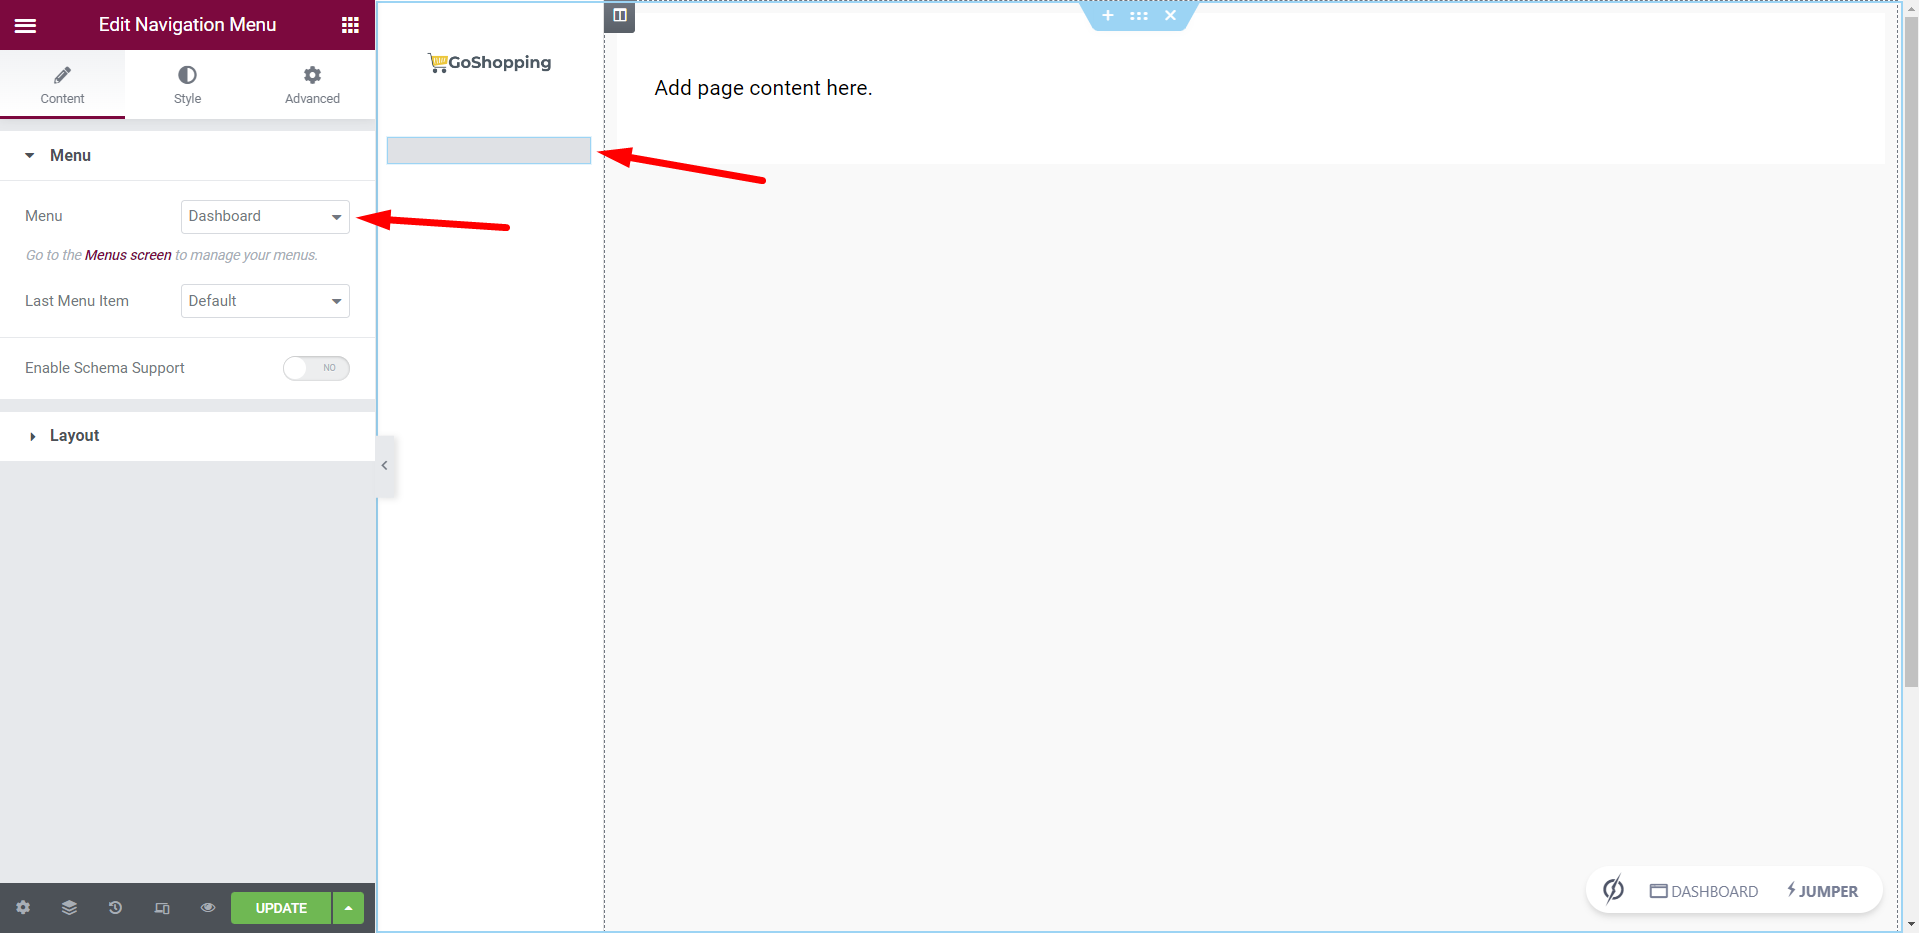
Select the dashboard menu
Select the nav menu we just created above.
Once you’re done setting up the template, click on Update and you’ll be ready to start building your frontend dashboard.
Download the whole platform
If you have a premium license of WP Frontend Admin, you can download the full backup of our platform and import it on your site, so everything shown in this course will be already configured for you. It will save you a lot of time.
Note – You need WP Ultimo 2.x.

