In this lesson, we’ll show you how to add the WooCommerce store settings to the frontend dashboard. Also, we’ll add the WordPress settings page.
These pages will allow your users to:
- Set up the store settings
- Add and set up payment gateways
- Configure taxes
- Set up the store emails
- Set up the general settings for the site
- And configure everything that has to do with a WooCommerce store.
Note. You can add two individual pages or add the content of both pages in one page using Elementor tabs.
You need to follow these steps:
1- Add the WooCommerce settings page to the dashboard
To display the WooCommerce settings page on the frontend, you need to:
- Open the frontend dashboard site
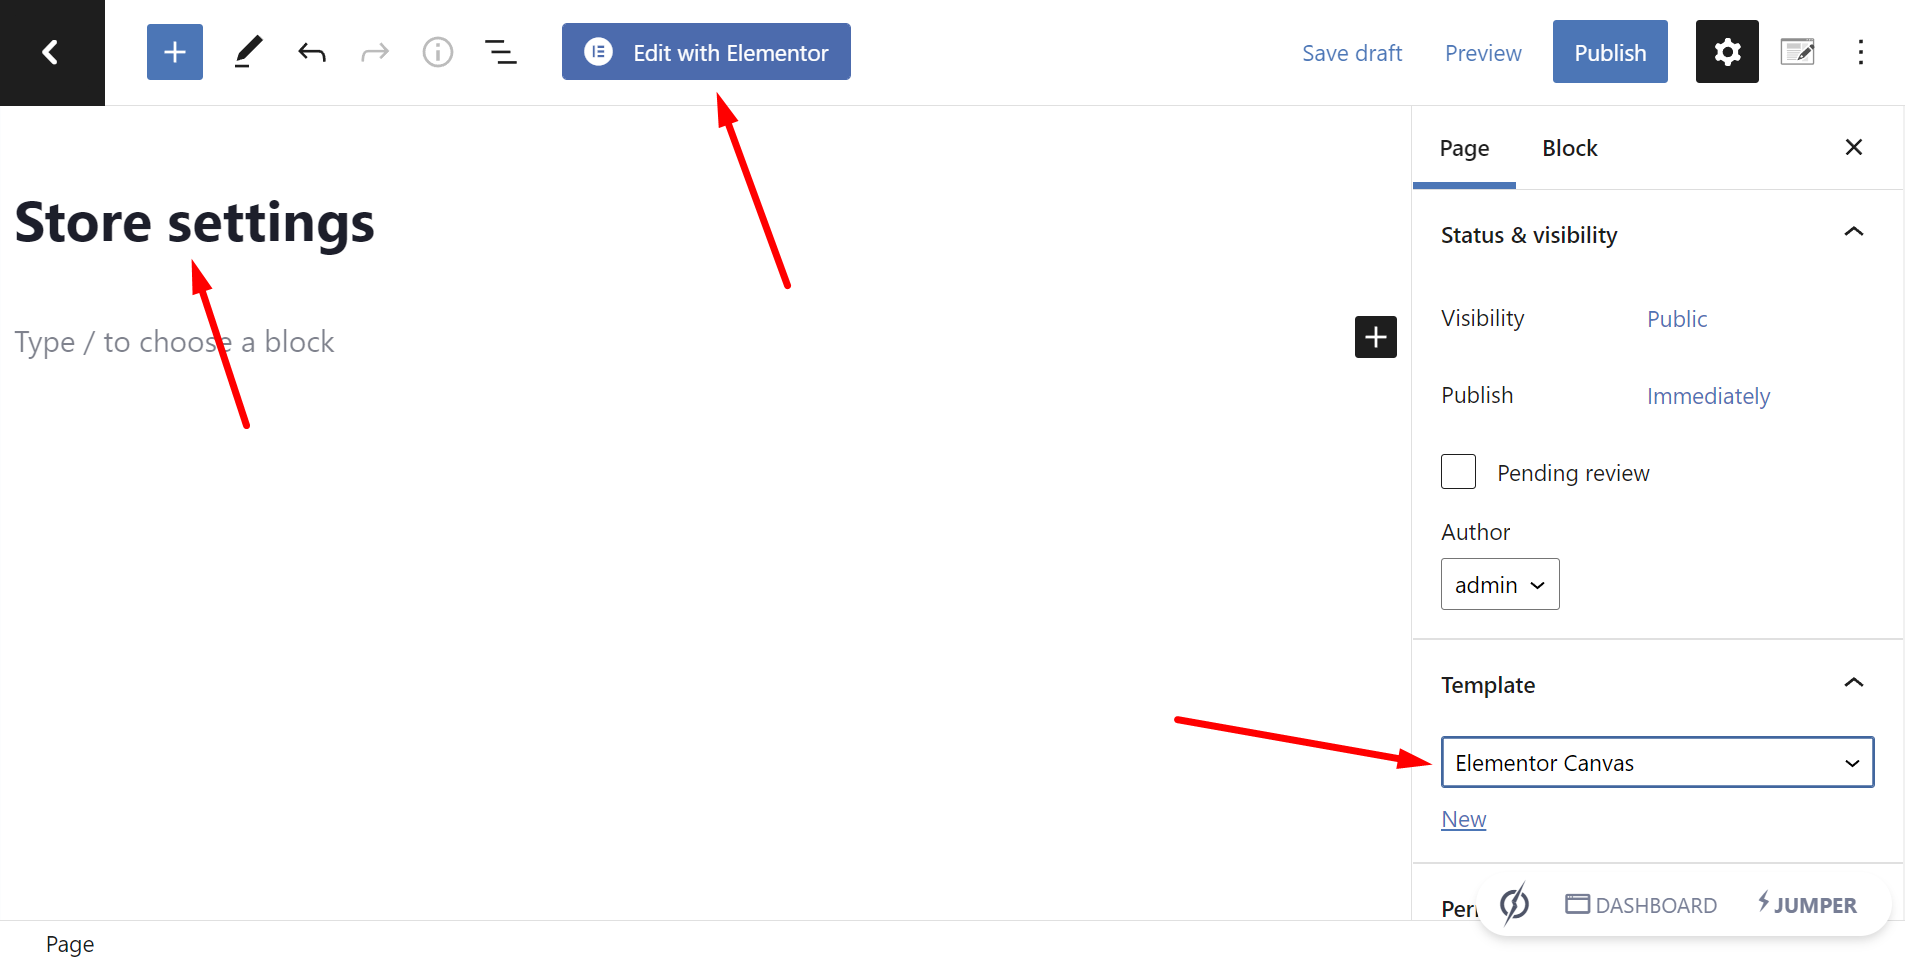
- Go to Pages > Add New.
- Enter the page title
- Select the Elementor canvas as the page template
- Click on Edit with Elementor.
Once you’re in Elementor, you need to import the frontend dashboard template into this new page.
- Click on Add template
- Go to My templates
- Find the frontend dashboard template
- Click on Insert
Now you need to add the following shortcode to display the WooCommerce settings page on the frontend:
[vg_display_admin_page page_url="admin.php?page=wc-settings"]
Now click on the Preview changes button to display the page on the frontend.

Once on the frontend, you need to set up the WooCommerce settings page.
This is what you need to do:
- Select the basic information of the page
- Hide any unnecessary elements from the Settings sections. You need to think of which settings you will allow your users to set up.
- Edit any texts on the settings page.
- Select which WP Ultimo plans will have access to this page.
Once you’re done setting up your frontend WooCommerce settings page, you need to publish the page.
This is what the WooCommerce settings page will look like on the frontend once it’s complete:

2- Add the WordPress settings page to the frontend dashboard
You need to follow pretty much the same steps to display the WordPress settings page on the frontend dashboard:
- Go to Pages > Add New.
- Enter the page title
- Select the Elementor canvas as the page template
- Click on Edit with Elementor.
Once you’re in Elementor, you need to import the frontend dashboard template into this new page.
- Click on Add template
- Go to My templates
- Find the frontend dashboard template
- Click on Insert
Add this shortcode to display the WordPress general settings on the frontend dashboard:
[vg_display_admin_page page_url="options-general.php"]
Now click on the Preview changes button to display the page on the frontend.

Once on the frontend, you need to set up the WordPress settings page.
This is what you need to do:
- Select the basic information of the page
- Hide any unnecessary elements from the page. You need to think of which settings you will allow your users to set up.
- Edit any texts on the settings page.
- Select which WP Ultimo plans will have access to this page.
Once you’re done setting up the page, save the changes and publish the page.
This is what the WordPress settings page will look like on the frontend once it’s complete:

In the next lesson, we’ll show you how to add the WordPress profile page and the WP Ultimo account page to the frontend dashboard.