logo
  • Pricing
  • Integrations
  • Dashboard Designs
  • Features
    • WordPress – Allow Frontend Post Submissions
    • WordPress – Manage Permalink Settings on the Frontend
    • WordPress – Manage Site Settings on the Frontend
    • WordPress – Create and Manage Users from the Frontend
    • Create WooCommerce Coupons from the Frontend
    • Create WooCommerce Products from the Frontend
    • WordPress – How to Install Themes on the Frontend
    • WordPress – Install Updates on the Frontend
    • WordPress – Install Plugins on the Frontend
    • WordPress – Manage Navigation Menus on the Frontend
    • WordPress – Manage User Comments on the Frontend
    • WordPress – Manage Widgets on the Frontend
    • Manage WooCommerce Settings from the Frontend
    • View and Dispatch WooCommerce Orders from the Frontend
    • View WooCommerce Sales Reports from the Frontend
  • Help
    • FAQ
    • Tutorials
    • Contact
    • Free Course: How to Create a Platform Like Shopify
    • Free Course: Create a Restaurant Management Platform with WordPress
Menu Close
  • Pricing
  • Integrations
  • Dashboard Designs
  • Features
    • WordPress – Allow Frontend Post Submissions
    • WordPress – Manage Permalink Settings on the Frontend
    • WordPress – Manage Site Settings on the Frontend
    • WordPress – Create and Manage Users from the Frontend
    • Create WooCommerce Coupons from the Frontend
    • Create WooCommerce Products from the Frontend
    • WordPress – How to Install Themes on the Frontend
    • WordPress – Install Updates on the Frontend
    • WordPress – Install Plugins on the Frontend
    • WordPress – Manage Navigation Menus on the Frontend
    • WordPress – Manage User Comments on the Frontend
    • WordPress – Manage Widgets on the Frontend
    • Manage WooCommerce Settings from the Frontend
    • View and Dispatch WooCommerce Orders from the Frontend
    • View WooCommerce Sales Reports from the Frontend
  • Help
    • FAQ
    • Tutorials
    • Contact
    • Free Course: How to Create a Platform Like Shopify
    • Free Course: Create a Restaurant Management Platform with WordPress

Create a Login Page with Elementor

Home » How to create a Platform like Shopify with WordPress » Create a Login Page with Elementor

Current course

How to create a Platform like Shopify with WordPress

Course sections

  • Install WP Multisite
  • Required Plugins and Theme
  • Create WP Ultimo Plans
  • Create WP Ultimo Coupons
  • Create a Homepage with Elementor
  • Create a Pricing Page with Elementor
  • Create Frontend Dashboard with WP Ultimo and WP Multisite
  • Create a Login Page with Elementor
  • Set Up the Frontend Dashboard Design
  • Set up the WooCommerce Reports on the Frontend Dashboard
  • Set up the WooCommerce Products on the Frontend Dashboard
  • Set Up the Categories, Attributes, and Tags on the Frontend Dashboard
  • Set Up the Coupons, Orders, and Customers on the Frontend Dashboard
  • Set Up the Users and Store Settings on the Frontend Dashboard
  • Set up the Pages, Theme Settings, and Menus on the Frontend Dashboard
  • Set Up the WordPress Profile Page on the Frontend Dashboard
  • Set Up the WP Ultimo Membership Page on the Frontend Dashboard
  • Add “View User Site” and “Log Out” Buttons on the Frontend Dashboard Menu
  • Add Menu Icons and Set Sub-items on the Dashboard Menu
  • Restrict Features Based on the Site Plan or User Membership
  • Display Multiple WP-Admin Sections On the Same Page
  • Course Recap

This is part of the course: How to create a Platform like Shopify with WordPress

Create Frontend Dashboard with WP Ultimo and WP Multisite
Set Up the Frontend Dashboard Design
WP Ultimo 2
WP Ultimo 1
WP Ultimo 2

In this lesson, we’ll show you how to create a custom login form for your multisite network. This is great because your users won’t have to use the normal WordPress login page. Instead, you’ll design a beautiful login form with Elementor.

Follow these steps to create your custom login form:

1- Add a new page or edit the default login page from WP Ultimo

In their new update, WP Ultimo includes the option to create default registration and/or login pages. These are normal pages with the appearance of the theme you have installed on your main site.

If you don’t want to create a new page, you can open the default login page and edit it with Elementor.
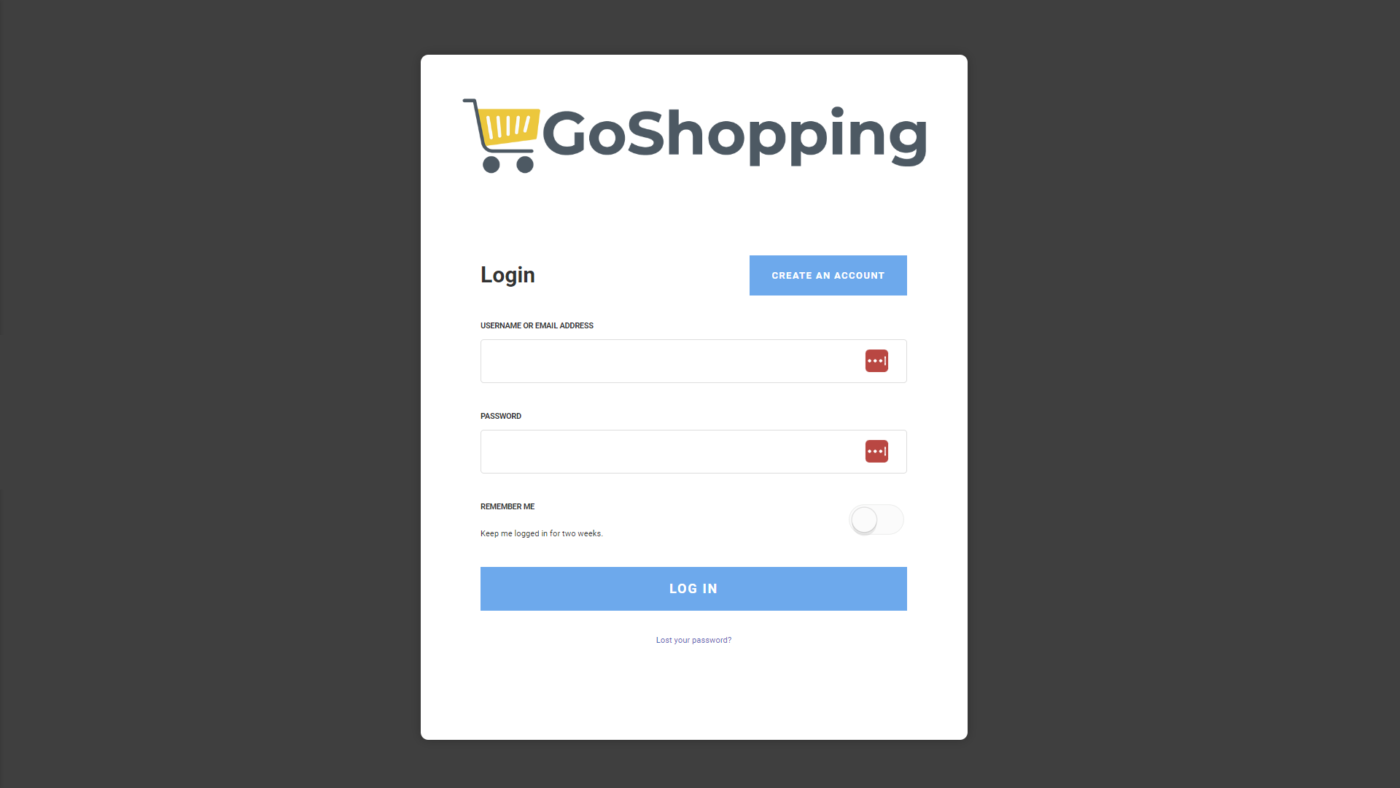
 This has some advantages such as not having to change anything else because WP Ultimo will recognize the login page automatically.

Go to Network Admin > Sites and open your network’s main site.

Now go to Pages and add a new page or open the default login page.

If you create a new page, add the page title and hit Edit with Elementor.

If you’re editing the default WP Ultimo login page, cut the shortcode and hit Edit with Elementor.

2- Add the WP Ultimo login shortcode to your page

Once you’re in Elementor, you can change the page layout to Elementor Canvas. Add all the design elements you want such as a background image, texts, columns, etc. Design the page as you want.

The essential element on this page is the WP Ultimo login shortcode:

[wu_login_form]

You need to paste this shortcode where you want to display the login form.

3- Make sure the page is selected in the WP Ultimo settings

If you’ve edited the default WP Ultimo page, you don’t need to do anything else.

But if you have created a new page, go to Network Admin > WP Ultimo > Settings > Login & Registration, and select the login page in Default Login Page.

Once you save the settings, this is what your login form could look like:

Now your users will log in to their accounts using a beautiful page instead of using the normal WordPress login page.

WP Ultimo 1

In this lesson, we’ll learn how to create a custom login page for your multisite network using Elementor free and WP Frontend Admin.

This page will be completely different from the WordPress login page and will contain your logo, your background, and your preferred colors.

Note – This page must be created on the frontend dashboard site.

Go to Network Admin > Sites and open the frontend dashboard site’s admin panel.

Now just follow these steps:

1- Create a new page on your global frontend dashboard site

Once you’re in the wp-admin panel of the dashboard site, go to Pages > Add New.

Enter the page title and click Edit with Elementor.

login page with elementor

2- Edit the custom login page with Elementor

Once you’re in Elementor, let’s change the page layout into Elementor Canvas.

You can design the page as you want by adding any of these elements:

  • Plaform logo
  • Page background
  • Page heading
  • Columns
  • Texts
  • Images
  • Etc.

The essential element of that page will be the login form shortcode that WP Frontend Admin allows you to display on any page:

[wp_frontend_admin_login_form]

Once you add the shortcode to the page content, you can publish the page.

Note – While editing the page, you won’t be able to view the login form.

Once you publish the custom login page, this is what it could look like:

3- Set up this page as the default login page in WP Frontend Admin

Now you need to add a “Login” button on the homepage.

  1. Go to Network Admin > WP Frontend Admin > Settings > Login.
  2. Add the URL of your Login Page in Login Page URL.
  3. Save the changes.

After these simple steps, every time users try to go to the normal Login URL, they will be redirected to this page. Your users will no longer have to use the normal WordPress login form.

This is part of the course: How to create a Platform like Shopify with WordPress

Create Frontend Dashboard with WP Ultimo and WP Multisite
Set Up the Frontend Dashboard Design

HELP

  • Tutorials
  • Technical support
  • Request refund
  • My downloads
  • Deactivate license
  • Free Course: Create a Platform Like Shopify
  • Free Course: Create a Restaurant Management Platform with WordPress

PRODUCT

  • Pricing
  • Integrations
  • Features
  • Changelog
  • Suggest new features
  • Testimonials and reviews

COMPANY

  • Company
  • Contact Us
  • Development services
  • Affiliate Program
  • Credits
  • Sitemap

LATEST TUTORIALS

  • How to Import the Donations Platform
  • Allow Users to Manage Amelia Services on the Frontend
  • Amelia – Allow Users to Create Appointments on the Frontend
  • Amelia – How to Allow Users to Create Events on the Frontend
  • Amelia – How to Show the Calendar on the Frontend
  • License
  • Terms and Conditions
  • Cookies
  • Privacy Policy
Copyright 2020 - WP Frontend Admin. A product by VegaCorp S.A. de C.V.
We use cookies on this website to improve your experience on our site. I Accept Read more
Política de Privacidad y Cookies

Privacy Overview

This website uses cookies to improve your experience while you navigate through the website. Out of these, the cookies that are categorized as necessary are stored on your browser as they are essential for the working of basic functionalities of the website. We also use third-party cookies that help us analyze and understand how you use this website. These cookies will be stored in your browser only with your consent. You also have the option to opt-out of these cookies. But opting out of some of these cookies may affect your browsing experience.
Necessary
Always Enabled
Necessary cookies are absolutely essential for the website to function properly. This category only includes cookies that ensures basic functionalities and security features of the website. These cookies do not store any personal information.
Non-necessary
Any cookies that may not be particularly necessary for the website to function and is used specifically to collect user personal data via analytics, ads, other embedded contents are termed as non-necessary cookies. It is mandatory to procure user consent prior to running these cookies on your website.
SAVE & ACCEPT