In this lesson, we’ll learn how to add the product taxonomies to the frontend dashboard.
We will display the product categories, attributes, and tags on a frontend page.
Note – We could create three different pages, but in this lesson, we’ll show you how to display several wp-admin sections on one page, using Elementor tabs.
Just follow these steps:
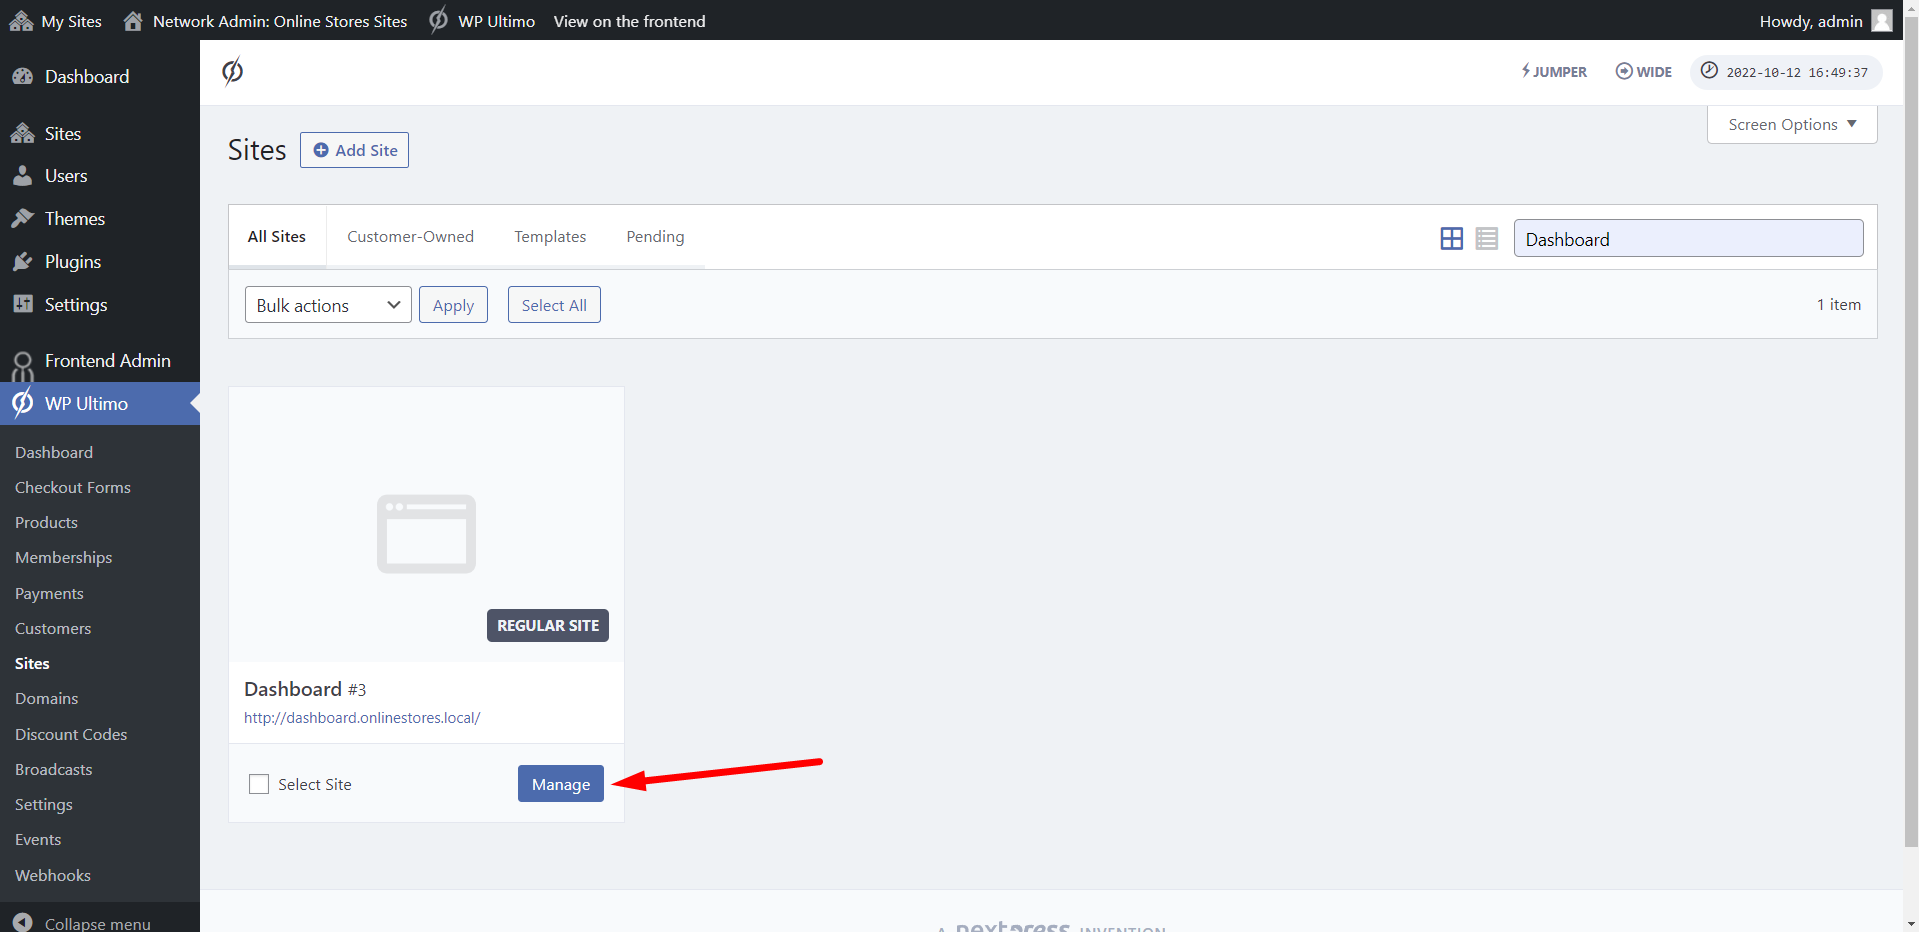
1- Open the frontend dashboard site
Go to Network Admin > WP Ultimo > Sites.
Find the frontend dashboard site.
Click on Manage.
Now click on Dashboard to open the admin panel of the frontend dashboard site.

2- Create a new page
Go to Pages > Add New.
Enter the page title.
Select Elementor Canvas as the page template.
Click on Edit with Elementor.

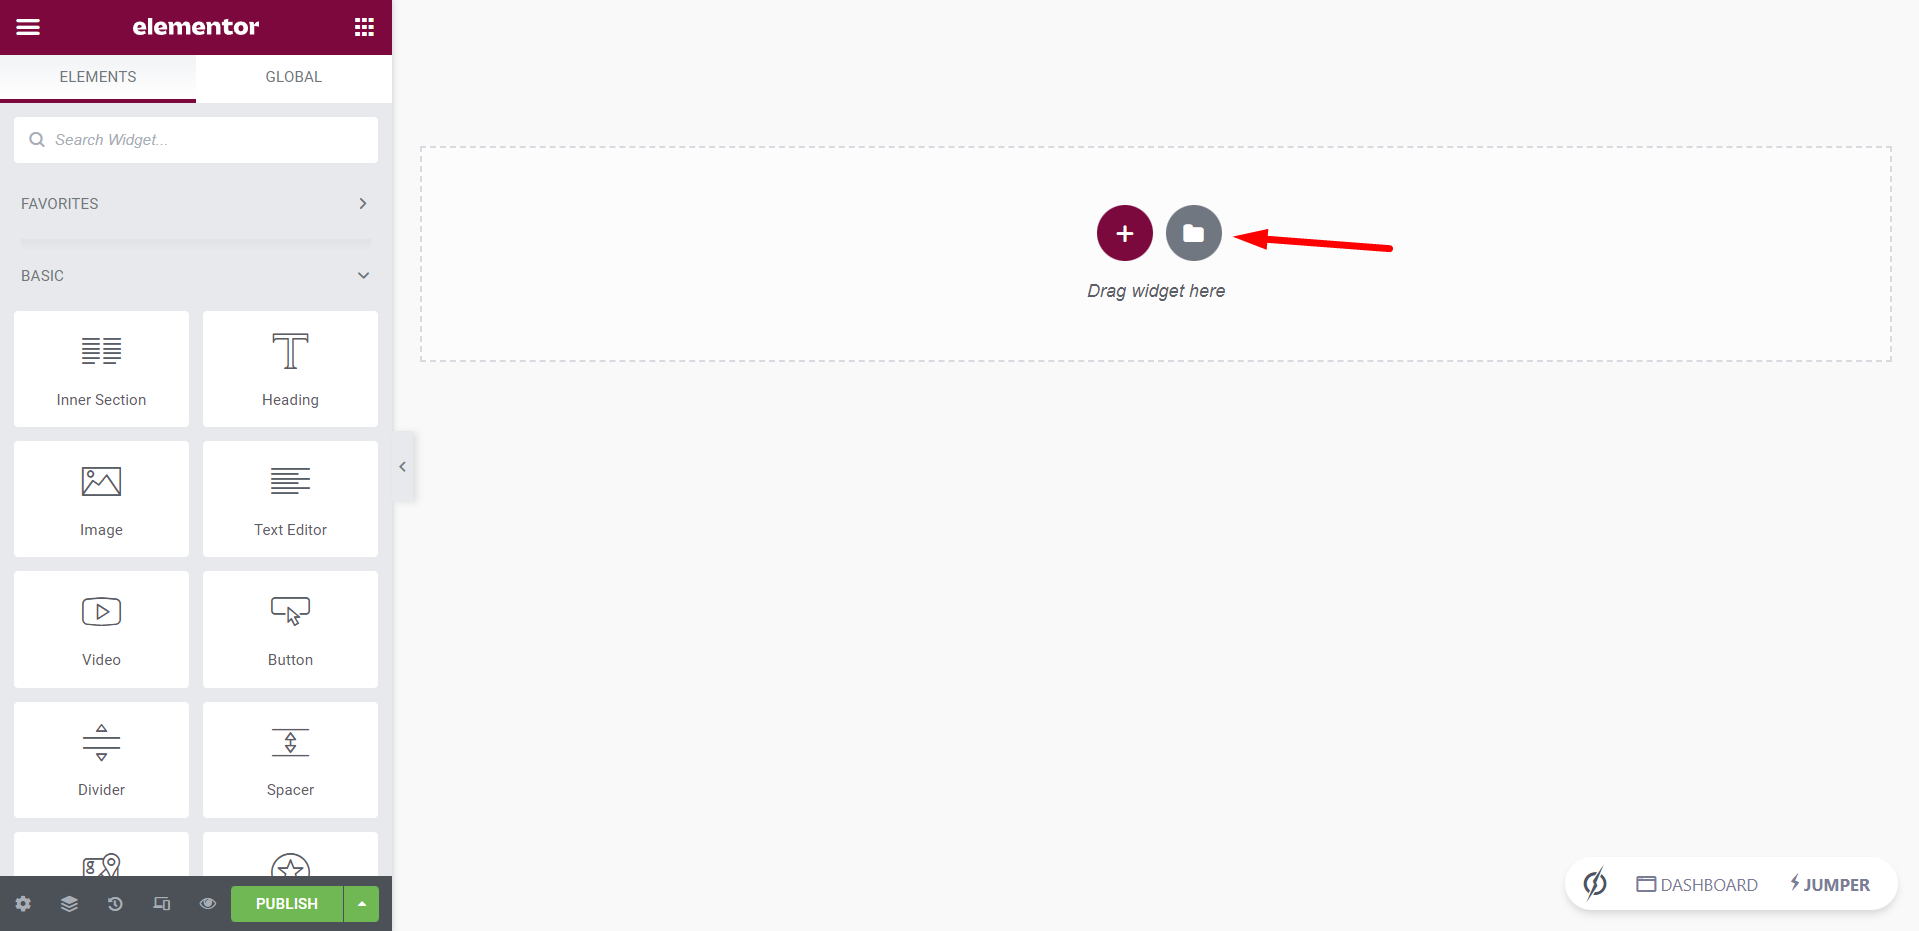
3- Import the frontend dashboard template to this new page
Click on Add Template.
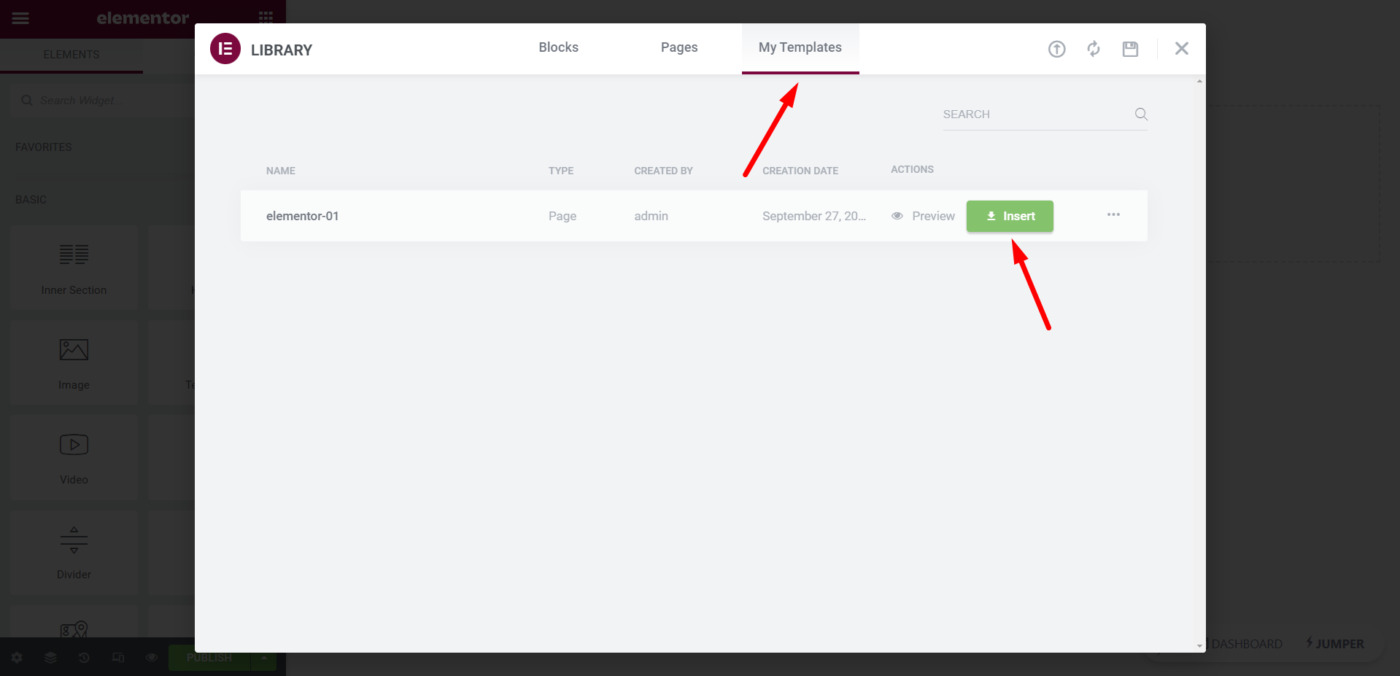
Go to My Templates.
Find the frontend dashboard template.
And click on Insert.
4- Display product categories, tags, and attributes on the frontend
To display these three wp-admin sections on the same page, we will use the Tabs element.
Go to Add element.
Search for “tabs”.
Draw and drop the Tabs element to the content area.

Here’s the suggested name for each tab, together with their shortcode:
Categories
[vg_display_admin_page page_url="edit-tags.php?taxonomy=product_cat&post_type=product"]
Tags
[vg_display_admin_page page_url="edit-tags.php?taxonomy=product_tag&post_type=product"]
Attributes
[vg_display_admin_page page_url="edit.php?post_type=product&page=product_attributes"]
Once you’ve added the shortcodes, click on Preview changes to display the categories, attributes, and tags on the frontend dashboard.
5- Set up the taxonomies page on the frontend
Now you can use the Quick Settings panel to set up the categories, tags and attributes page on the frontend dashboard.
First, start by selecting the following info:
- Preview site: You can preview a specific subsite’s content, but right now we don’t have other subsites.
- Page Title: Enter the page title in this field.
- URL Slug: Enter the page slug on this page.
- Page Template: Default
- Add page to this menu: Select the Main Menu.

After selecting the general information of the page, you can:
- Remove any unnecessary from each tab. For example, the texts explaining each field, any field you consider unnecessary for your platform users, etc.
- Edit any texts on each tab. You can rename buttons, fields and metaboxes.
- Select the plan for which the page will be available. In the section “This page is available for these WP Ultimo plans”, you can tick the plans that will have access to this page. If the page will be available for all plans, you can leave the plans unticked.
Once you’re done editing the page, click on Save and publish the page.
This is what the WooCommerce categories look like on the frontend:

This is what the WooCommerce tags look like on the frontend:

This is what the WooCommerce attributes look like on the frontend:

In the next lesson, we’ll show you how to add the WooCommerce orders and coupons to the frontend dashboard of your online stores platform.