In this lesson, we’ll create the restaurant team page. Here the restaurant administrators will be able to register waiters, cooks, servers, etc.
We’ll display the WordPress users page on our frontend dashboard.
Step 1 – Create a new page on your frontend dashboard’s site
WP Ultimo 1.x
If you’re using WP Ultimo 1.x, go to Network Admin > Sites > All Sites, and open the admin panel of the frontend dashboard’s site.

WP Ultimo 2.x
If you’re using WP Ultimo 2.x, go to Network Admin > WP Ultimo > Sites, and open the admin panel of the frontend dashboard’s site.

Once you’re there, create a new page by going to Pages and hit Add New.
Enter the page title and hit Edit with Elementor.

Step 2 – Import the frontend dashboard template
In the Elementor editor, open the Page Settings and change the page layout to Elementor Canvas.

Now hit the Add Template button to open the Elementor library.
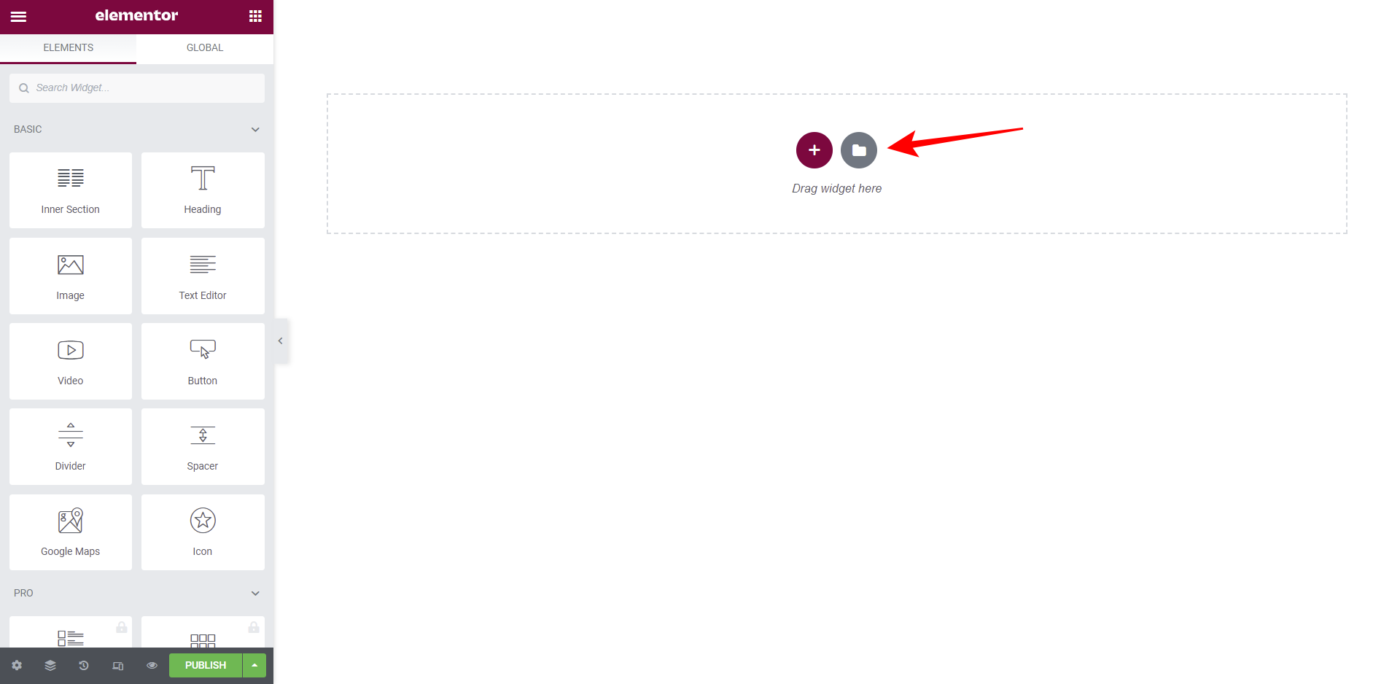
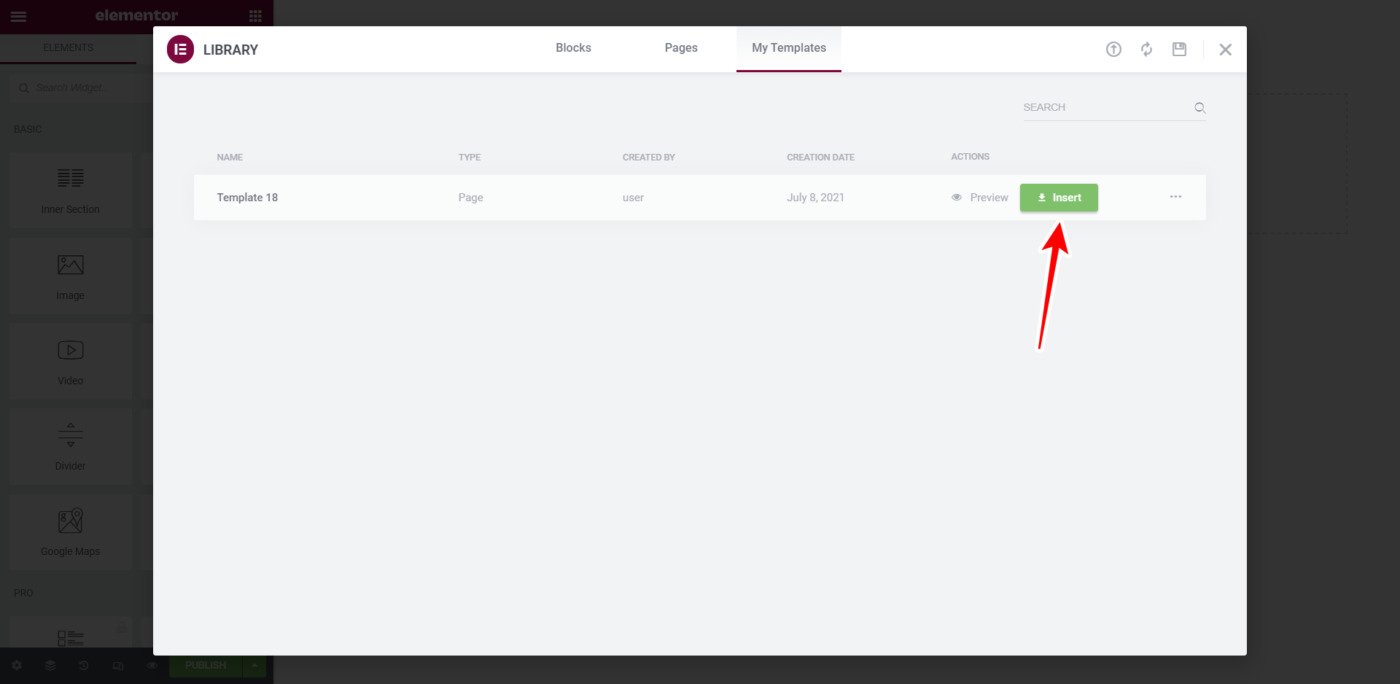
Go to My Templates and hit Insert on your frontend dashboard template.
Step 3 – Set up the WordPress users page on the frontend dashboard
After importing the global frontend dashboard template into the new page, set up the WordPress users page on the frontend.
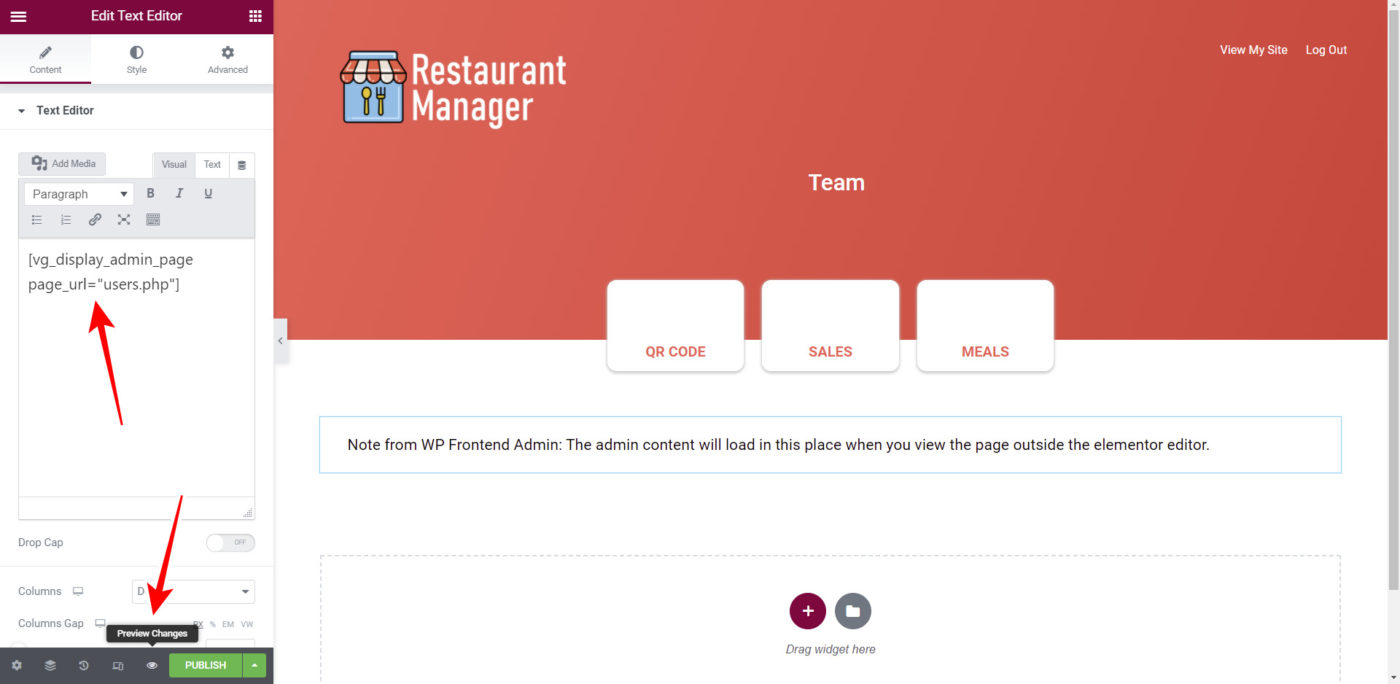
Just replace the text on the page content with the following shortcode:
[vg_display_admin_page page_url="users.php"]
Now hit Preview Changes to view the WordPress Users page on the frontend and set up the page.
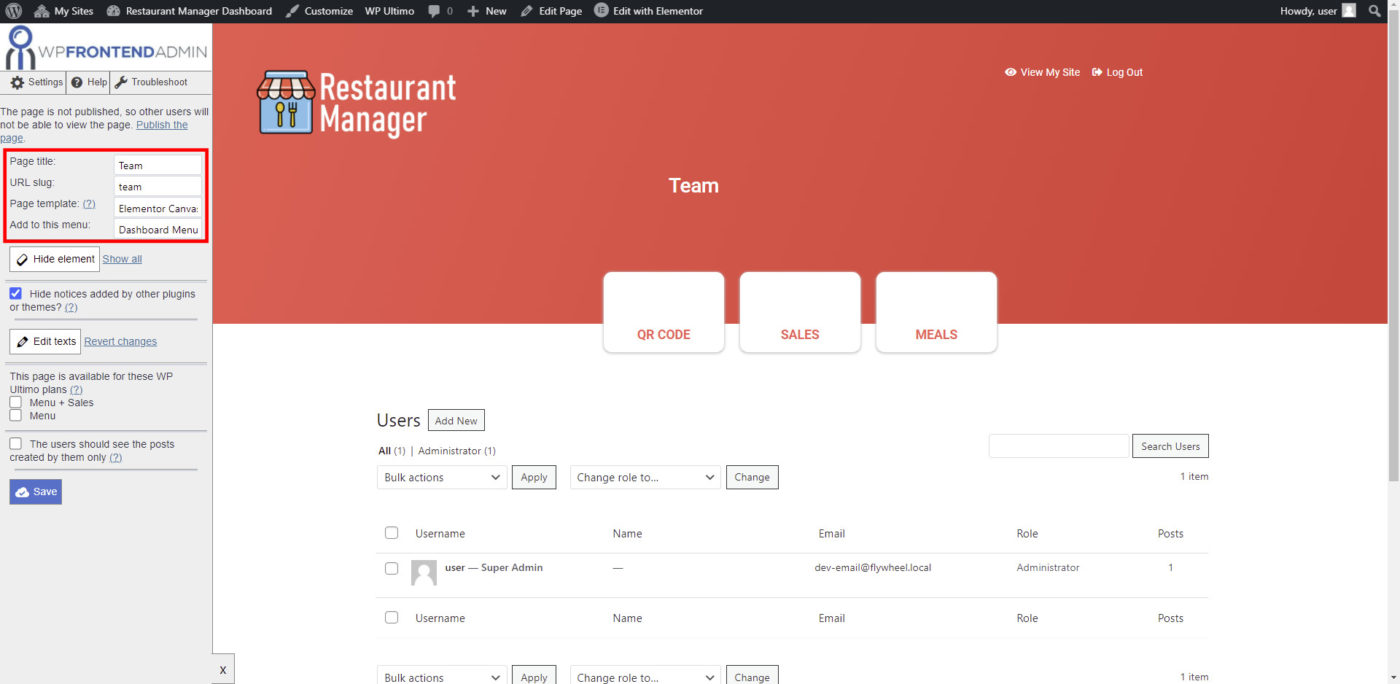
You can use the Quick Settings panel from WP Frontend Admin to set up the WordPress users page on the frontend.
Start by selecting the following information:
- Page title: Enter something like “Team” here.
- URL Slug: We can enter “team” as the URL slug.
- Page template: Elementor Canvas
- Add to this menu: Dashboard Menu
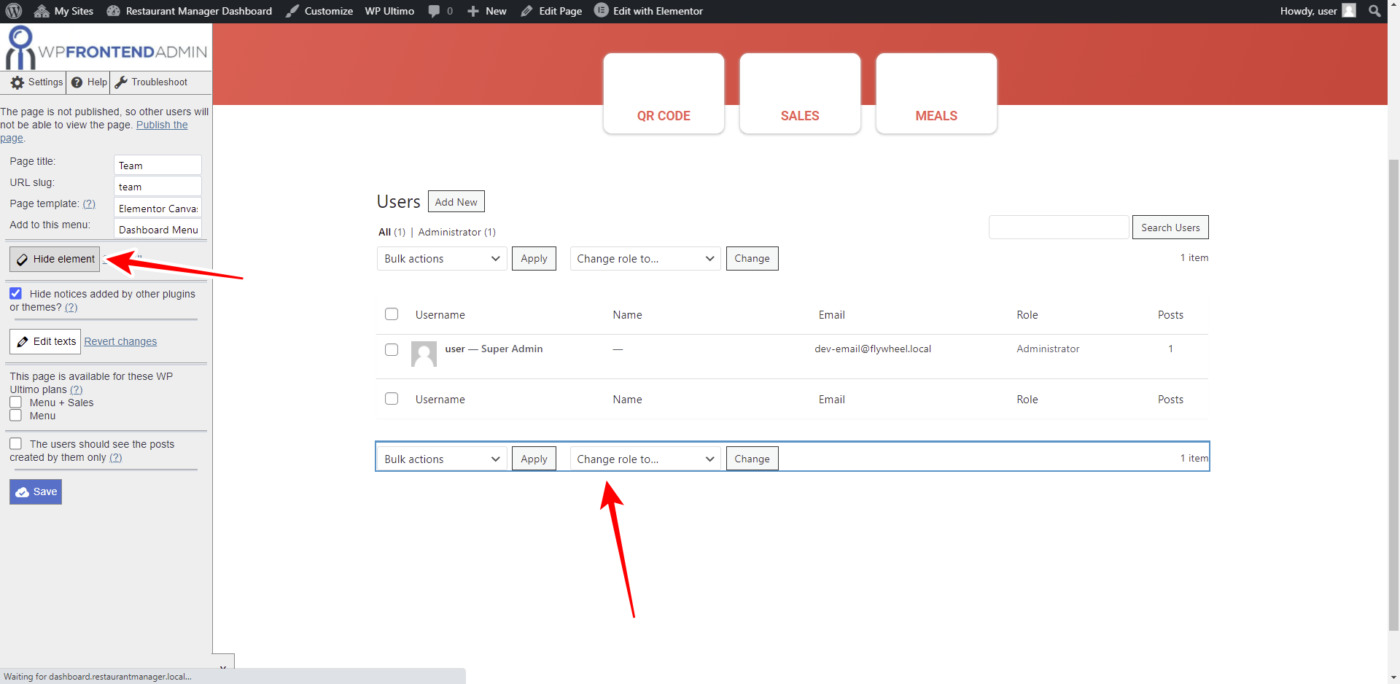
WP Frontend Admin allows you to simplify the frontend dashboard pages by hiding any unnecessary elements, fields, or metaboxes.
- Click Hide Element
- Click on the element you want to hide
- Repeat both steps for any element you want to hide.
Important – You can use this setting to hide specific, unnecessary columns. For example, your platform users won’t need to write posts, so you can hide the Posts column from his page.
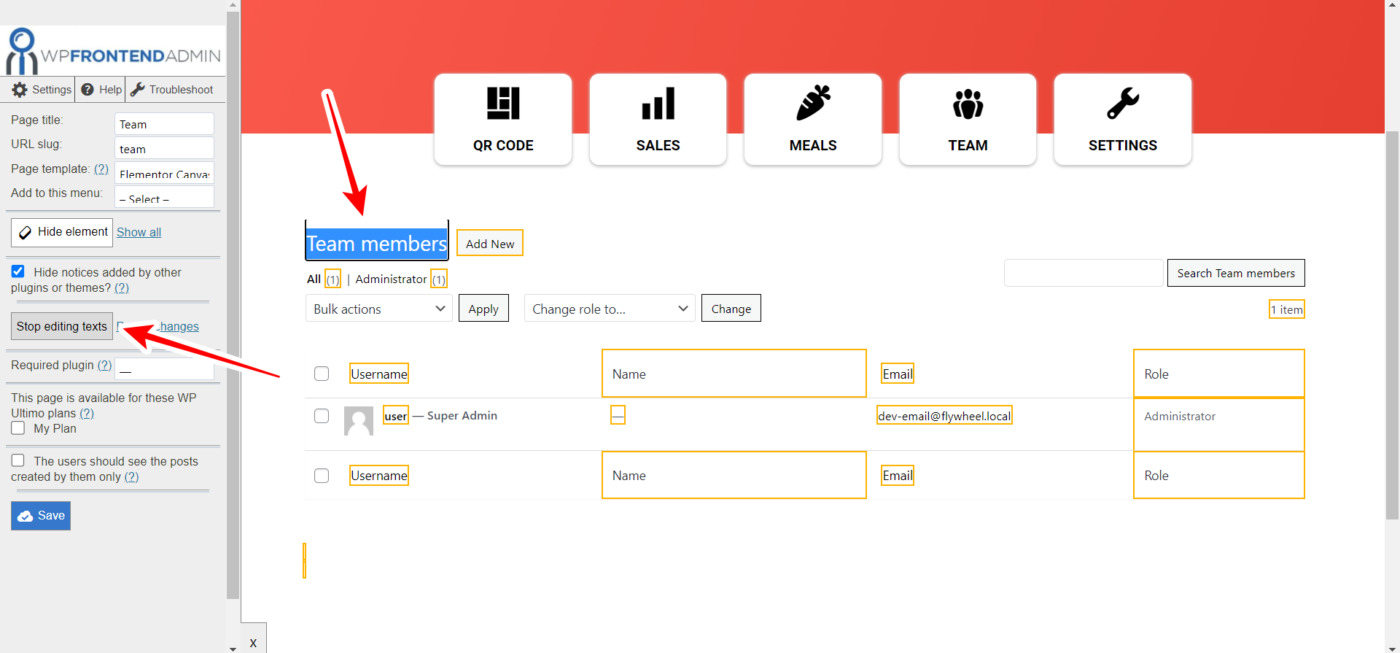
You can also edit any text on your frontend pages to make them shorter or clearer. All you have to do is:
- Click on Edit texts.
- Edit as many texts as you want.
- Click on Stop editing texts.
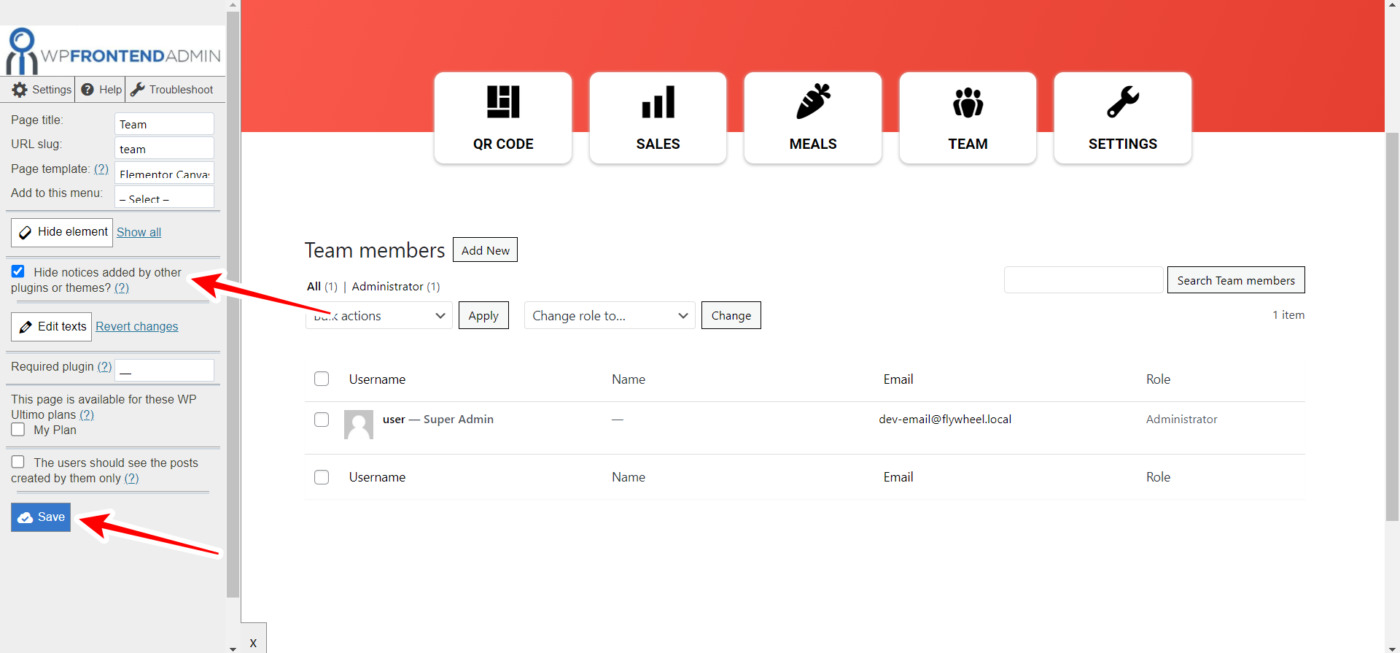
Once you’ve hidden any unnecessary elements and edited any texts, you can do the following:
- Tick the Hide notices added by other plugins or themes checkbox.
- Hit Save to apply the changes to the WordPress users list page.
Once you’ve edited the users list, you can hit the Add New button to open the create user form and hide any unnecessary elements from it or edit any text.
For example, you can hide all the fields from the Add Existing User section and keep the fields in the Add New User section. Just remember that you need to hide each element at a time.
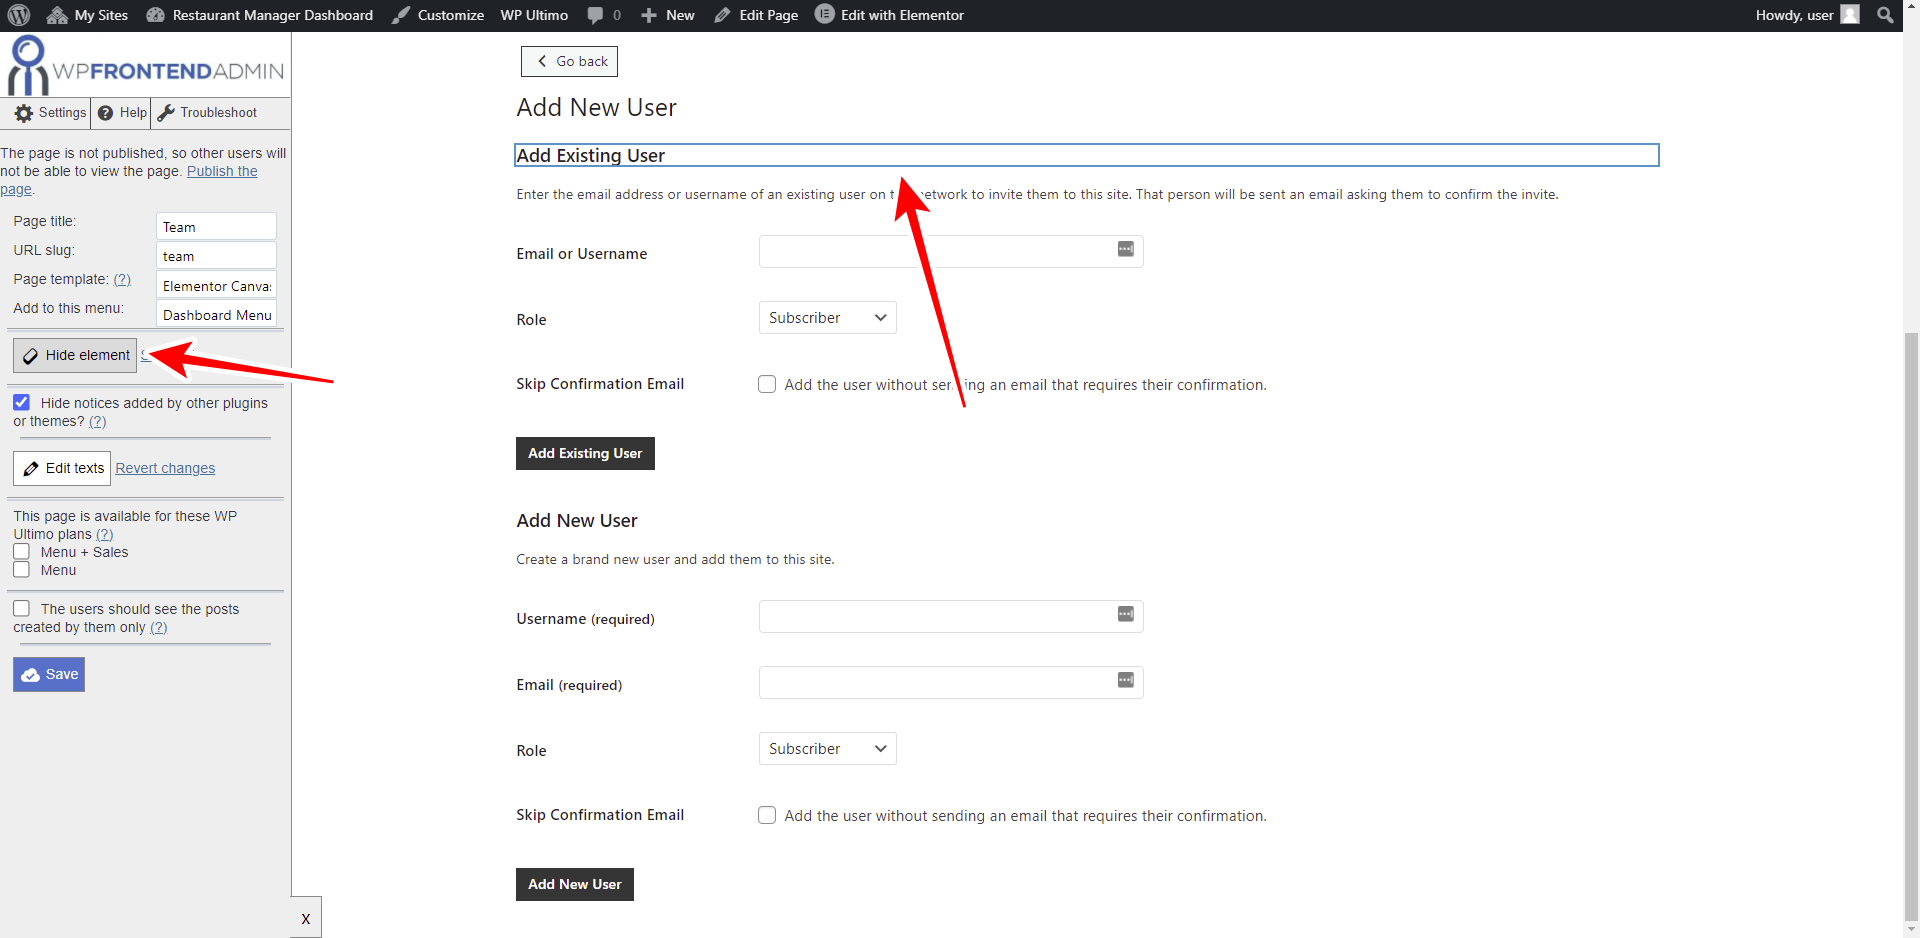
Once you’ve edited the Add User form, you can hit Save to apply the changes.

Note – You can also set up the Edit User form to remove any unnecessary fields. For example, you can remove the shipping information if you won’t have a delivery system in your restaurant.
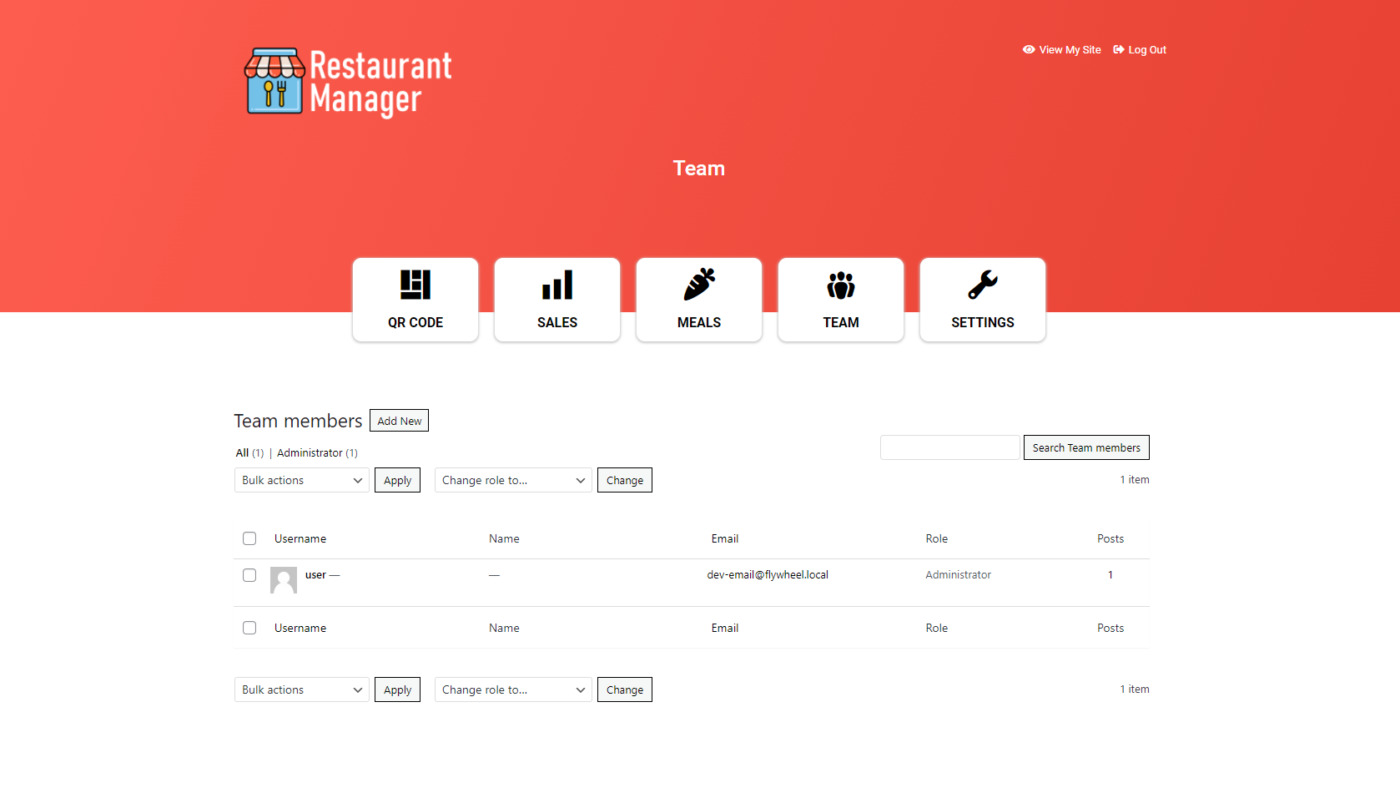
This is your frontend restaurant team page
This is the page that shows the restaurant team on the frontend dashboard:
Also, this is what your users will see when creating a new user on the frontend dashboard.

In the next lesson, we will show you how to add the “Settings” page to the frontend dashboard.