In this lesson, we will add a second page to our global frontend dashboard. We’ll call it “Sales”, and it will contain everything that has to do with orders, sales reports, discount coupons, and customers.
1- Set up the “Sales” page on the frontend
We’ll create a “Sales” page with several sections using Elementor tabs containing these wp-admin pages:
- WooCommerce orders
- WooCommerce sales reports
- WooCommmerce coupons
- WooCommerce customers
WP Ultimo 1.x
If you’re using WP Ultimo 1.x, go to Network Admin > Sites > All Sites, and open the admin panel of the frontend dashboard’s site.

WP Ultimo 2.x
If you’re using WP Ultimo 2.x, go to Network Admin > WP Ultimo > Sites, and open the admin panel of the frontend dashboard’s site.

Go to Pages > Add New.
Enter the page title, and hit Edit with Elementor.

Once you’re on the frontend dashboard site, go to Page Settings and select Elementor Canvas in Page Layout.
Import the Elementor template we’re using to build this frontend dashboard.
Hit Add template.

In the Elementor Library, go to My Templates and hit Insert on the template you’ll insert on this page.

Once you have inserted the template, right-click over the page content section and hit Delete to remove that element from the page.

Add a Tabs element to your page:
- Hit the Elements button
- Enter “tab” or “tabs” on the search form
- Once you find the Tabs element, drag it to the page content section.

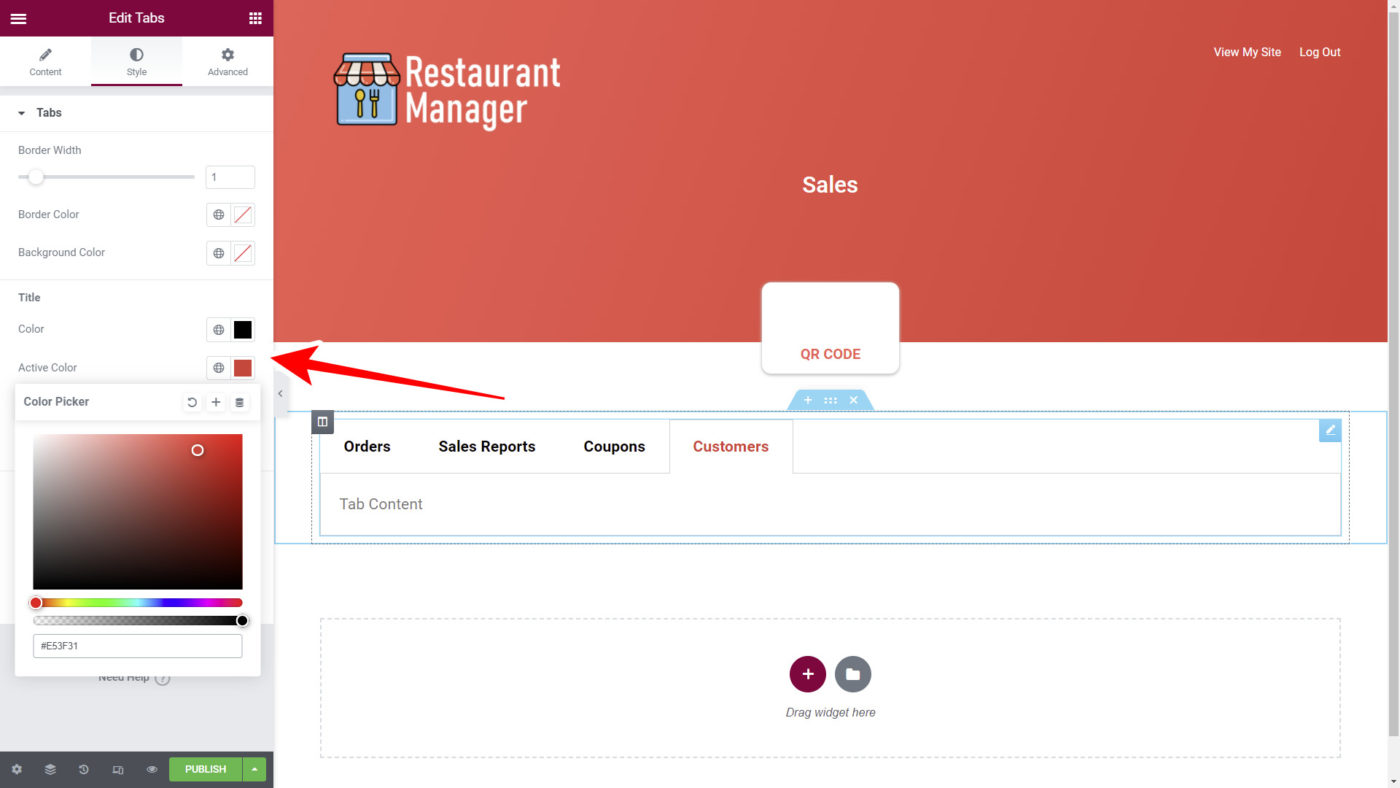
Now change the colors for the tabs to make them look similar to the template colors.
Go to Style in the Tabs element, and select these colors if you’re using the Elementor 18 template:
- Color: #000000
- Active Color: #E53F31
Note. These are suggested colors, but you can choose the colors you want for your dashboard.
You need 4 tabs, and these are the titles and content of each tab:
Orders tab:
[vg_display_admin_page page_url="edit.php?post_type=shop_order"]
Sales Reports tab:
[vg_display_admin_page page_url="admin.php?page=wc-admin&path=%2Fanalytics%2Foverview"]
Coupons tab:
[vg_display_admin_page page_url="edit.php?post_type=shop_coupon"]
Customers tab:
[vg_display_admin_page page_url="admin.php?page=wc-admin&path=/customers"]

Once you have added the titles and shortcodes, hit the Preview Changes button to see the admin content on the frontend and set up the page.

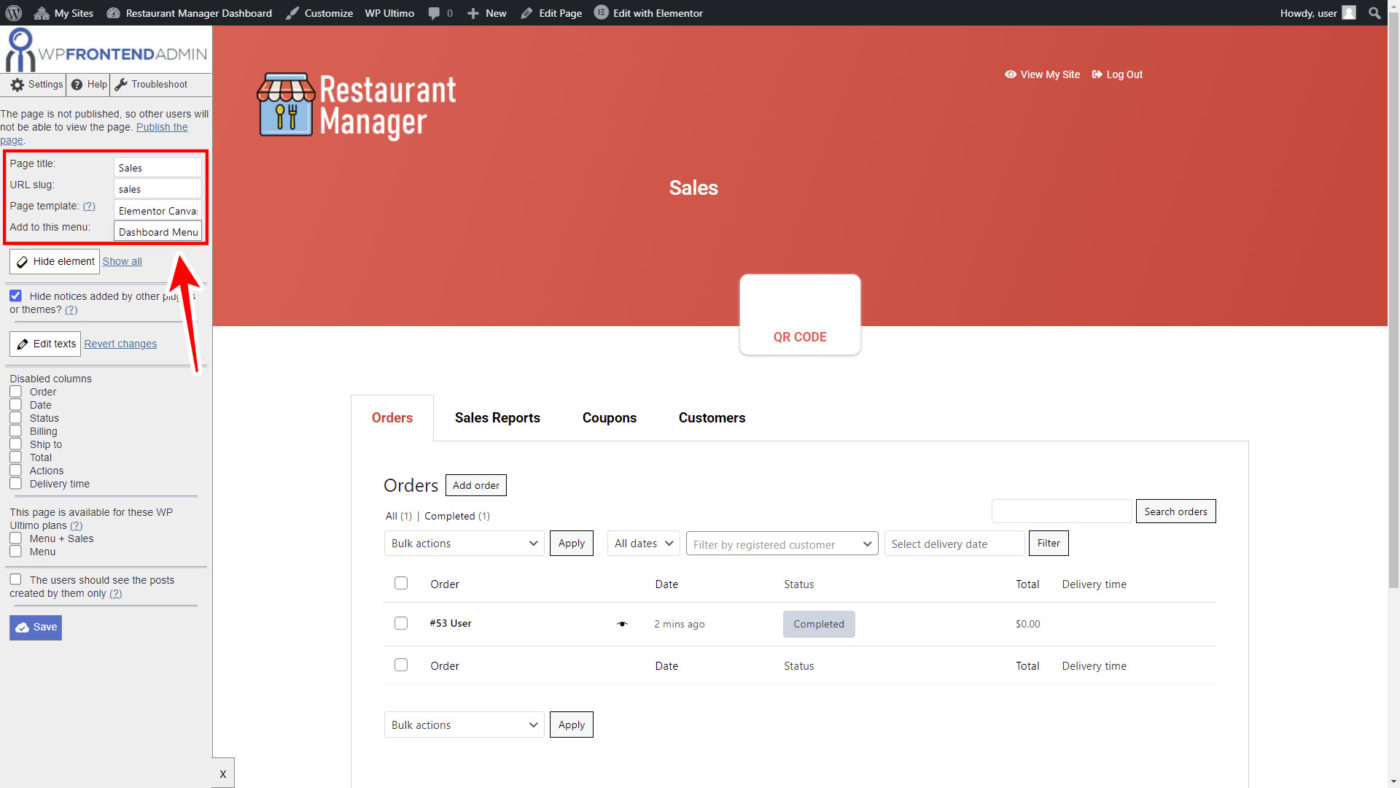
You can use the Quick Settings panel on the left side of the screen. This panel added by WP Frontend Admin allows you to set up your frontend pages.
Start by selecting the following basic information:
- Page title: Enter a short title like “Sales”.
- URL Slug: You can enter “sales” as the page’s URL slug.
- Page template: Elementor Canvas
- Add to this menu: Select the nav menu you created in previous lessons for the frontend dashboard.
After that, set up every tab to hide any unnecessary elements, edit any texts on your frontend page, etc.
First, let’s hide any unnecessary buttons, metaboxes, texts, etc.
- Click on Hide element.
- Click on the element you want to hide.
- Repeat the process for each element you will hide from the frontend page.

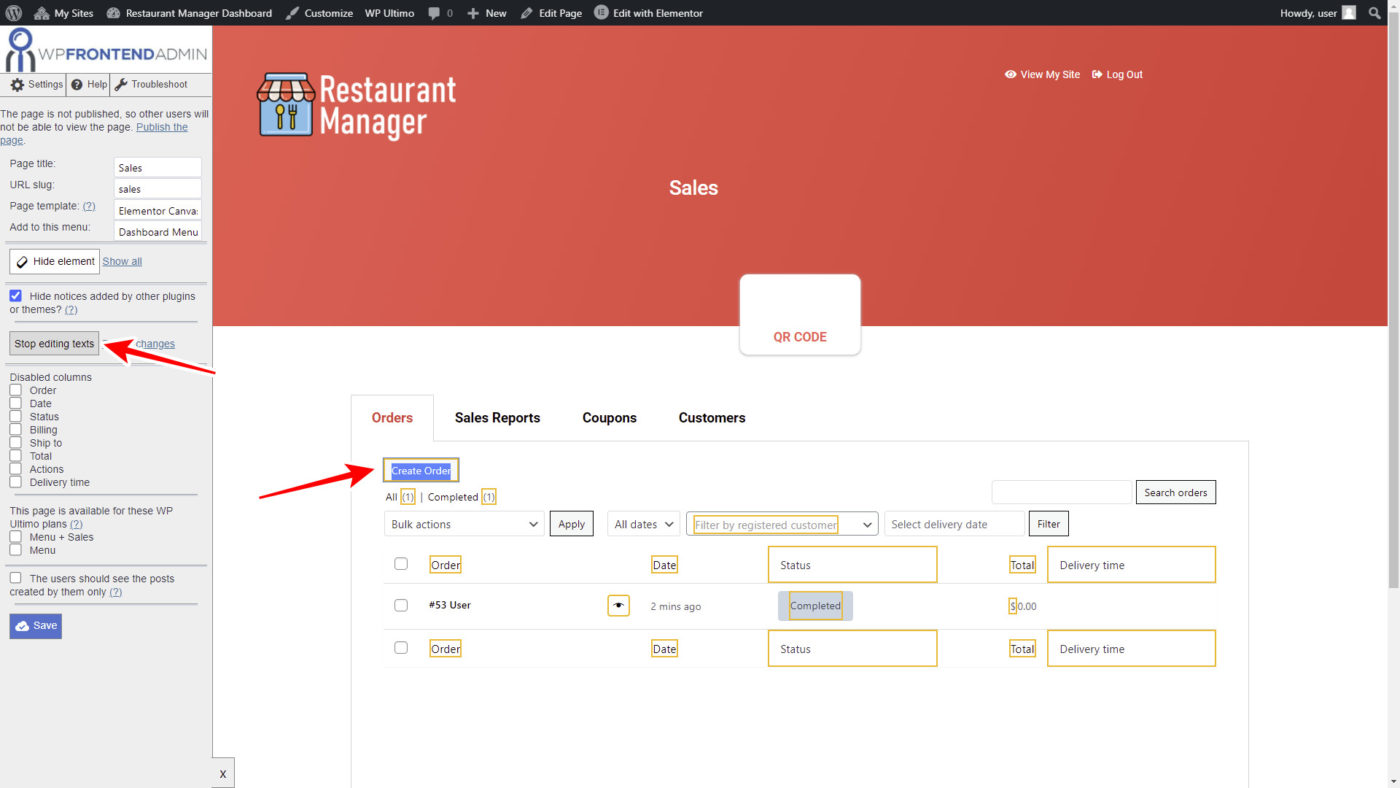
Once you’ve hidden all the unnecessary elements, you can change any texts on the Orders page:
- Hit Edit texts.
- Edit all the texts you want to change.
- Hit Stop editing texts.
Besides hiding any unnecessary elements and editing texts, you can do the following:
- Tick the Hide notices added by other plugins or themes checkbox.
- Tick any columns on the Disabled Columns section to hide them from your Orders page.
- If your platform sells more that one membership plan, you can restrict frontend dashboard pages based on the WP Ultimo plan purchased by the user. We won’t mark any plan because we’re using one plan only. The screenshot is just an example.
- Hit Save to apply the changes.

Once you’ve edited the orders page, you can set up the add/edit order form to hide any unnecessary elements or change any texts from it.
Click the Add order button to open the form and hide the following fields:
- Custom fields
- Downloadable product permissions
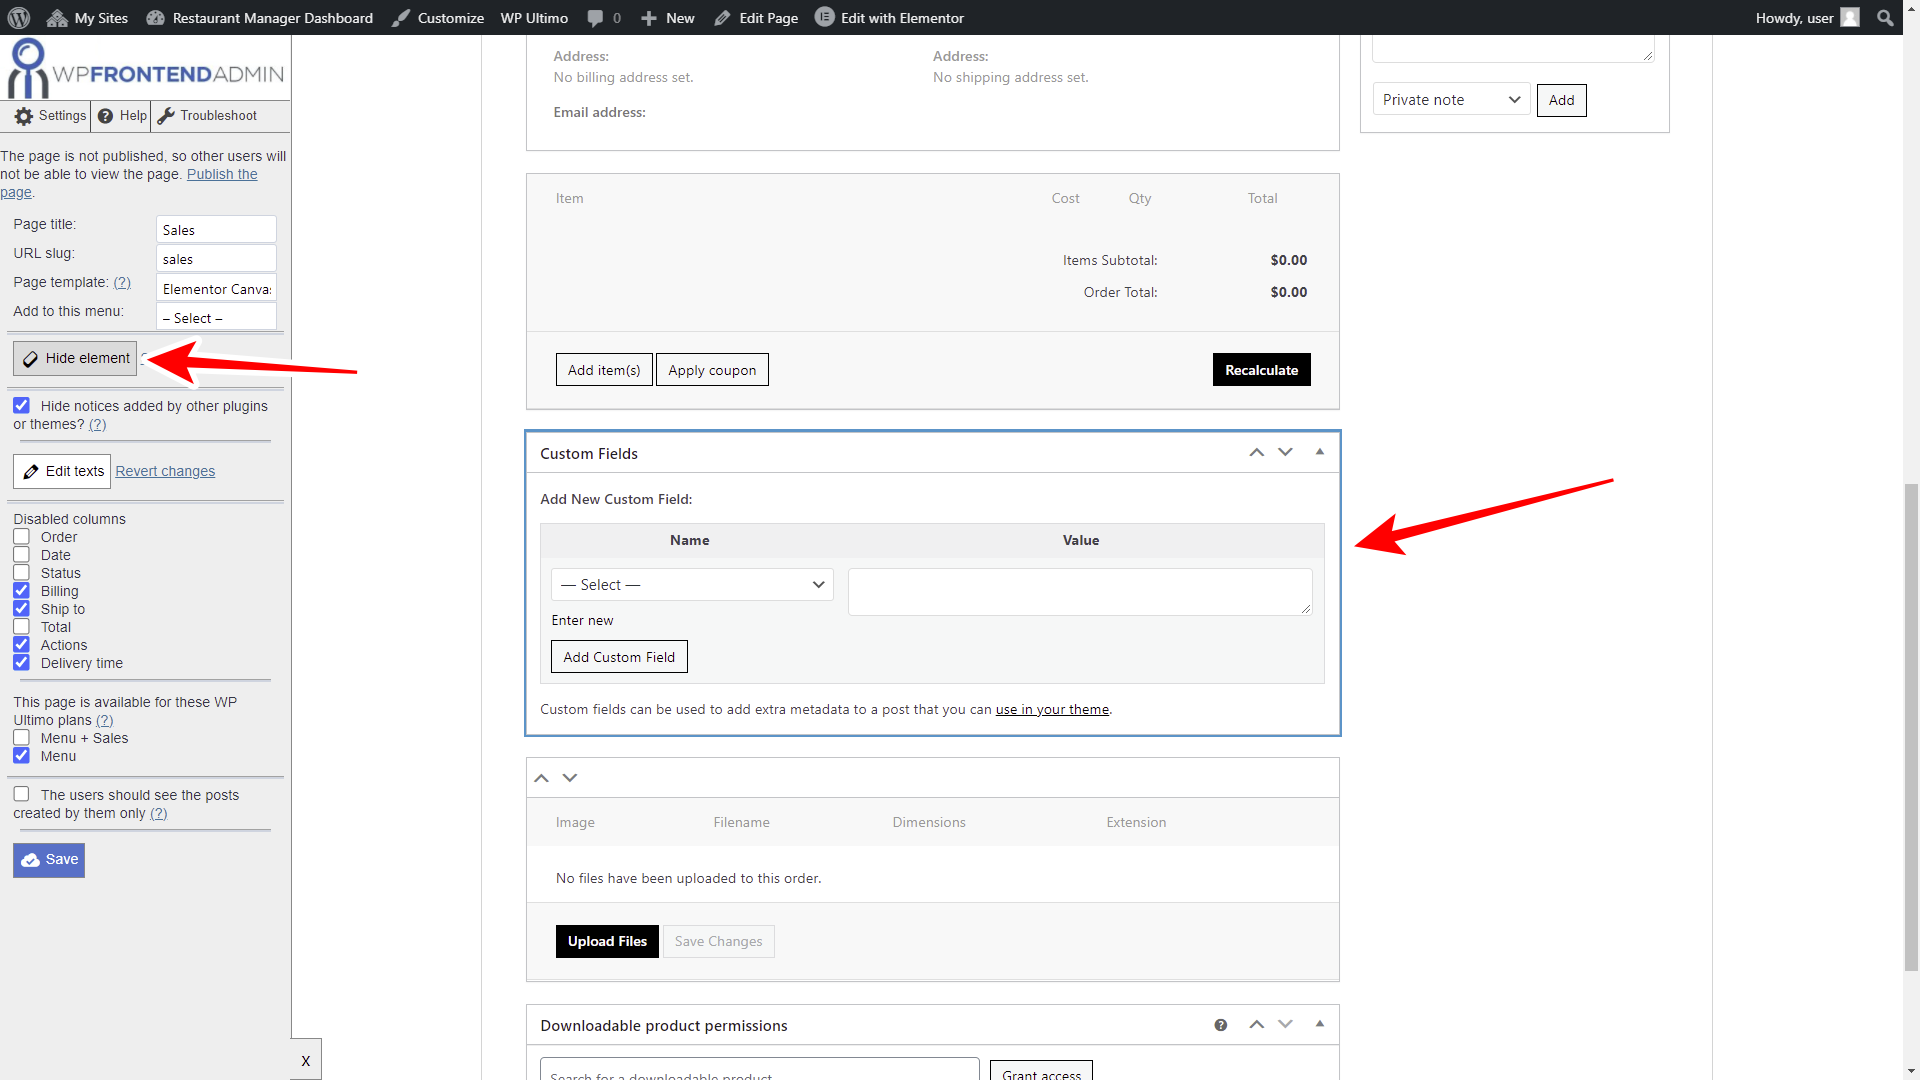
Once you have edited the add/edit order form, hit Save to apply the changes.
After that, you can continue editing the other tabs following the same steps.
This is the frontend “Sales” page
This is the restaurant’s orders page. Users will see the record of all orders that have been placed.

Note – In future sessions, we will show you how to set up an auto-refresh orders system.
When users open the details of an order, they will see the order editing form. Also, this is how they will see the order creation form when they want to create orders manually in the frontend dashboard.

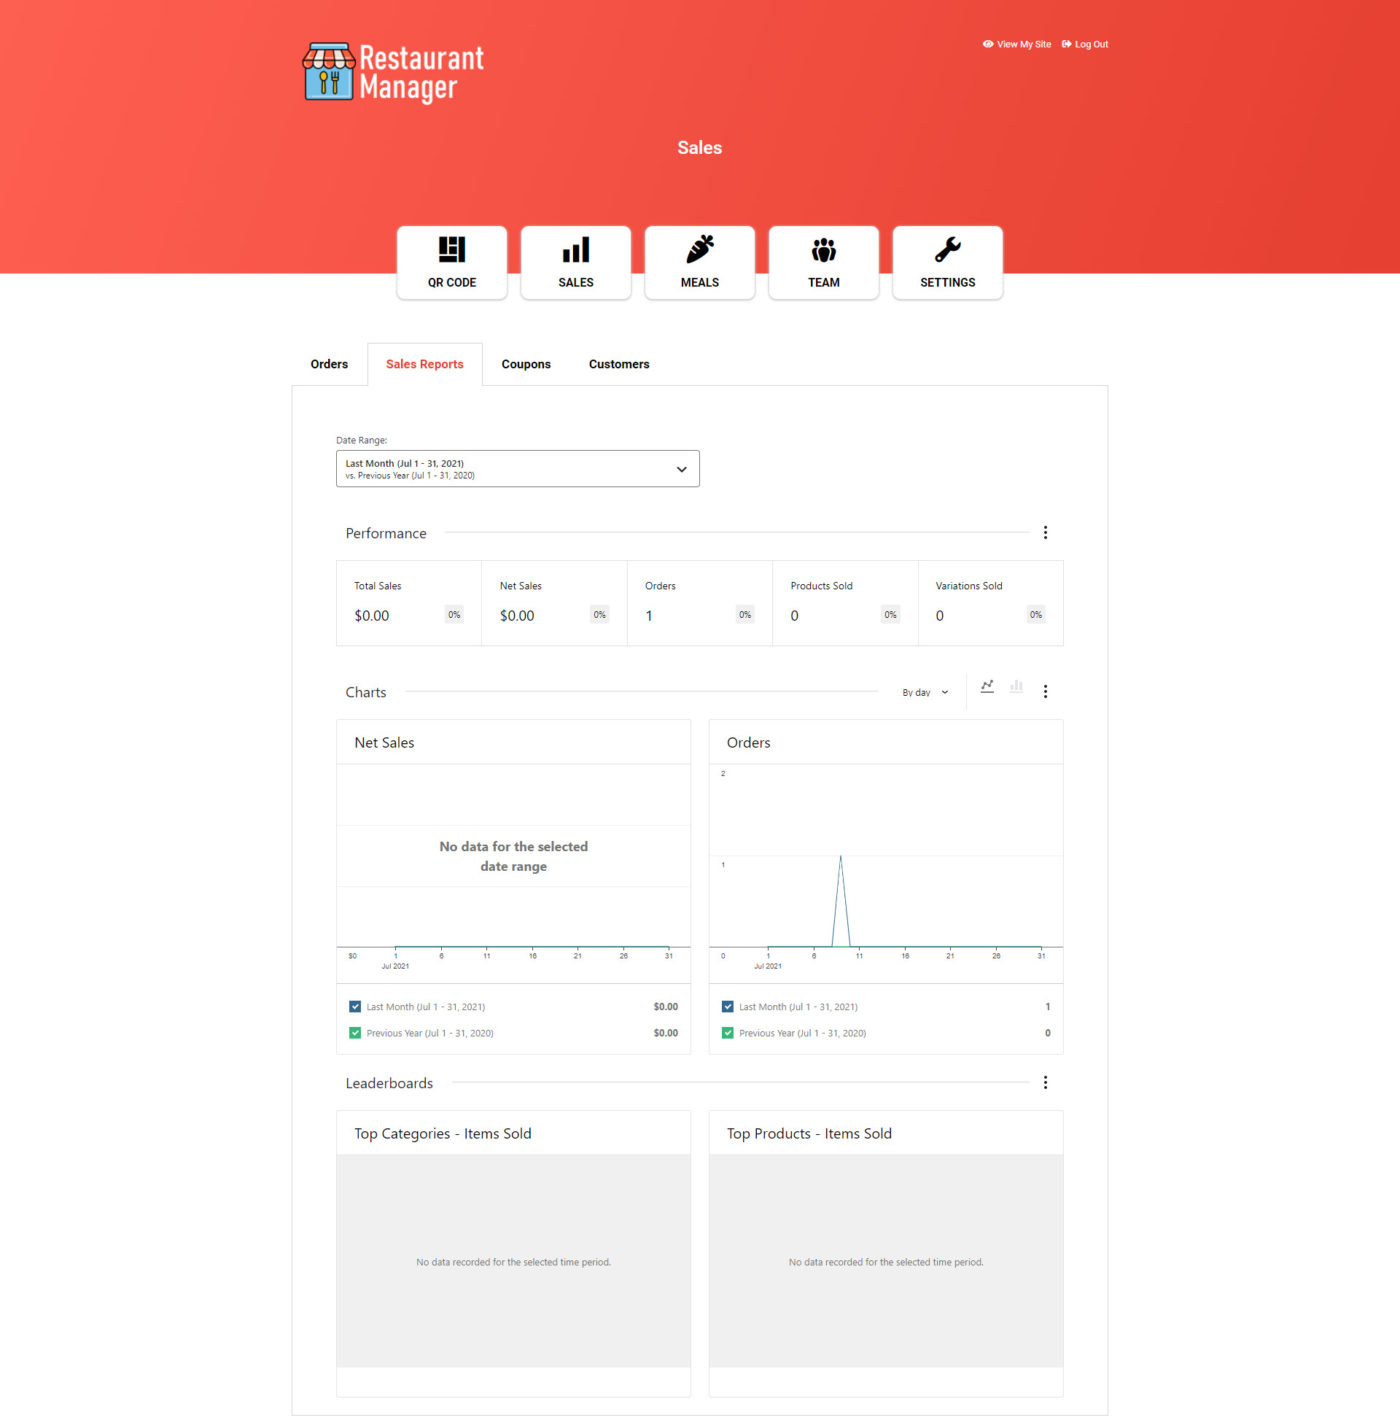
This is the WooCommerce sales reports page, where restaurant administrators will be able to see details of sales made in the restaurant. They will have access to graphs showing sales by month, week, etc.
If your platform users want to create discount codes to increase sales and give a discount to their customers, they will be able to do it easily using the frontend coupons page. Here is the WooCommerce coupons page on the frontend.

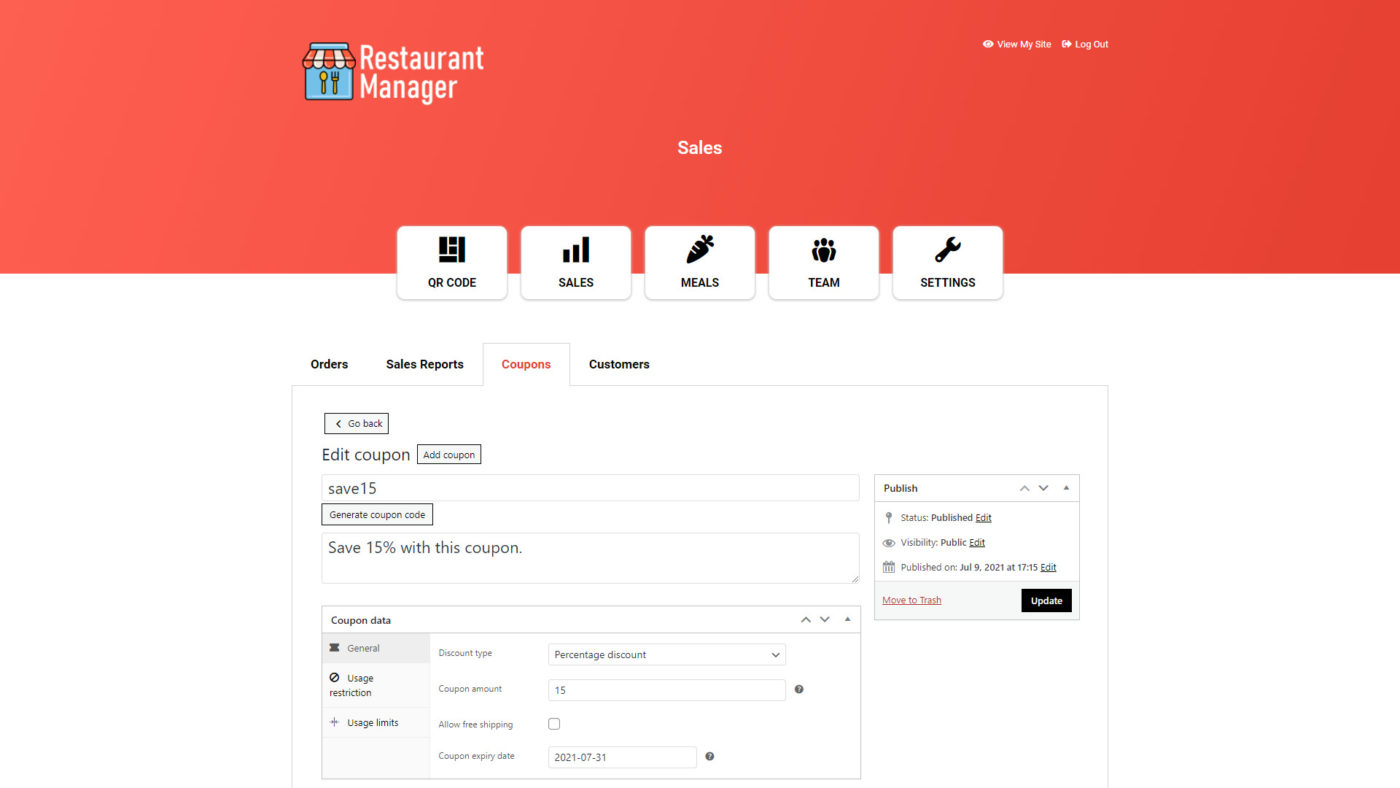
When users create or edit a coupon, this is how the create/edit coupon form will look in the frontend.
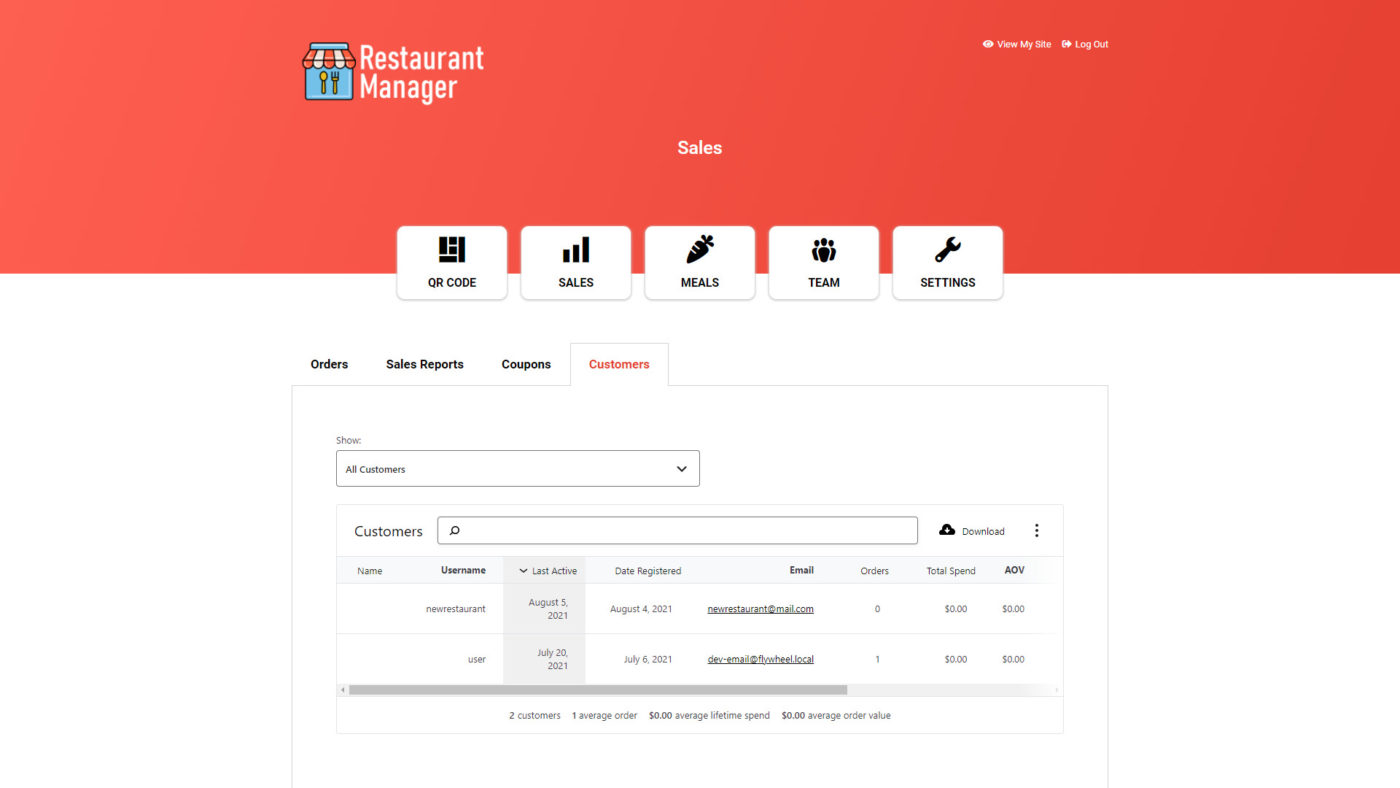
This is the page that shows the list of customers of the restaurant. Restaurant administrators will have access to all this information easily from the frontend, without having to use the normal WordPress dashboard.
In the next lesson, we will show you how to add the page where users will be able to create meals to sell in the restaurant and how to integrate that page to the frontend dashboard we are creating.