In this lesson, we’ll show you how to set up the frontend dashboard appearance settings.
We will create a beautiful frontend dashboard using the Elementor page builder. Therefore, our users won’t use the normal wp-admin dashboard to manage their sites. Instead, users will access a user interface that you can design as you prefer.
This is what our frontend dashboard will look like:

You can click here to view more frontend dashboard designs.
Let’s first set up the WP Frontend Admin global appearance settings, and then we’ll set up the frontend dashboard Elementor template.
1- Set up the global appearance settings in WP Frontend Admin
Go to Network Admin > Frontend Admin > Settings > Appearance.
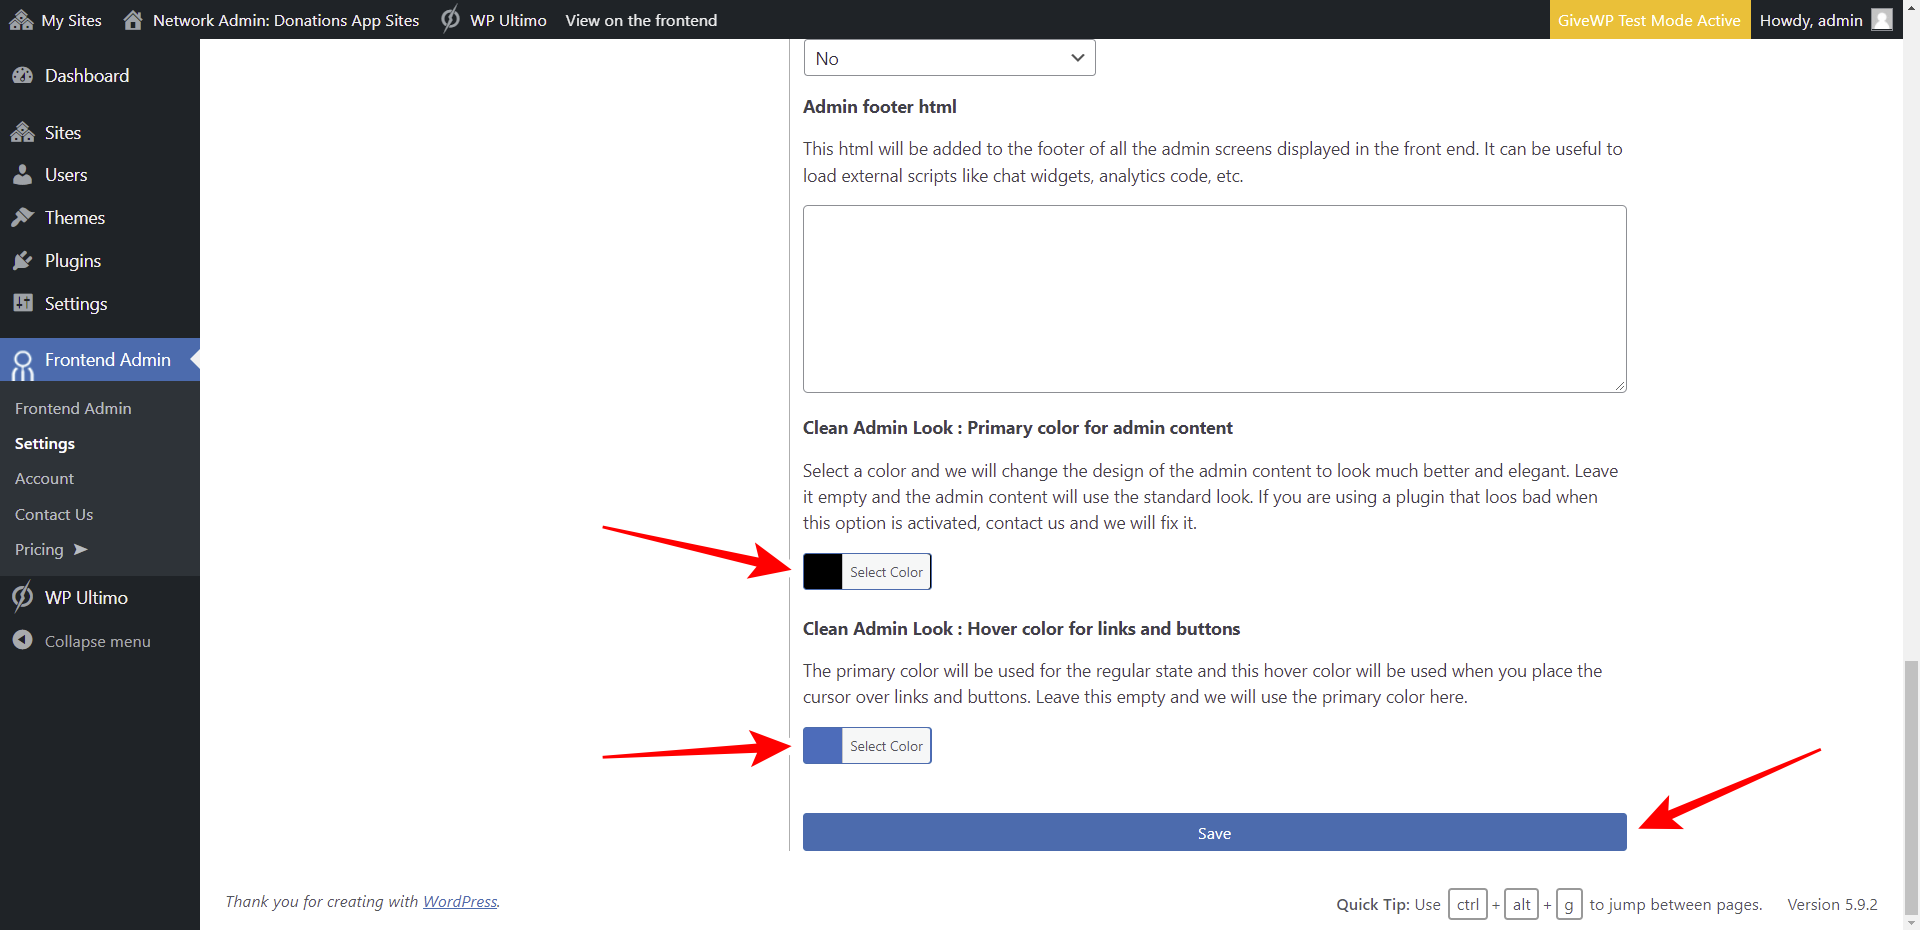
On this page, you can select the loading animation style and color for frontend pages. You can also enter some admin CSS and Java tweaks, and set up a clean admin color for the frontend pages.
Here are the values we suggest for the global appearance settings:
Hide admin bar on the frontend: Yes. This option will hide the wp-admin top bar when users manage their donations from the frontend dashboard.

Loading animation style: Select the one you want. We’ll use Bounce.

Loading animation color: Choose the color you want. We’ll select Black.

Clean Admin Look: primary color for admin content: Choose the color you want. We’ll select Black.
Clean admin look: Hover color for links and buttons: Select the color you want.
Click on Save to apply the changes.
2- Open the frontend dashboard site
Go to Network Admin > WP Ultimo > Sites.
On the frontend dashboard site, click Manage.

Now click on Dashboard to open the wp-admin panel of your frontend dashboard site.

3- Create a new navigation menu on the frontend dashboard site
Some of our templates require some elements to be configured in advance. For example, the dashboard’s navigation menu needs to be created in advance for the template to recognize that there are navigation menus from which you can select in Elementor.
Start by creating a new navigation menu to which the dashboard pages will be added as they are created:
- Go to Appearance > Menus.
- Enter the Menu Name.
- Click on Create Menu.

After downloading the template, follow these steps to import and set up the frontend dashboard template.
Step 1 – Go to Templates and hit Import templates.

Step 2 – Choose the template from your computer and hit Import Now.

Step 3 – Hit Edit with Elementor to open the template with the Elementor Editor.

Step 4 – Once the template opens with Elementor, select the dashboard logo by uploading your logo image. Important. You need to use the Elementor Canvas layout.
![]()
![]()
Step 5 – Open the “Menu” element’s settings and choose the menu you created above.
Step 6 – Hit Update to save the changes on this template.

Now that you have set up the basics of the global appearance and the template you will use to create your dashboard, you are ready to just import the template into each dashboard page you will create.