In this lesson, we’ll show you how to set up the navigation menu of your frontend dashboard. This will make your donation platform’s frontend dashboard look beautiful, since we’ll add beautiful icons to every menu item.
1- Open the frontend dashboard site
First, we need to open the frontend dashboard site.
Go to Network Admin > WP Ultimo > Sites.
Click on Manage on the frontend dashboard site.

Click on Dashboard to open the wp-admin panel of the frontend dashboard site.

2- Sort the menu items
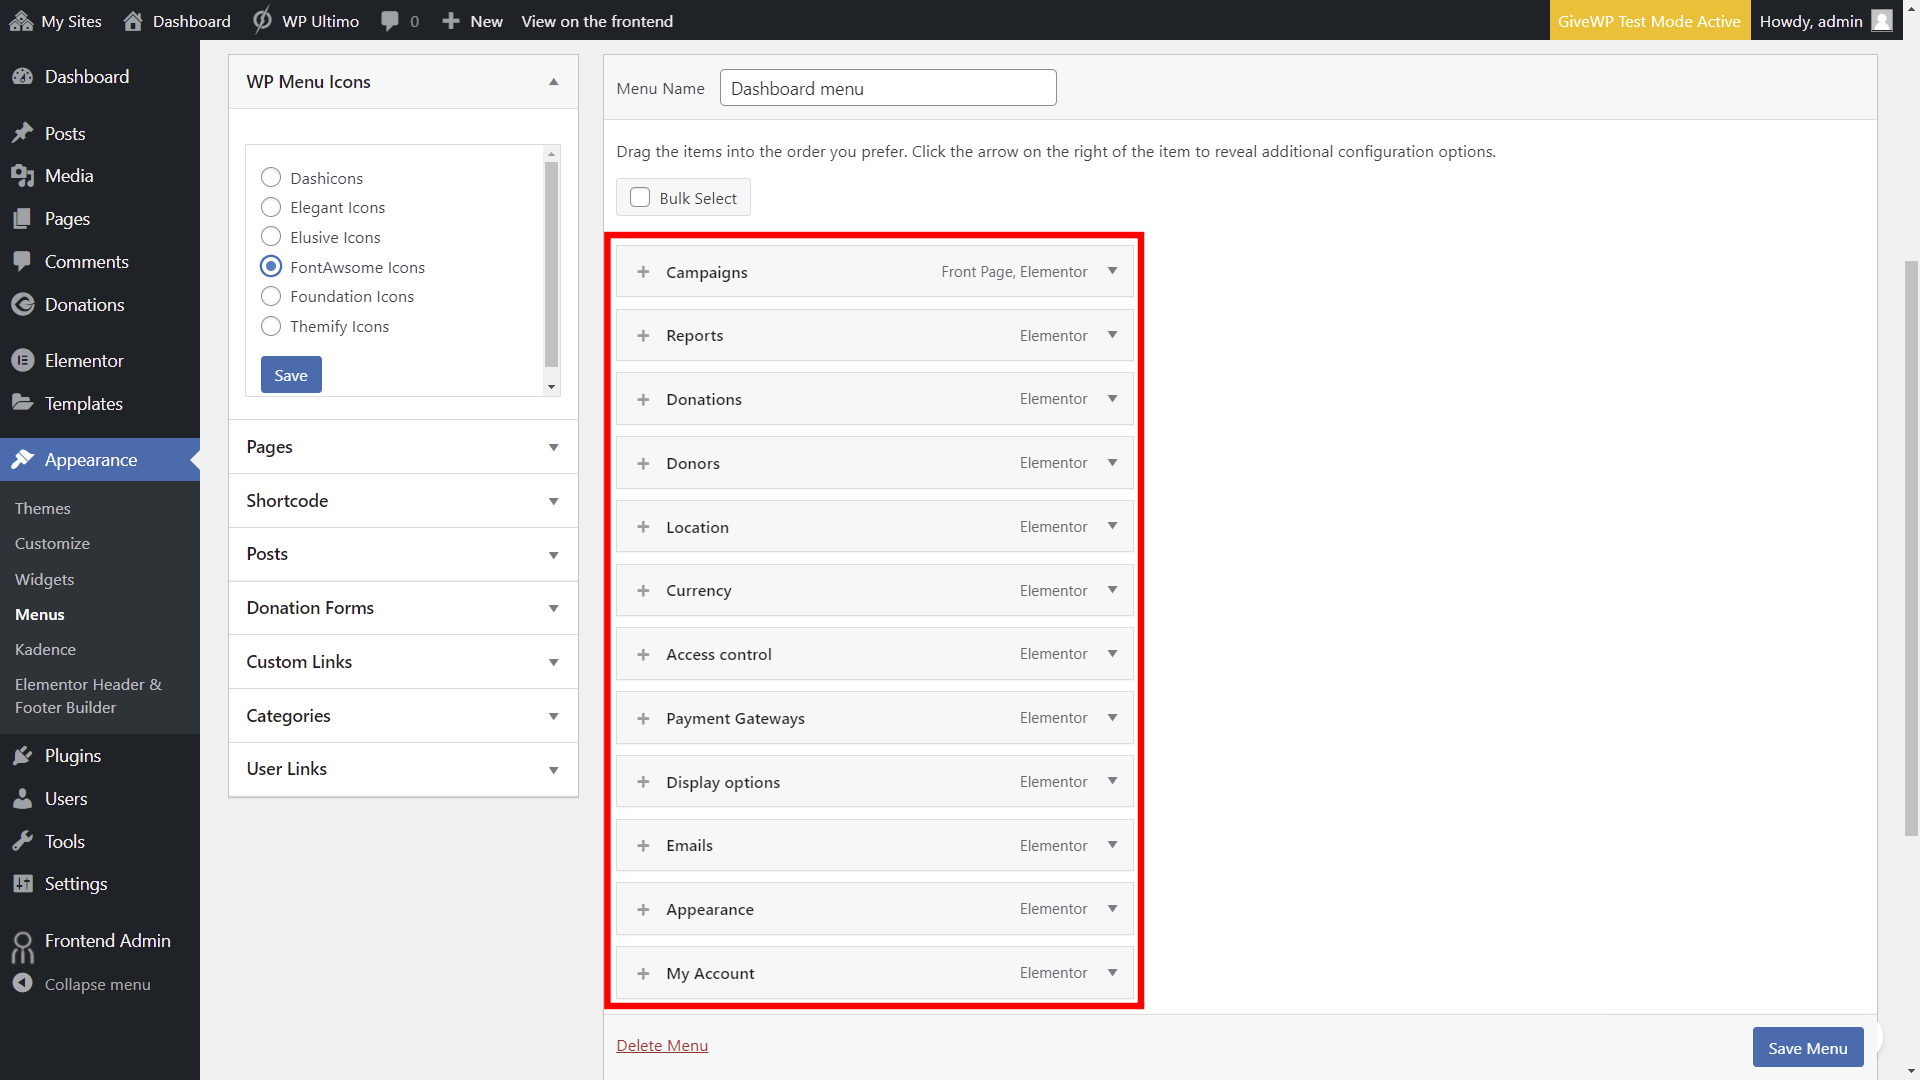
After opening the frontend dashboard site, go to Appearance > Menus.
Since we’ve added the pages to this menu as we’ve been creating them, you’ll see all the pages of the frontend dashboard added to the menu.
Now you need to organize the pages in the menu so that your users’ navigation and experience is logical and easy to remember. This will give your users a good user experience.
Here’s the order we suggest:
- Campaigns (forms)
- Reports
- Donations
- Donors
- Location
- Currency
- Access control
- Payment gateways
- Display options
- Emails
- Appearance
- My account
We need to add an empty item that will serve as a parent item of all the settings pages.
- Go to Custom Links.
- URL: #
- Link Text: Settings
- Click on Add to Menu.

Now we’ll move the Settings item below the Donors item and set the following items as sub items of the Settings item:
- Location
- Currency
- Access control
- Payment gateways
- Display options
- Emails
- Appearance

3- Add icons to the menu items
After sorting the pages in the menu, you can select the icon pack you will use. These icon packs come with the WP Menu Icons plugin, which we installed in the first lessons of the course.

Now you need to add icons to every menu item.
Click on the “+” button on each menu item.

Select the icon you want to use for the selected menu icon, and click on Save.

Note – You can use the following icons to configure the menu icons even more:
- Hide Label
- Position
- Vertical Align
- Size
- Color
We’ll use the default values for these fields.
Once you’re done setting up the frontend dashboard’s navigation menu, you need to click on Save Menu.

This is what the menu will look once the dashboard is finished:

In the next lesson, we’ll show you how to create a template site that will be cloned to every site created on your network. This way, new users won’t have to create a new site from scratch.