In this tutorial, you will learn how to create a frontend media library. You will allow users to upload media library files from the frontend of your WordPress website.
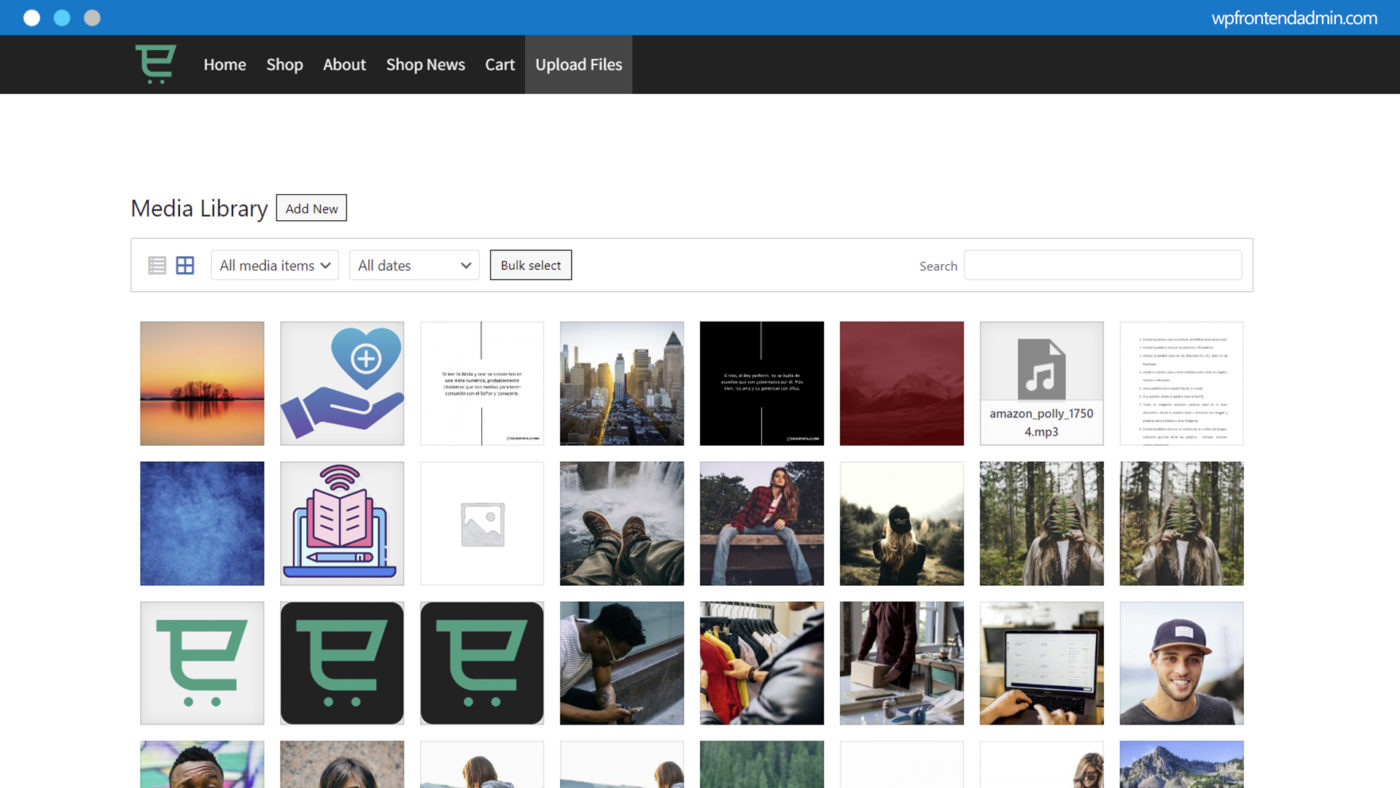
This is what your frontend media library will look like once finished:
This is what you need to build a front end media library
First, you need a WordPress site, for certain.
Second, you need the WP Frontend Admin plugin. It allows you to display any wp-admin page on the frontend of your WordPress website. You can build frontend dashboards and web apps based on WordPress plugins.
Displaying the Media Library page on the frontend can be useful if you want your users to upload files to your site, without having to use the rest of the wp-admin panel. Optionally, it can be really useful if you’re creating a frontend dashboard for clients.
You can try the premium plugin on your website for free for 7 days.
After installing and activating WP Frontend Admin, follow these steps to display the media library page on the frontend.
1- Open the Upload New Media page in wp-admin
Go to Media > Add New to open the Upload New Media page in wp-admin.

2- Display the Upload New Media page on the frontend
To display the Upload New Media page on the frontend, you need to click on View on the frontend.

3- Set up the page’s basic information
You can use the Quick Settings panel to set up the page’s basic information.
Start by selecting these values:
- Page title
- URL slug
- Page template
- Navigation Menu

4- Hide any unnecessary elements from the page
You can use the Hide element button to remove any texts and fields from this frontend media library page. For example, we will remove the “Try the browser uploader instead” text from this page.
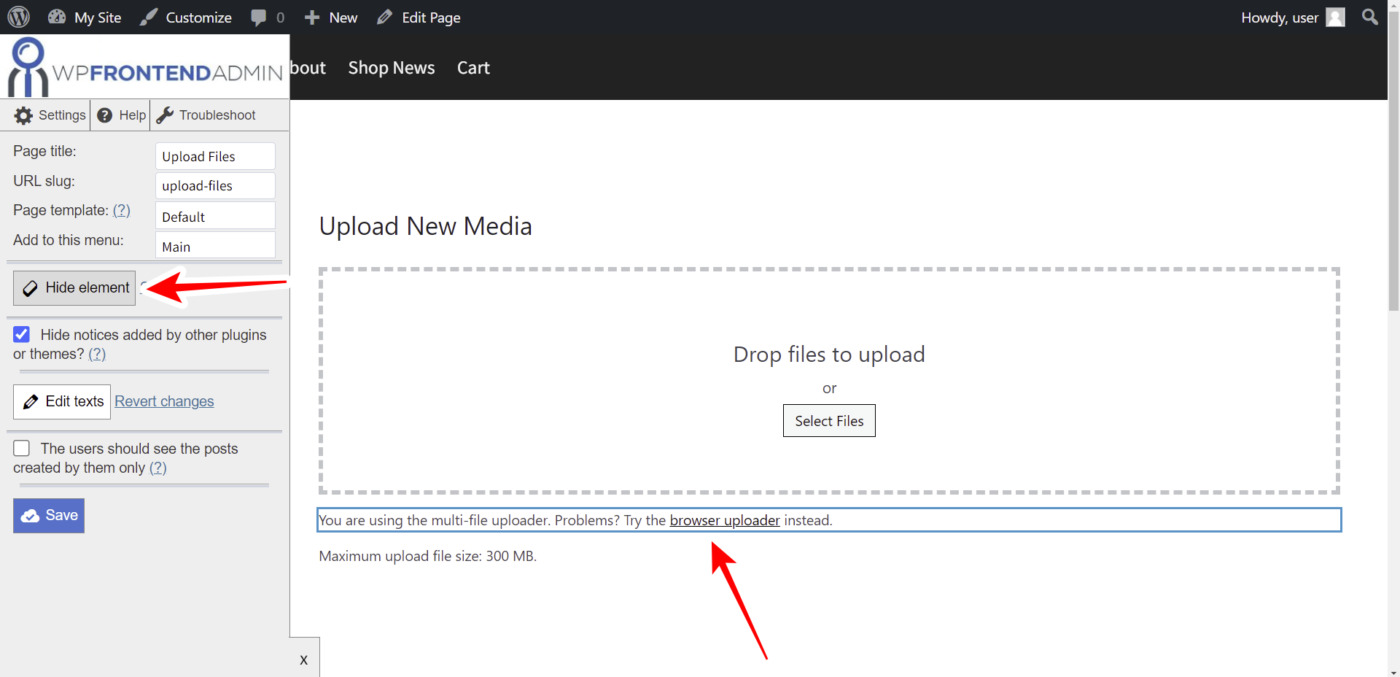
5- Edit texts on this frontend page
You can change any texts on your frontend pages. In this case, we will change the page heading from “Upload New Media” to “Upload Files”.
We just need to click on Edit texts, change the texts we want to modify, and click on Stop editing texts.

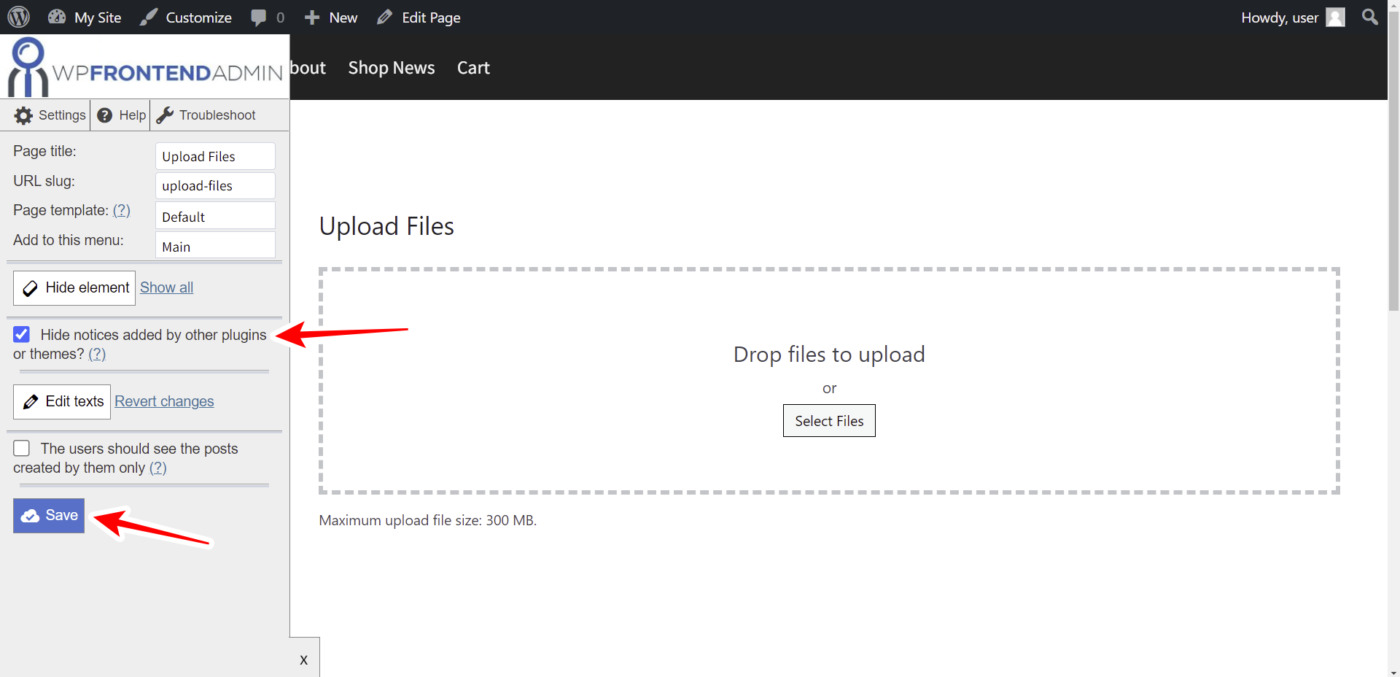
6- Save the changes and publish the page
You can click the Hide notices added by other plugins or themes checkbox to prevent plugins or themes from displaying admin notices on this front end media library page.
Once you have applied all the changes, you can click on Save to apply the changes.
7- Allow users to upload files on the frontend
It’s important to mention that, for users to be able to upload media library files on the front end, they need to have any of these roles:
- administrator
- editor
- author
- any other user role with the “upload_files” capability
If you want to assign the “upload_files” capability to any user role, you can do it using the User Role Editor plugin. You can read a guide here.
This is what the Upload Files page will look like on the frontend. Users will be able to drop files to upload or select the files from their computer.

Here’s what the Media Library page will look like on the frontend:

And when users want to view the details of a specific media library file, this is what the page will look like:

With WP Frontend Admin, you can create beautiful frontend dashboards for clients. You can also build web apps based on any WordPress plugin. The best part is that you can combine it with any WordPress theme or any page builder for WordPress.
You can try the premium plugin on your website for free for 7 days.