IMPORTANT
The WildCloud platform is no longer available. This page remains published for historical purposes only.
Welcome to the second lesson of our free course “How to Create a Multitenant eCommerce Platform using Wildcloud”. In this lesson, we are going to install all the necessary plugins to build our WaaS ecommerce platform.
List of required plugins to build an ecommerce Platform on Wildcloud
These are the required plugins to build your Wildcloud ecommerce platform.
- WP Frontend Admin (Premium): This plugin allows you to create a global front-end dashboard from which your customers can manage their own sites (more on that in lesson 4 of this course). Instead of using the normal WordPress dashboard, you will be able to create a fully customized user interface that displays wp-admin pages on the front-end. This plugin is fully compatible with the multitenancy system used by Wildcloud.
You can try the premium plugin on your website for free for 7 days.
- WaaS Client (Download): This plugin allows you to select tenants/sites as client sites and assign them a specific tenant role (more about tenant roles in the next lesson).
- WooCommerce (Download): This plugin will allow your customers to build online stores. They will be able to create products, set up payment methods, view and manage orders, discount coupons, etc.
- Elementor (Download): Elementor is a page builder for WordPress. We have developed some front-end dashboard templates based on Elementor, which you can easily import to create your front-end dashboard easily.
- Elementor Header & Footer Builder (Download): Our front-end dashboard templates use some elements like navigation menus, so this plugin is required if you’re using our dashboard templates.
- JetSticky For Elementor (Download): This plugin allows our front-end dashboard templates to have sticky navigation menus.
- Menu Icons by ThemeIsle (Download) or WP Menu Icons (Download): These plugins allow us to add beautiful icons to front-end dashboard templates automatically.
- Shortcode in Menus (Download): With this plugin, we can add shortcodes to navigation menus.
The following two plugins are optional, but useful:
- User Menus (Download): This plugin allows you to add items with conditional visibility to your navigation menus. You can add menu links that are only visible to logged-in/logged-out users.
- User Role Editor (Download): This plugin allows you to edit the capabilities of your user roles or create new user roles. This is useful when you want to add more permissions to the existing user roles, to access specific admin pages from the frontend dashboard.
Recommendation: Install your favorite WordPress themes
As you may have noticed, the default WordPress themes do not allow many customization options (site logo, navigation menus, different appearance styles, etc.).
Therefore, it is important that you install your favorite theme, which you will use primarily to design the site templates and secondarily to set a logo for the frontend dashboard site.
In this course, we will use the Kadence theme, but you can use your favorite theme.
Where to install the plugins
Since the Wildcloud ecosystem uses versions as the codebase of your entire application, the plugins must be installed on the version of the WaaS application we created in the previous lesson (not the storefront application).
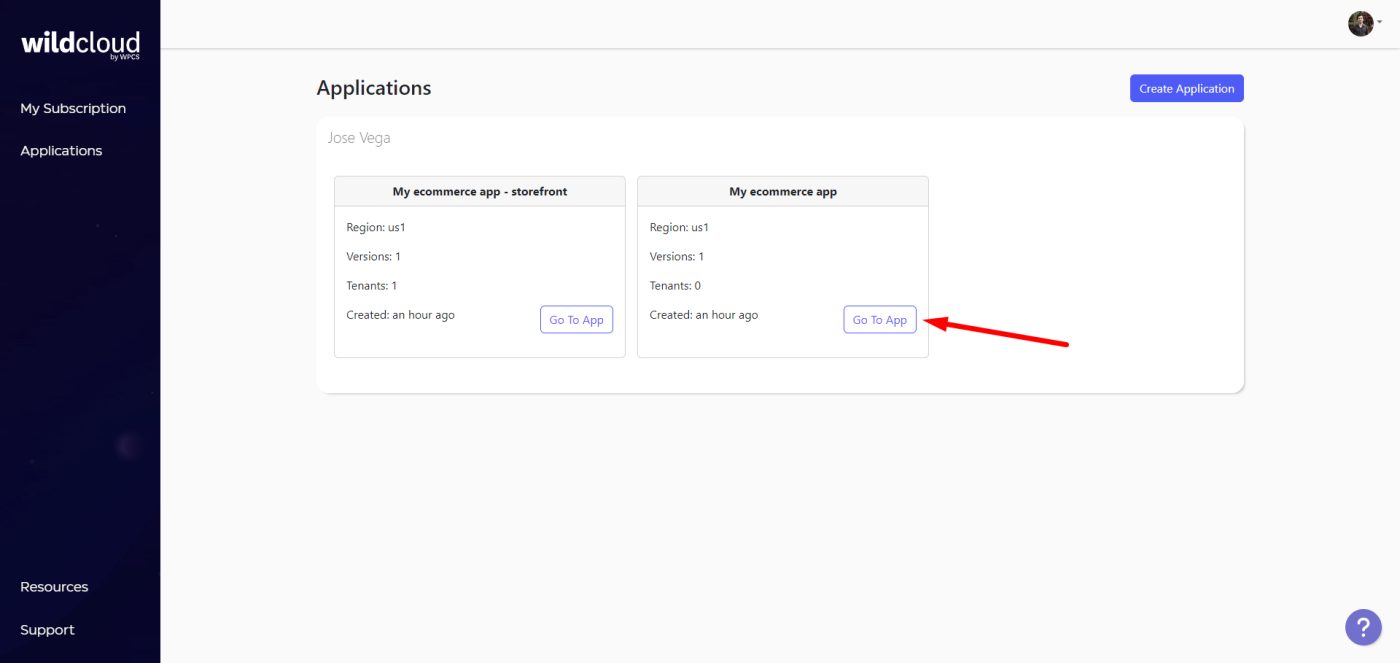
This is what you will see when you log in to your Wildcloud account.
We must open the empty application we created in the previous lesson.
Click Go To App.
Open the Production version’s dashboard by clicking on Editor.
That will take you to the version’s wp-admin dashboard, where you need to install the plugins.
You can install the plugins by uploading the zip files or install them from the WordPress repository.
Optionally, you can use the Template Wizard (Frontend Admin > Template Wizard) to install the plugins required to import front-end dashboard templates.
In the next lesson, we will see how to create a tenant role and deploy the version.


