Creating a new site
We need to start creating our template site by creating a new site.
Just follow these steps:
Step 1 – Log in to your Wildcloud account.
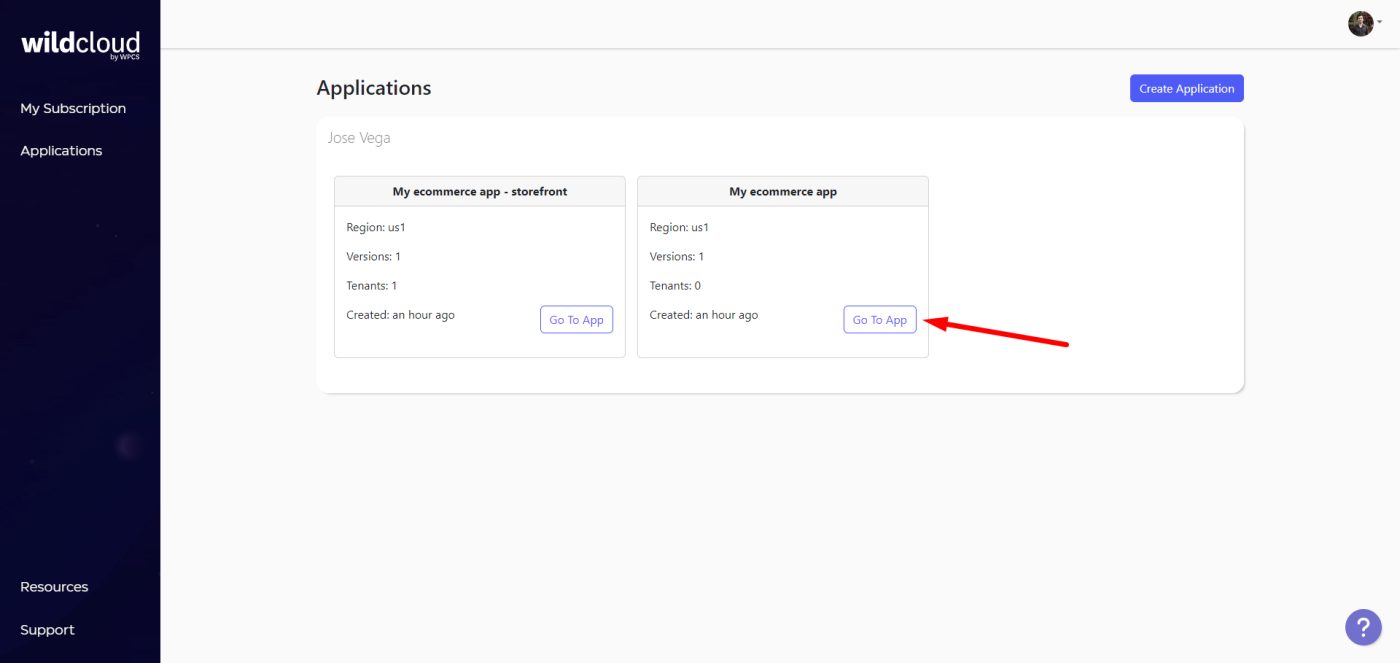
Step 2 – Open your ecommerce application by clicking on Go To App, not the storefront application.
Step 3 – On the Tenants section, click on Add tenant.

Step 4 – Add the site Name and click on Submit.
You can add the name you want, and you’ll see that the name will be added as a prefix to the domain name.

Once the site is ready, you’ll see it in the tenants/sites list.
Step 5 – Click on the site Name to view more details.

Optional – If you want to add a custom domain to this site, just follow the instructions in the Domains tab. Then just select the new domain as Main Domain. However, we will use the default domain in this example.

Add a tenant role to your site template
The first thing we are going to do is to add a tenant role to our site template.
This is necessary because tenant roles allow us to define the features that the site will have.
We must assign the tenant role that we will sell with the subscription product or membership plan.
To do this, follow these steps:
Step 1 – Click on Login as [your username].

When you open the wp-admin dashboard of the site template, you’ll see a notice telling you that you need to add a PHP constant to assign the tenant role to this site.

Step 2 – Go to your site/tenant details and click on the PHP Constants tab.
Step 3 – Click on Add PHP Constant.

Step 4 – Add this on the Name field:
WPCS_TENANT_ROLES
Step 5 – Add the tenant role’s slug in the Value field.
Step 6 – Click on Submit.

After that, you can reload the page in wp-admin, and you’ll see the notice won’t display anymore.
Set up the site template
Now you can proceed to design the site as you prefer.
Here we will only give you some recommendations of what you should do, but keep in mind that this is a regular WordPress site and you have total freedom to configure any theme, pages, etc that you want.
1- Make sure this is a client site
If you check the WP Frontend Admin settings on this site (Frontend Admin > Settings), you will see that WP Frontend Admin has automatically detected this site as a client tenant/site.

This will happen for all other sites you add to your Wildcloud application, including sites that are created when a user purchases a subscription or membership plan on your platform, because WP Frontend Admin is configured in the dashboard site only.
2- Edit the site’s title/name
By default, Wildcloud assigns a generic name to all sites, so we need to change that.
Go to Settings > General and change the site’s name in the Site Title field.
You can also edit or remove the Tagline.
Once you’re done, save the changes.

3- Add all the necessary pages
Now you have to add, edit, design the pages that this template site will contain.
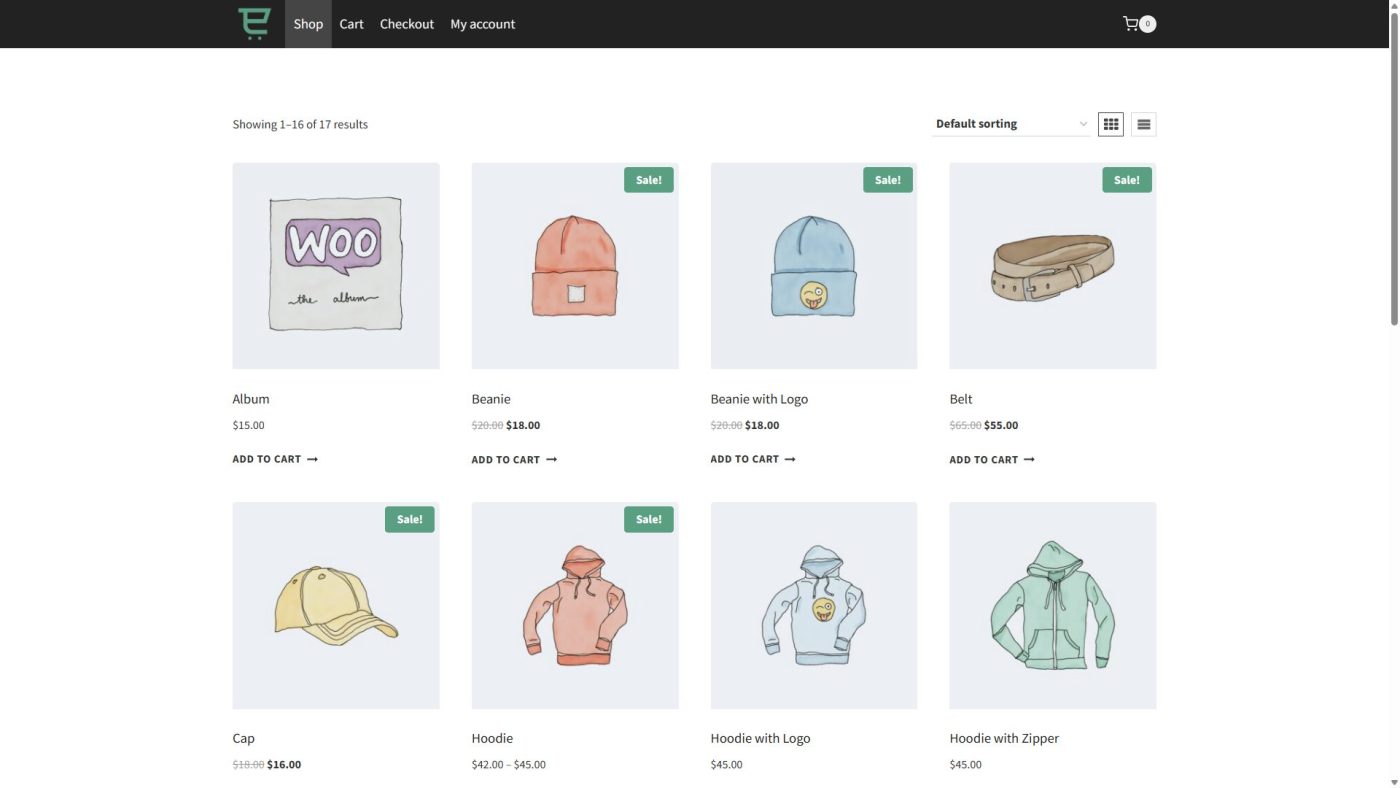
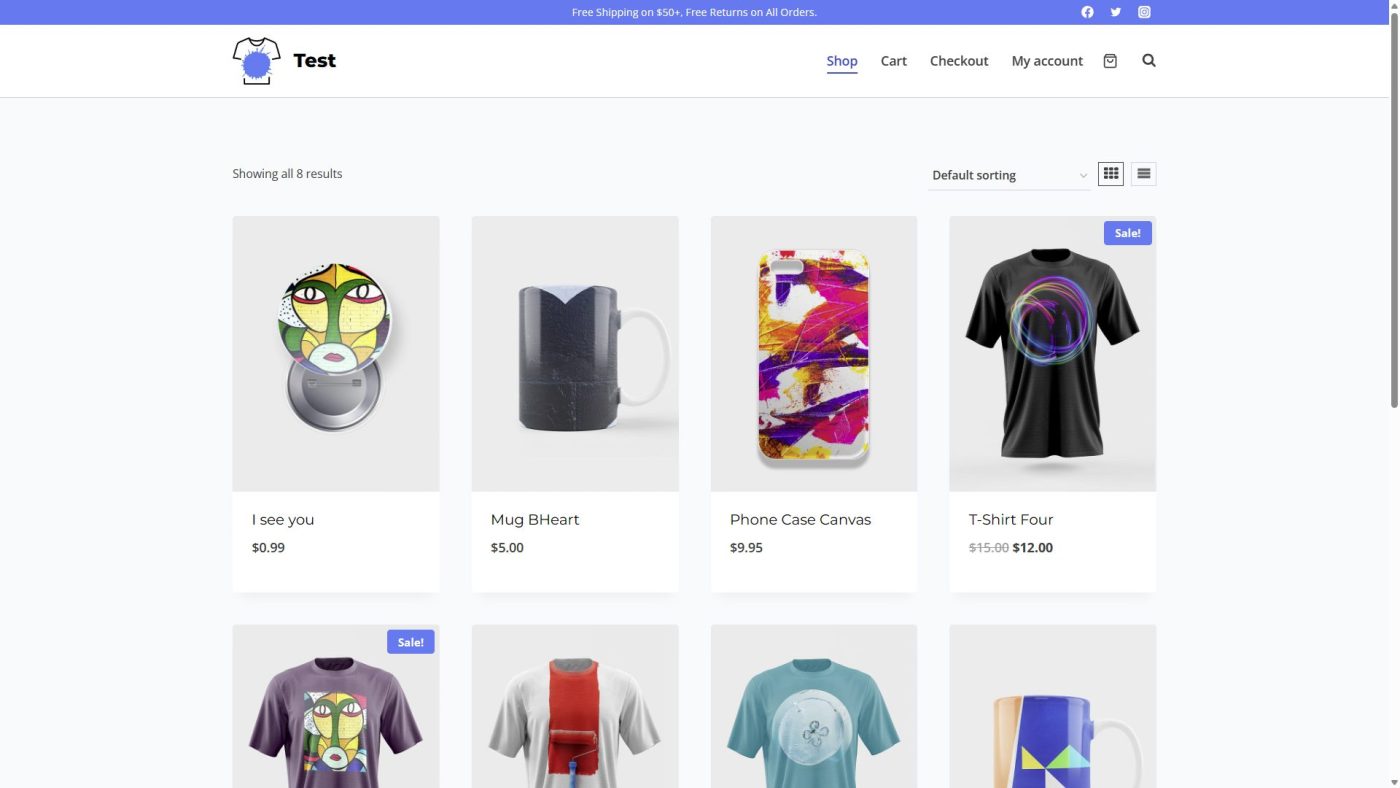
In this case, we will only keep the WooCommerce pages, because we want our users to be able to add and sell products. But you can add more pages with placeholder content like “About us”, “Contact us”, etc.
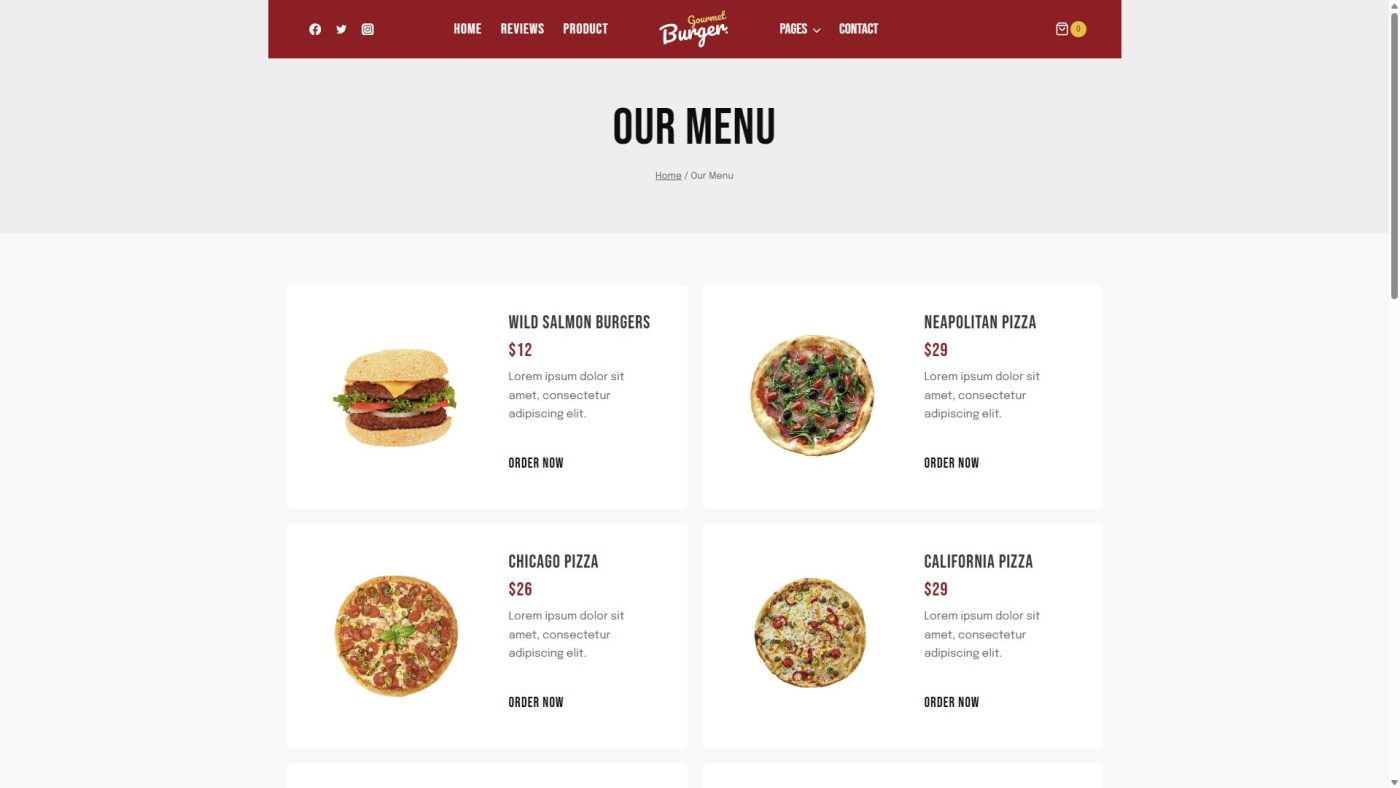
You can build and design the site as you see fit!
It is a basic online store platform, but you might want to add other pages to your site template.

4- Select the site’s home page
Go to Settings > Reading and select the site’s home page at Your homepage displays > A static page > Homepage.
In this example, we will select the Shop page as the site’s home page.

5- Set up the navigation menu and add a link to the frontend dashboard
Go to Menus, add a new navigation menu, and add the pages to it.
Once you’re done, you can also add a link to the frontend dashboard site so that your logged-in users can access the frontend dashboard right on the navigation menu.
In Custom Links, add the frontend dashboard URL.
In Link Text, you can add something like “Dashboard”.

If you installed and activated the User Menus plugin, you can add conditional visibility to this menu item.
For example, we will select Logged In Users because we want this menu item to be visible to logged-in users only.
We will also select Administrator and Shop manager as the roles who will view the frontend dashboard link.
This means customers won’t see the link on the navigation menu.

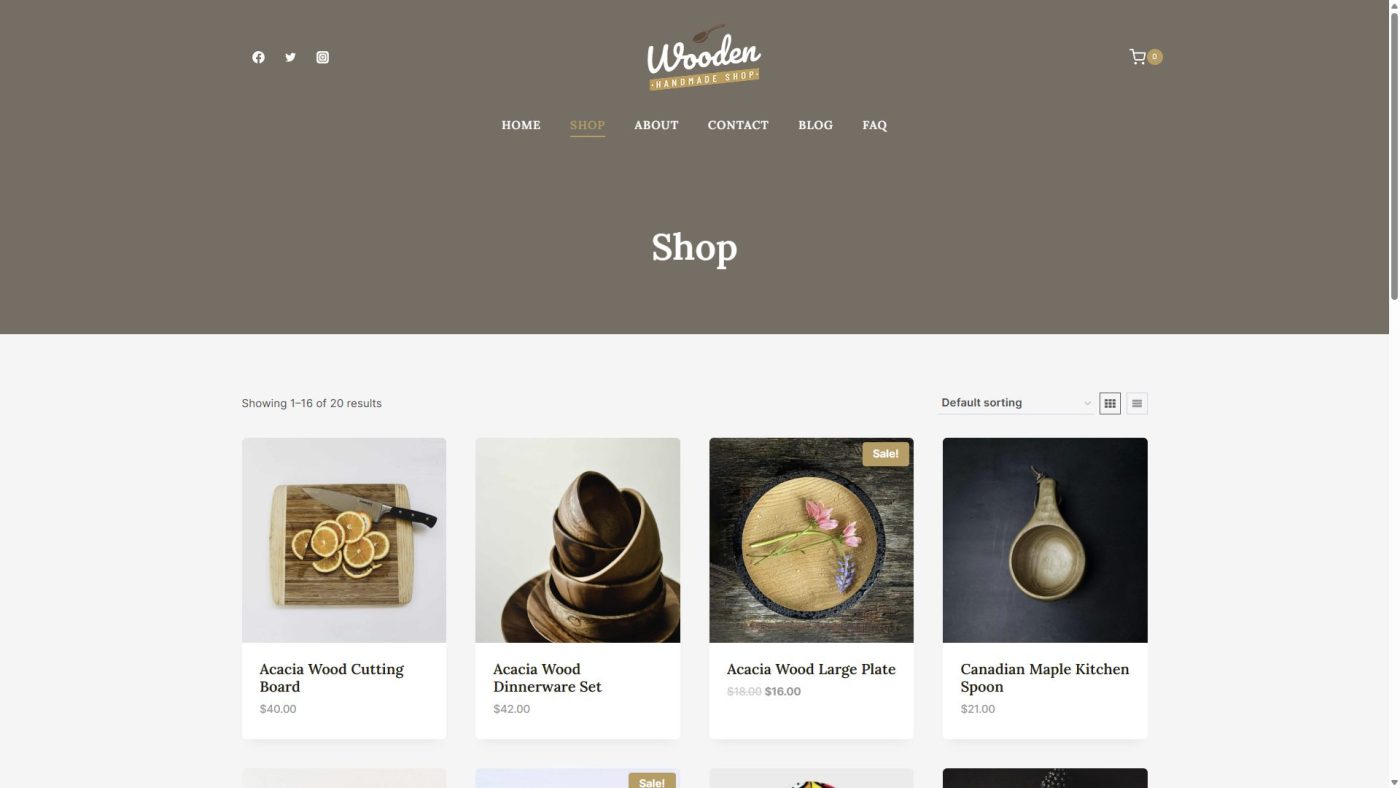
This is what our website will look like when we have not logged in.

And if we have logged in as administrators or shop managers, we will see the Dashboard link on the navigation menu.

Create a tenant snapshot
As we have explained in this lesson, in order for this site to be a template site, you need to create a tenant snapshot based on this site.
For this, go to your application and click on View all snapshots.

Now move to the Tenant Snapshots tab and click on Add tenant snapshot.

Finally, you need to fill out the form with the following fields:
- Name: Add the template name here.
- Comment: You can add a description here.
- Group name: You can create a tenant snapshots group by adding the name here.
- Tenant: Select the site or tenant on which this snapshot will be based. Here you’ll see the Dashboard and the Template sites. You should select Template.
- Once you have selected these values, click on Submit and the tenant snapshot will be created.

With the creation of the dashboard site and the template site, we have completed the sites necessary for our platform to work.
In the next lesson, we will work on the storefront site, where we will set up a subscription product (membership plan) that we can sell to our customers to create an online store on our ecommerce platform.