Create a tenant role
Note: The tenant roles must be created on your application’s version.
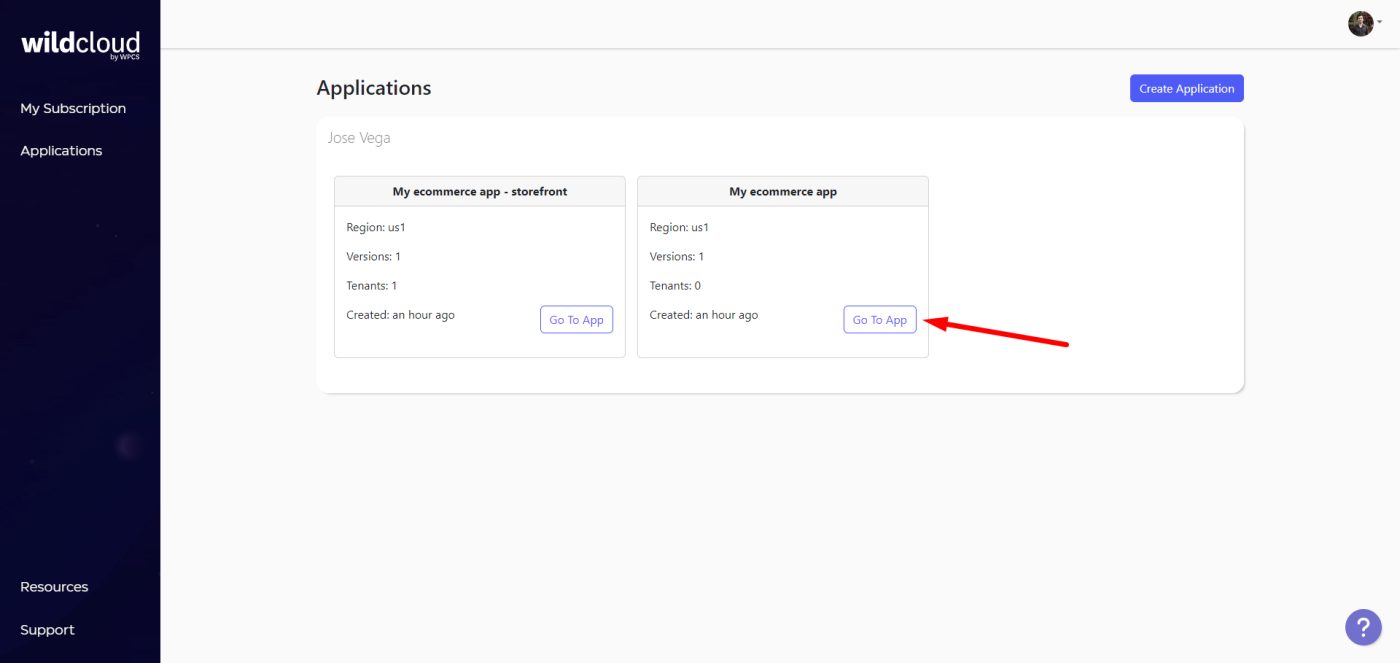
After you log in to your Wildcloud account, you will see the two applications you have created: the storefront application and the “empty” or WaaS application, which we will call the platform application from now on.
Open the platform application by clicking on Go To App.
Open the version admin dashboard by clicking on Editor.

Go to Tenant Settings > Roles.
Add a name for your tenant role and click on Add new role.
We will create a tenant role called “My Plan”.

After adding the new tenant role, you need to select the plugins that will be active on the sites with that tenant role.
In this case, we will select these plugins:
- User Menus (optional if you installed it in the previous lesson)
- User Role Editor (optional if you installed it in the previous lesson)
- WooCommerce
- WP Frontend Admin (Premium)
After selecting the plugins, click on Save.

Run a version deployment
In order for the sites based on this version to have all the changes we have applied so far (plugins installed in the previous lesson and tenant role created in this version), we must run a version deployment.
Keep in mind that, whenever you apply changes to the version, you need to deploy the version for the changes to propagate to sites based on that version.
For this, you need to click on Deploy on the Production version.

Now add the Name and some Comments.
You can add a name that states what you have added to the version.
In the comment, you can add more details of the changes you made on this version.
Finally, click on Submit.

In future lessons, we will create a front-end dashboard from which our clients will be able to manage their tenants/sites to create online stores.
We will also show you how to create subscription products for your ecommerce platform, and how to connect the Tenant Roles with a specific subscription plan.