IMPORTANT: WP Ultimo was abandoned by the author. But there is a free fork maintained by the community that you can use as a replacement of WP Ultimo. Read more and get the fork plugin here.
***
Important: You can read our notes on the general settings for Multisite.
Here are several important notes and solutions to problems when integrating WP Ultimo and WP Frontend Admin to create multisite networks with frontend dashboards.
Go to Network Admin > Frontend Admin > Settings > General.
1- Global frontend dashboard for the entire network
Since you can display any wp-admin page on the frontend, you can create a global frontend dashboard for the entire network.
A global frontend dashboard is a site within your network that contains all the frontend admin pages; users can manage their own sites from it without using the normal wp-admin dashboard.
This global dashboard may have your own design and a domain like dashboard.myapp.com, for example.
Once you create the dashboard site, select the following settings to set it as the global dashboard:
- Go to Network Admin > WP Frontend Admin > Settings > General.
- Tick the Enable global settings on multisite checkbox.

After that, scroll down and select the global frontend dashboard site in the WordPress Multisite: Use this site as the frontend dashboard for the entire network field.
Finally, Save the settings.

Important:
- Once you save these changes, site administrators will be redirected to the frontend dashboard. However, super admins will continue to use the normal WordPress dashboard in the backend.
- Only users with the manage_network capability will access the admin dashboard in the backend; however, you can change that at WP Frontend Admin > Access restrictions > Access restriction: Who can access the wp-admin dashboard?
- When new users register at WP Ultimo, WP Frontend Admin automatically redirects users to the frontend dashboard.
2- Frontend dashboard features based on the plan
WP Frontend Admin allows you to restrict features from the frontend dashboard based on the WP Ultimo plan purchased by the user.
In every frontend admin page you create, you need to select the plans that will have access to the page on the Quick Settings panel.

Note: See the next section to learn how to set up restricted pages’ visibility.
You can design an upgrade page like this with Gutenberg, Elementor, or your preferred page builder. You can include an Upgrade button to redirect the users to their WP Ultimo account.

How to display WP Ultimo account on the frontend
Use the following shortcode to display the WP Ultimo account page on the frontend:
[vg_display_admin_page page_url="admin.php?page=wu-my-account"]
Once you redirect your users to their WP Ultimo account, they will be able to:
- Change their membership plan
- See their account status and actions
- See their sites list
- Select a custom domain if allowed by their membership plan
- View their billing history.

Important:
- When users click Visit Dashboard on any site, they will be redirected to the frontend dashboard you’ve previously configured instead of going to the wp-admin dashboard.
3- Set up restricted pages’ visibility
When you restrict pages from a frontend dashboard based on the user’s WP Ultimo plan, you can edit the display options for those pages.
For example, if the option to change the site’s theme is a premium feature, you have at least three options:
a) Redirect users to an “Upgrade” page
You can create an “Upgrade” page telling the users they need a higher plan to use the restricted feature; make sure to include an “Upgrade my plan” button that links to the user’s WP Ultimo account (as explained in the previous section).
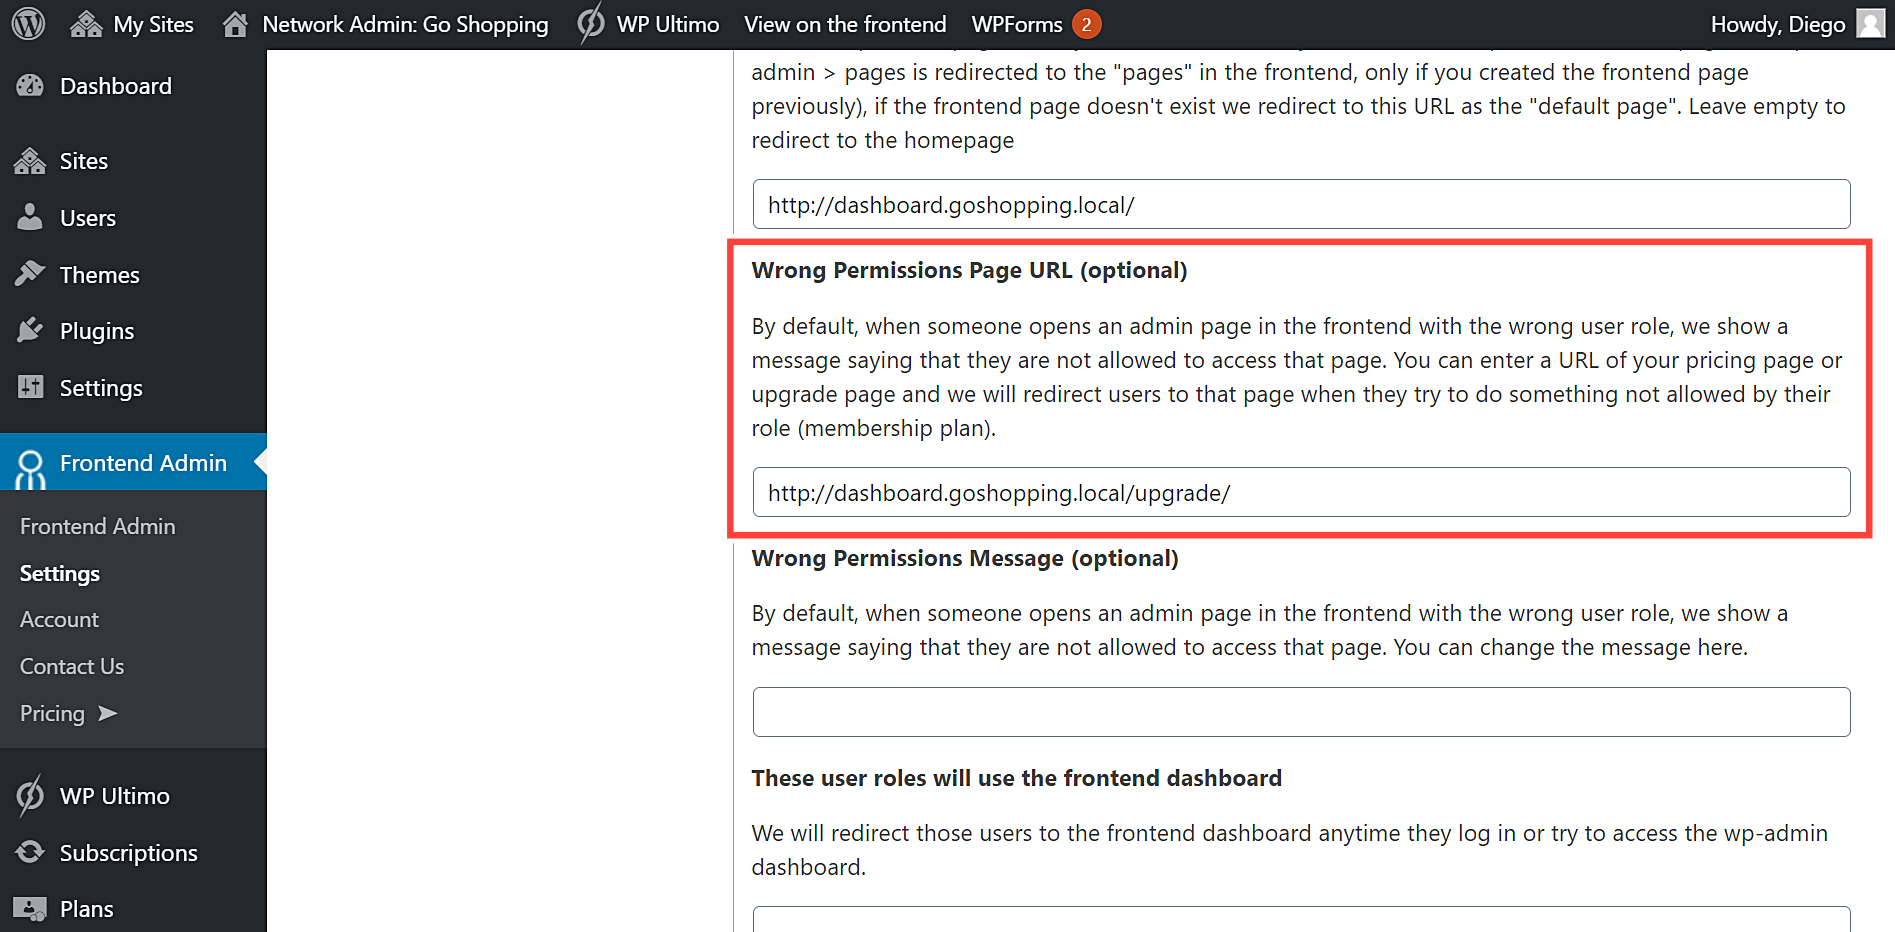
You can set the wrong permissions page URL by following these steps:
- Go to Network Admin > WP Frontend Admin > Settings > Access restrictions.
- Wrong Permissions Page URL: Enter the upgrade page here. This page should link to the user’s WP Ultimo account (as explained in the previous section).
- Save the settings.
b) Show an error message indicating that the user doesn’t have enough permissions to view the page
You can also show a wrong permissions message indicating the users they’re not allowed to access the feature:
- Go to Network Admin > WP Frontend Admin > Settings > Access restrictions.
- Wrong Permissions Message: Enter the wrong permissions message here.
- Save the settings.

c) Hide disallowed pages from the frontend dashboard
Instead of showing the disallowed pages on the frontend dashboard, you can hide them from it so that users don’t see them at all on the frontend dashboard.
- Go to Network Admin > WP Frontend Admin > Settings > General Settings.
- Tick the WP Ultimo: Remove disallowed pages from menus checkbox.
- Save the settings.

Disallowed pages will be hidden from all the nav menus in the frontend dashboard site.
4- Select who can access the wp-admin dashboard
To select the user roles that have access to the normal wp-admin dashboard (not the frontend dashboard):
- Go to Network Admin > WP Frontend Admin > Settings > Access Restrictions.
- Access restriction: Who can access the wp-admin dashboard: Select the user role that can access the wp-admin dashboard. All other user roles will be redirected to the frontend dashboard.

5- Which user roles will use the frontend dashboard
You can enter a list of roles that will use the frontend dashboard.
- Go to Network Admin > WP Frontend Admin > Settings > Access Restrictions.
- These user roles will use the frontend dashboard: All the user roles you enter here will be redirected to the frontend dashboard when they log in or try to open the wp-admin dashboard.
- Save the settings.

6- Solve this problem: Pages not loading in the frontend dashboard
Sometimes, the frontend dashboard pages do not load due to cookie error when using WP Frontend Admin with global dashboard option. In other words, you log in to the global dashboard as the admin of a sub-site (normal user in the frontend, not super admin), but you don’t see your own site’s content.
You can solve this problem by using the following WP Ultimo settings:
- Go to Network Admin > WP Ultimo > Domain Mapping & SSL.
- Enable Domain Mapping: Yes
- Enable Custom Domains: Yes
- Force Admin Redirect: Allow access to the admin by both mapped domain and network domain
- Allow Page Unmapping: Yes
- Enable Single Sign-On: No
- Network IP Address: Enter the current website’s IP address or leave it black to automatically use the IP detected by the plugin as default.
- Click Save Changes.
Note: Click the image to enlarge it, or Right click + Open image in new tab.

7- Hide the frontend dashboard “system” pages
If you create a site to use it as a global frontend dashboard, this site will have all the frontend pages. Since users will manage their own sites from this dashboard, they will have access to the Pages section in the frontend.
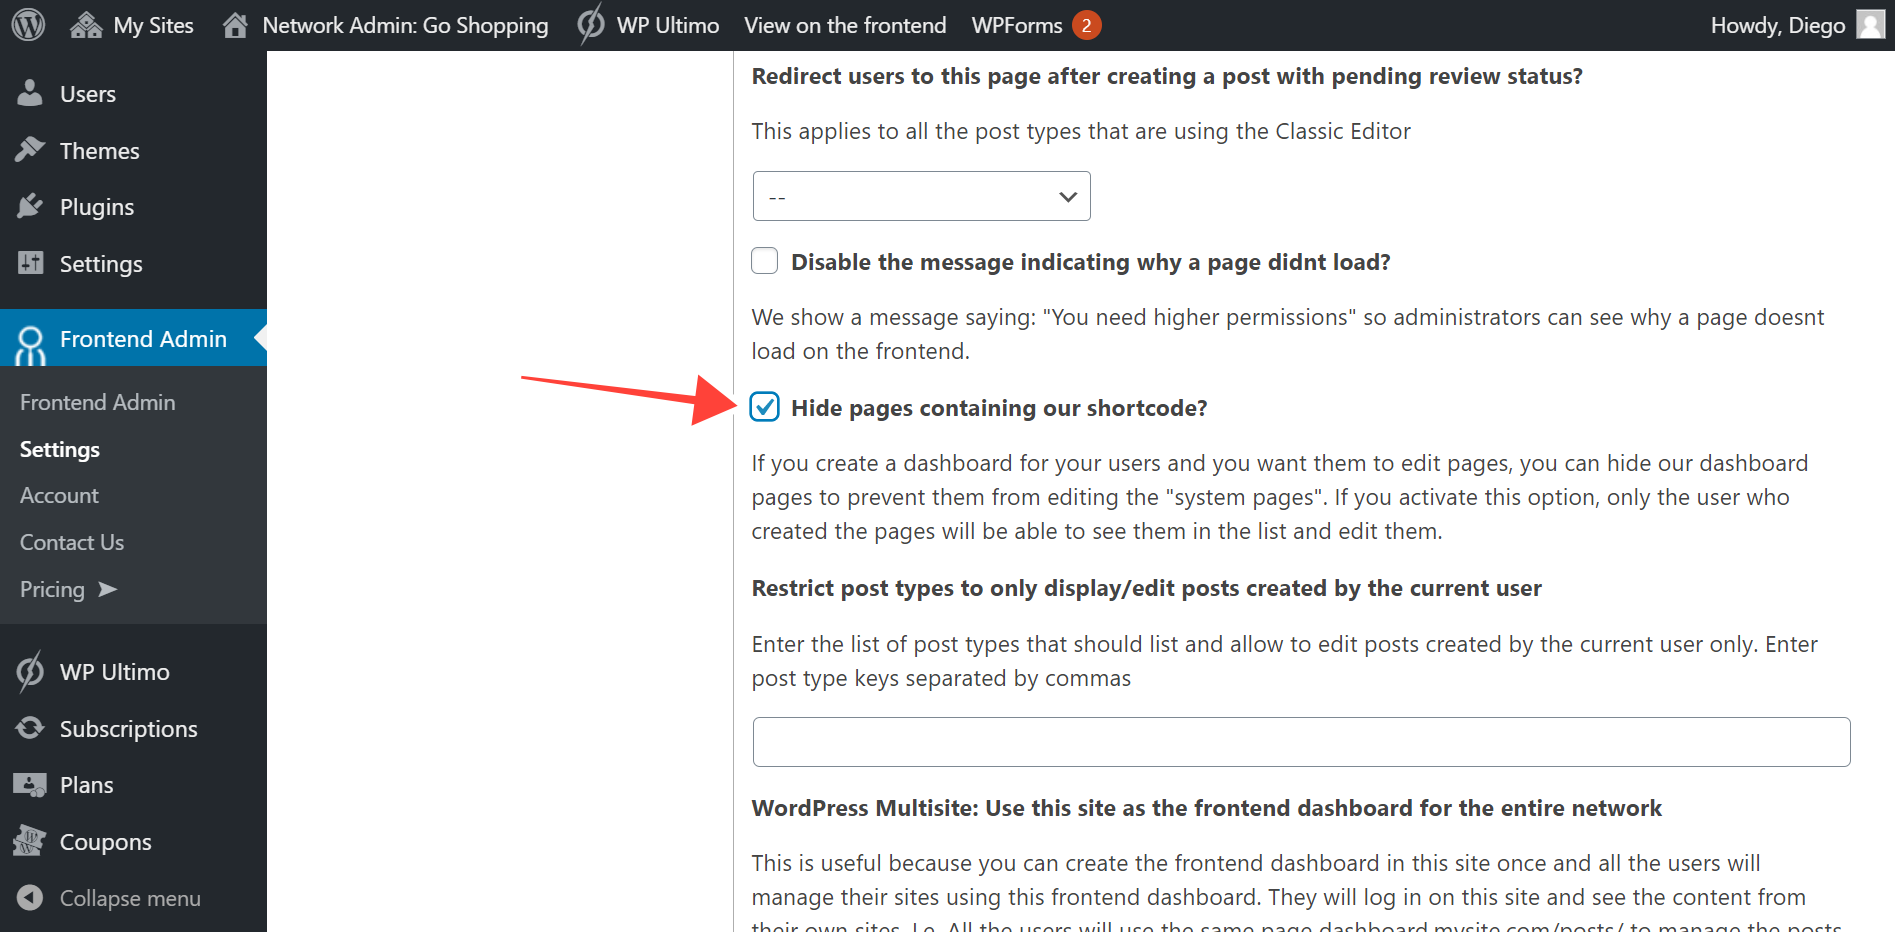
In this case, it is important to hide the pages containing our shortcode to prevent users from somehow making changes to the dashboard pages. And since sites may have several users, it will not be enough to set users to view their own pages only in the Quick Settings panel when creating each page.
Instead, you need to hide the frontend dashboard pages by following these two simple steps.
- Go to Network Admin > WP Frontend Admin > Settings > General.
- Tick the Hide pages containing our shortcode checkbox.