In a previous tutorial, we showed you how to view Ninja Forms submissions from the frontend.
In this entry, we’ll show you how to allow your users to import and export Ninja Forms from the frontend.
Besides installing and activating the Ninja Forms plugin, you need to install and activate the WP Frontend Admin plugin. With this plugin, you can display any wp-admin page on the frontend to create frontend dashboards and web apps using WordPress plugins behind the scenes.
You can try the premium plugin on your website for free for 7 days.
Once you install WP Frontend Admin and Ninja Forms, follow these steps to allow users to import and export forms on the frontend.
1- Display the import/export settings on the frontend
If you want to create frontend pages, you need to go through the difficult process of programming the pages from scratch. Fortunately, WP Frontend Admin allows you to display any wp-admin page on the front-end with one click or using a simple shortcode.
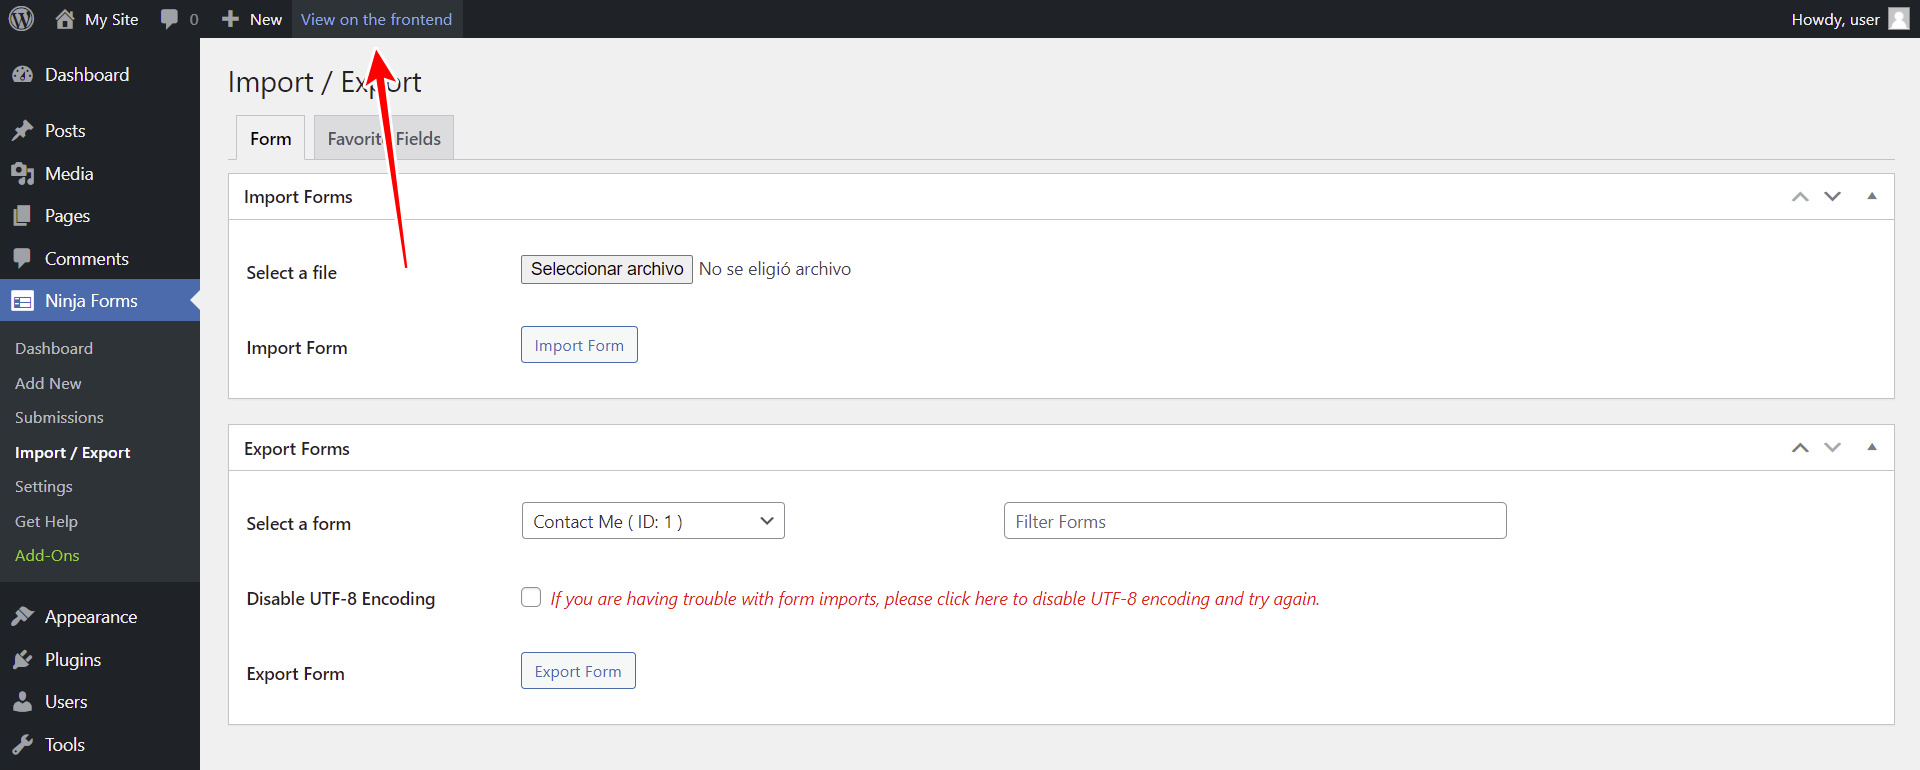
Go to Ninja Forms > Import / Export and click View on the frontend.
Optionally, you can display the Ninja Forms’ import and export settings on the frontend using any of these page builders:
- Elementor
- Visual Composer
- Gutenberg
- Divi
- Beaver Builder
- WP Page Builder
- Page Builder by SiteOrigin
- Oxygen
- Live Composer
- Brizy
- Etc.
You just need to use the following shortcode:
[vg_display_admin_page page_url="admin.php?page=nf-import-export"]
Now you need to click Preview to see the import/export forms page on the frontend.
2- Select the import/export page’s basic information
WP Frontend Admin allows you to configure your front-end pages using the Quick Settings panel displayed on the left side of the screen.
You can start configuring your page by selecting the following information.
- Page title – Enter the page title in this field.
- URL slug – Use only keywords to enter the URL slug.
- Page template – You can select the Default template to use our theme’s appearance.
- Add to this menu – You can add this page to a navigation menu.

3- Hide any unnecessary elements from your frontend page
There are not many elements that can be hidden from the import/export page. We’ll remove the Import / Export heading and the Form and Favorite Fields links. However, you decide which elements you will hide.
- Click Hide element.
- Click the element you want to hide.
- Repeat these steps with every element you want to hide.

You can also tick the Hide notices added by other plugins or themes checkbox to prevent users from seeing admin notices on the frontend.
Once you hide the unnecessary elements, you can hit Save to apply the changes.
This is how the page will look on the frontend:

Your frontend dashboard for Ninja Forms is almost ready once you’ve displayed the Dashboard, Submissions, and Import/Export pages on the frontend.
Optionally, you can add the Ninja Forms settings to the dashboard by going to Ninja Forms > Settings and clicking View on the frontend or by using the following shortcode on any page:
[vg_display_admin_page page_url="admin.php?page=nf-settings"]
You need to follow the steps we’ve explained with the other pages:
- Select the basic information of the page
- Hide any unnecessary elements
- Edit the texts if you want
- Etc.
4- Add a “Log-Out” button and icons to the nav menu
To complete your frontend dashboard, you can add a Log Out button to the nav menu and add icons to the menu items.
For this, you need the following free plugins:
- Shortcode in Menus – This plugin will make shortcodes work as links on menus.
- WP Menu Icons
a) Add a “Log Out” link to the nav menu
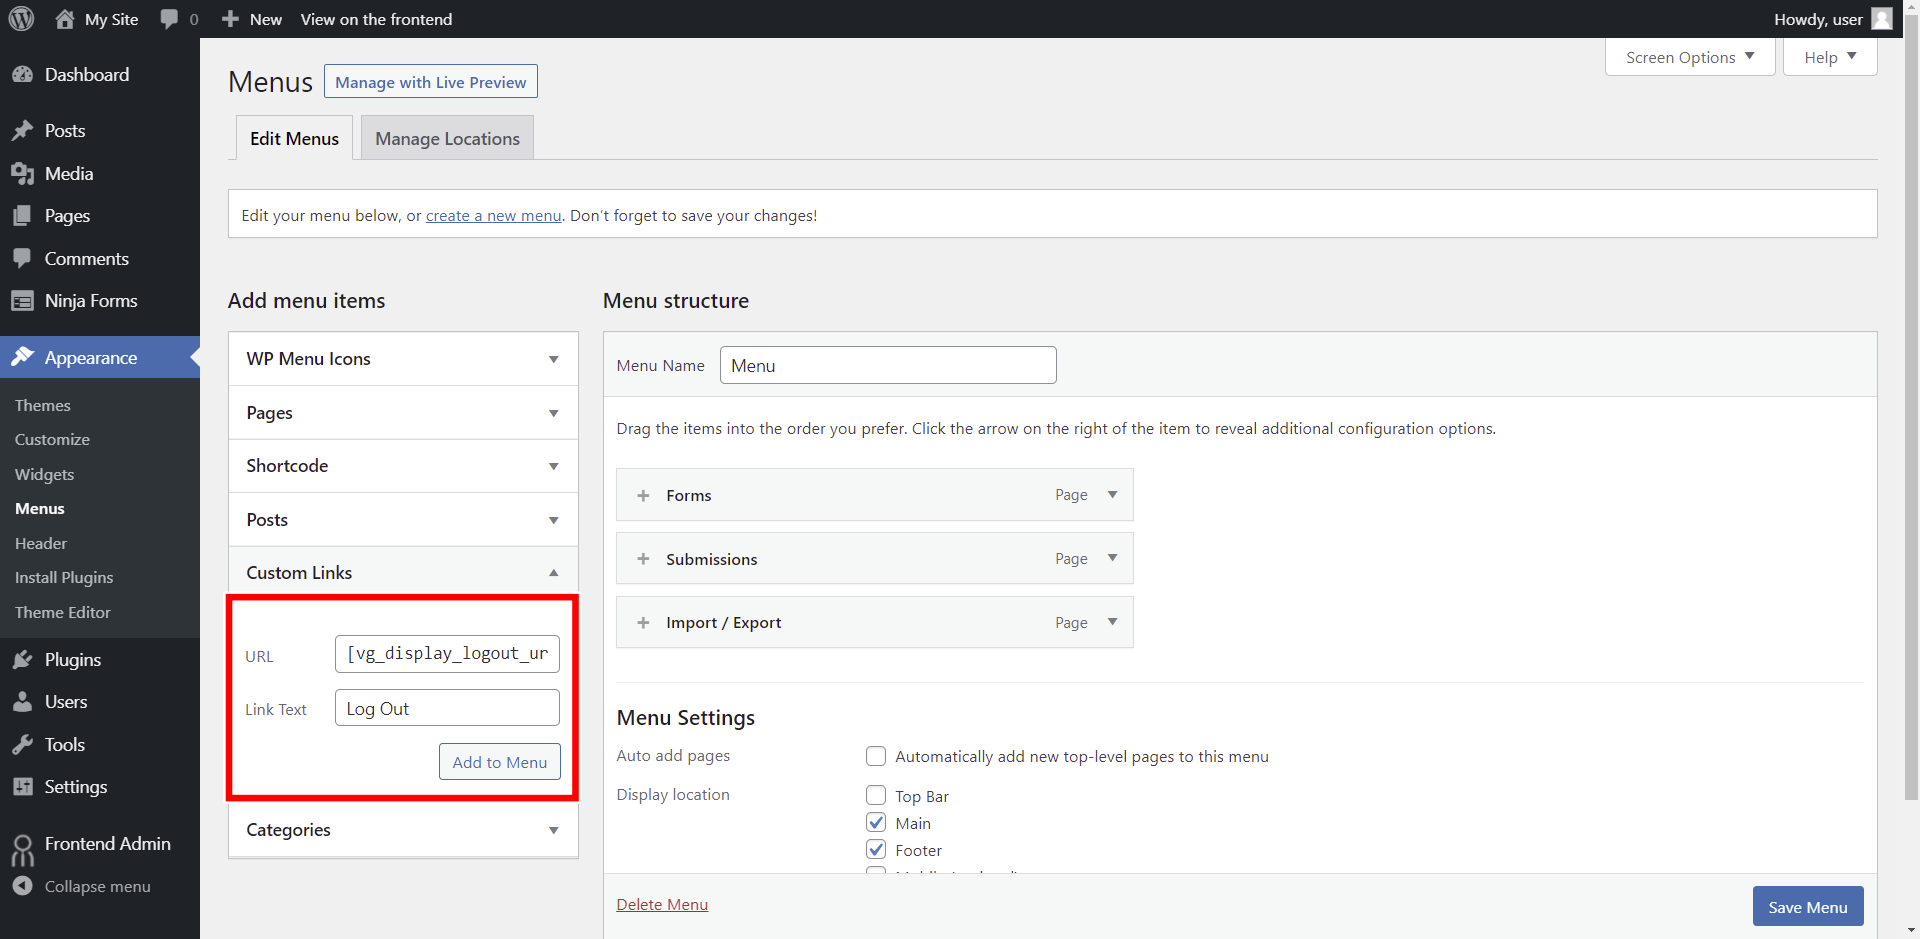
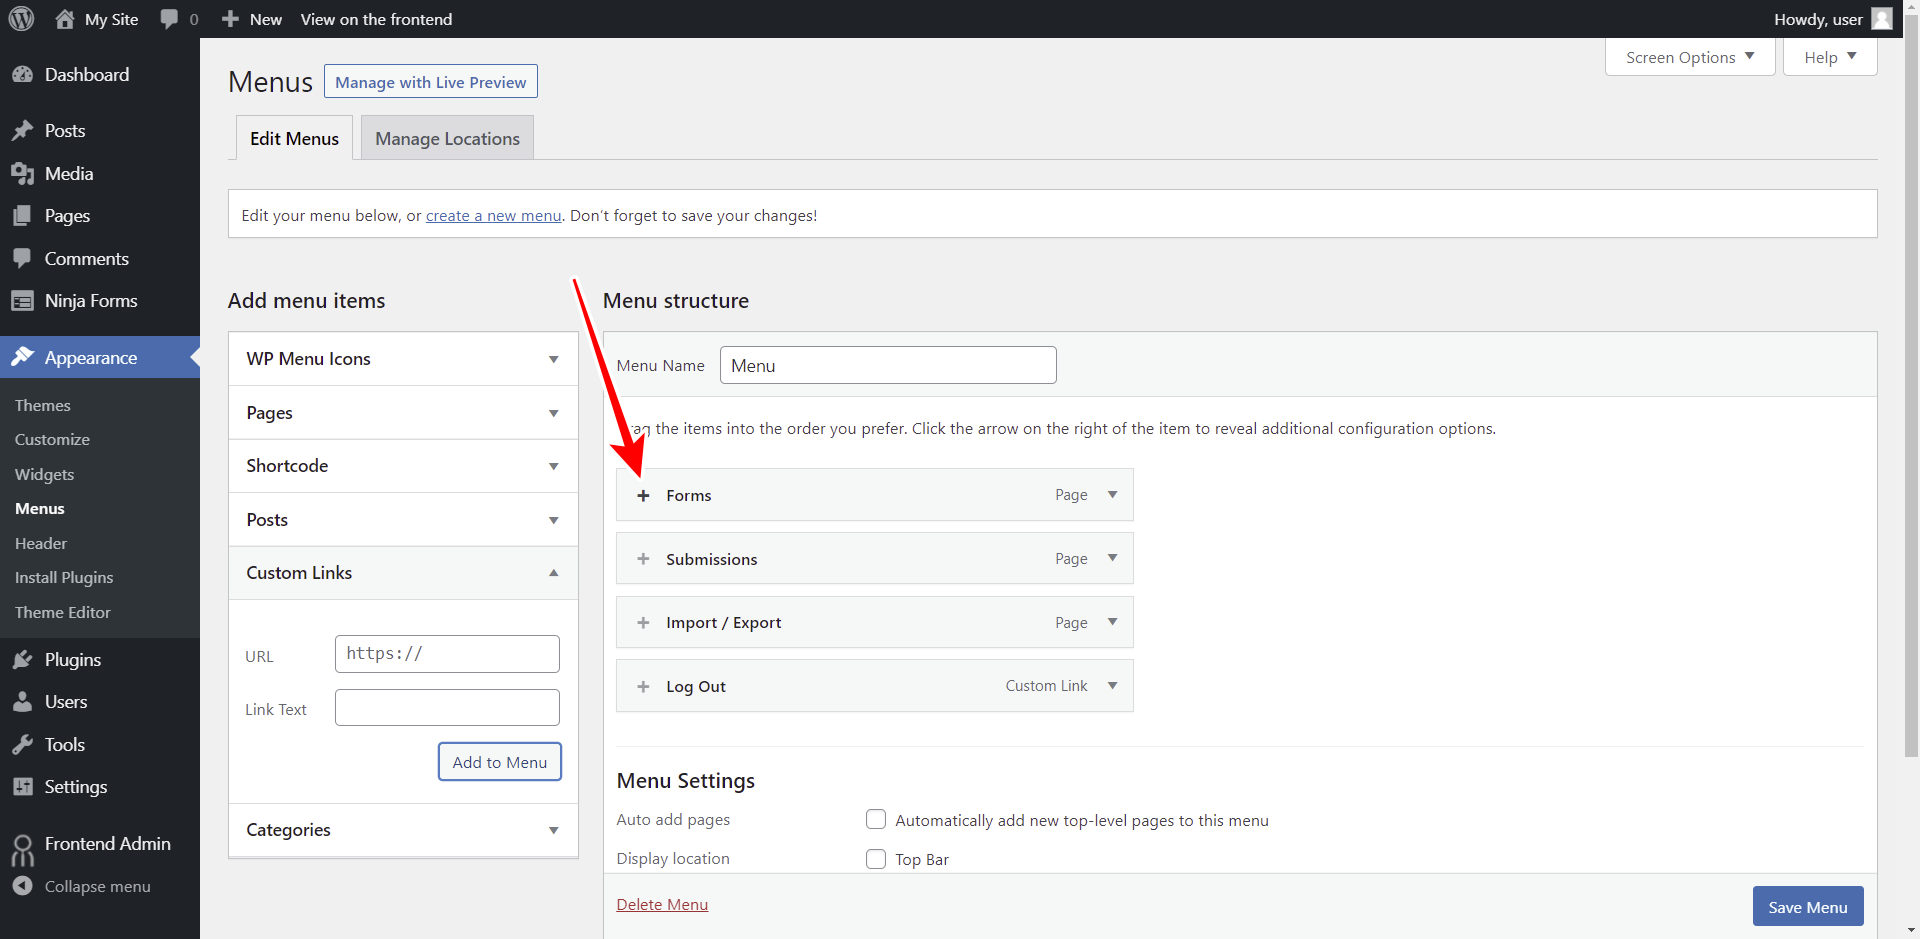
- Go to Appearance > Menus
- Go to Custom Links
- Enter this shortcode in the URL field of the custom link: [vg_display_logout_url]
- Enter Log Out in the Link Text field
- Click Add to Menu
b) Add icons to the menu items
Open the icon settings for the menu item you want to edit.
Select the icon and click Save.
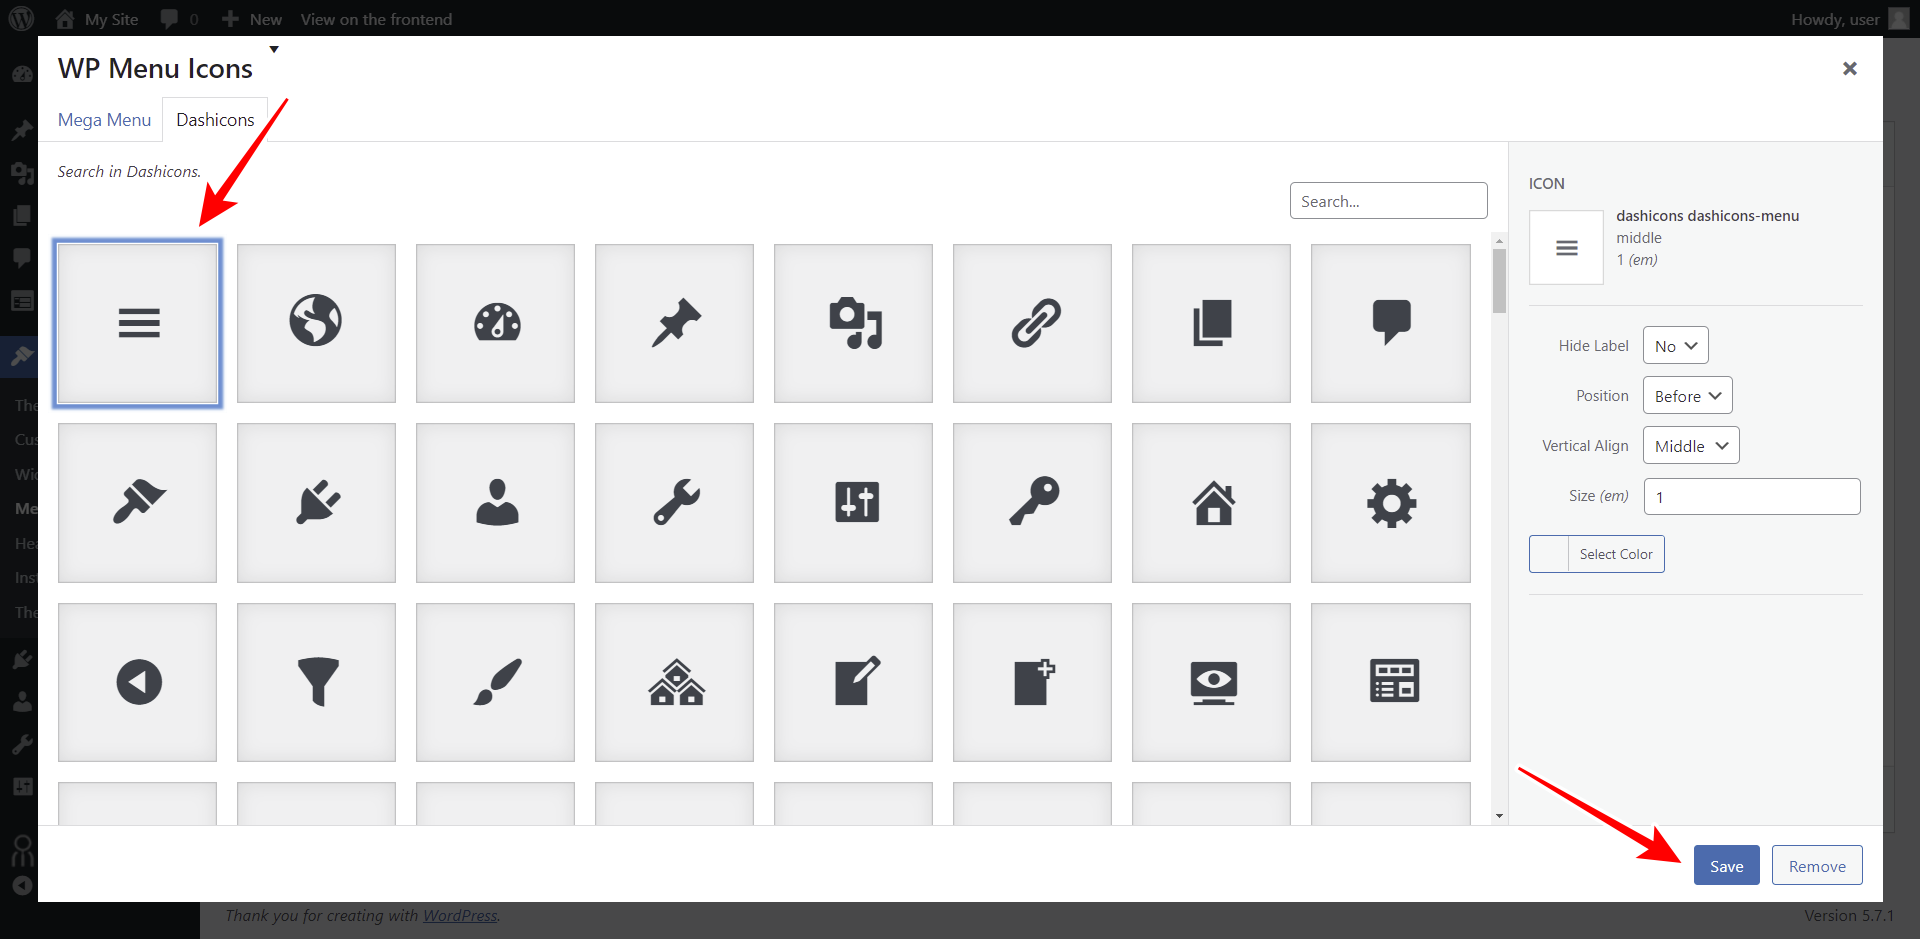
Once you add icons to all the menu items, click Save Menu to apply the changes.

Here we show you how the frontend dashboard for Ninja Forms will look once it’s completed.
Users will be able to create and manage forms on the front-end:

Also, they will be able to view the form submissions on the frontend:

Besides, users will be able to import and/or export forms from the frontend:

You can visit our documentation posts to learn about the advanced usage of WP Frontend Admin.
With WP Frontend Admin you can create beautiful frontend dashboards and web apps using any WordPress plugin behind the scenes.
You can try the premium plugin on your website for free for 7 days.


