IMPORTANT: WP Ultimo was abandoned by the author. But there is a free fork maintained by the community that you can use as a replacement of WP Ultimo. Read more and get the fork plugin here.
***
The Single Sign On feature is very important when building platforms with WP Ultimo. It allows users to log in to multiple applications/websites with one single set of login credentials.
However, you need to be clear on how to configure it correctly to avoid mistakes.
That’s why here we share with you some things you need to take into account to properly integrate WP Ultimo’s Single Sign On feature with WP Frontend Admin.
Here are five things you need to take into account.
1- SSL wildcard
You need to have SSL wildcard that covers all subdomains. Important. This should be requested from your hosting provider
2- Enable SSO in WP Ultimo
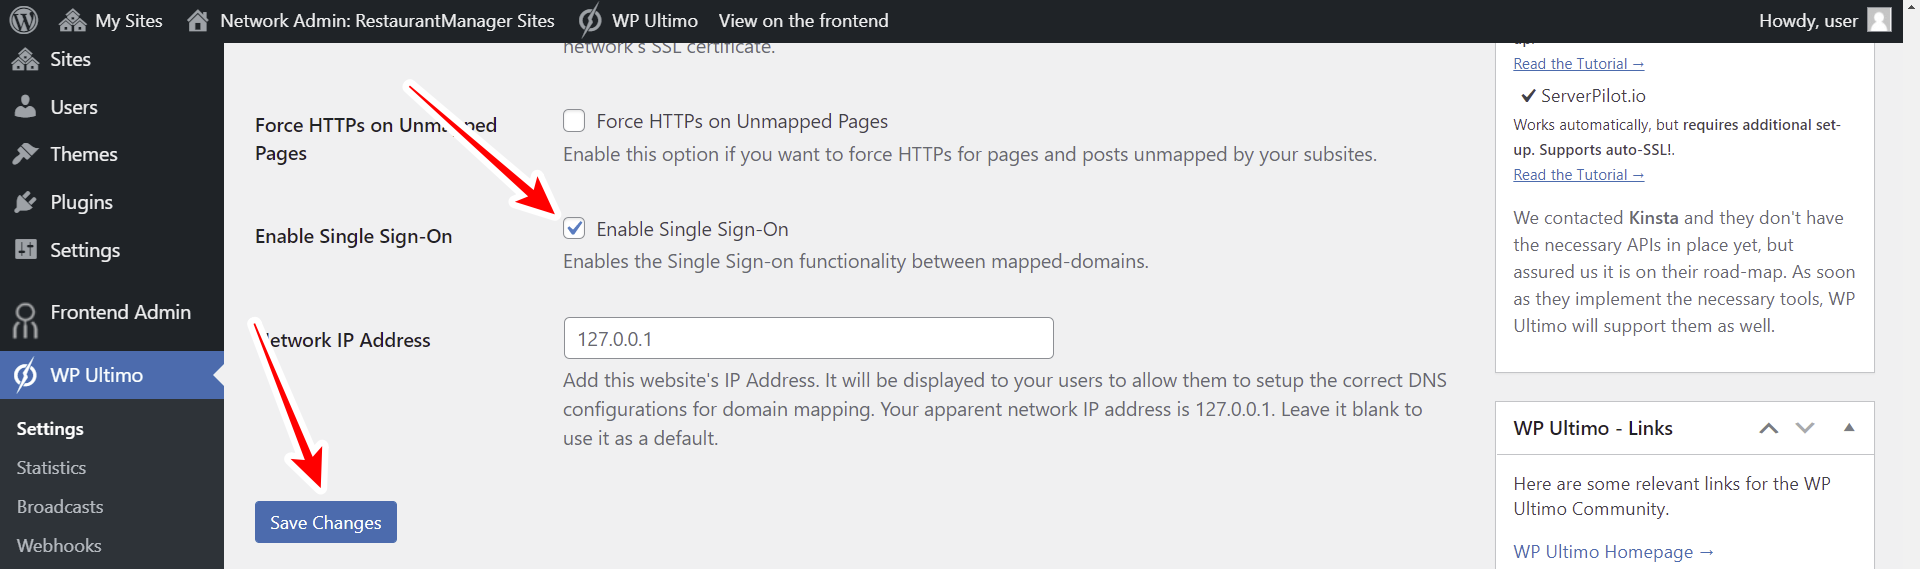
Important: WP Ultimo will throw a fatal error after you activate the Single Sign-On option if COOKIE_DOMAIN is found in the wp-config.php file, so please check your wp-config.php file before activating this option.
You need to enable the Single Sign On feature in WP Ultimo settings. Go to Network Admin > WP Ultimo > Settings > Domain Mapping & SSL and tick the Enable Single Sign-On checkbox.
3- Enable SSO in WP Frontend Admin
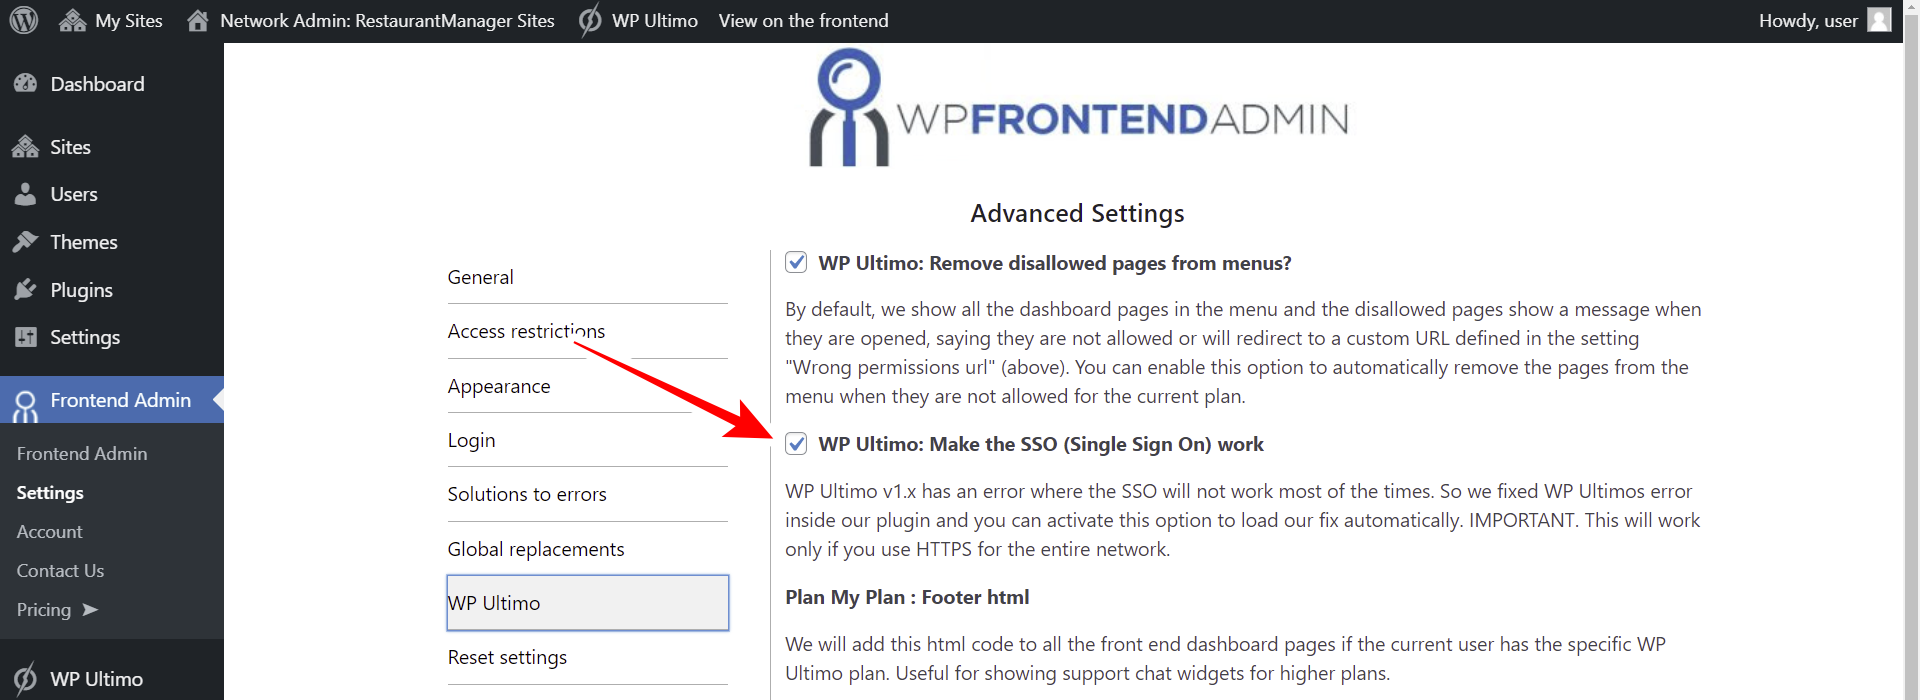
You need to enable the Enable SSO Fix feature in the WP Frontend Admin settings. Go to Network Admin > WP Frontend Admin > Settings > WP Ultimo and tick the WP Ultimo: Make the SSO (Single Sign On) work checkbox.
4- Custom login page
WP Frontend Admin allows you to create a custom login page for your platform, so your users don’t have to use the normal WordPress login page.
However, in order for Single Sign On to work properly on your platform, it is very important to mention that the custom login page must be created on the main website, not on a subsite, not even on the global frontend dashboard site.
5- Regular windows only
Single Sign On only works in regular windows, not incognito.