In this tutorial, we’ll show you how to allow your users to manage Groundhogg contacts on the frontend.

Once you have built a frontend page for your Groundhogg contacts, your users will be able to:
- Add new contacts on the frontend,
- Import new contacts on the front-end,
- Mark contacts as spam on the frontend,
- Delete contacts on the front-end
Besides the Groundhogg plugin, you need to install and activate the WP Frontend Admin plugin. It allows you to display any wp-admin page on the frontend, so you can create front-end dashboards of web apps based on WordPress plugins.
You can try the premium plugin on your website for free for 7 days.
Follow these steps to display the Groundhogg contacts page on the frontend:
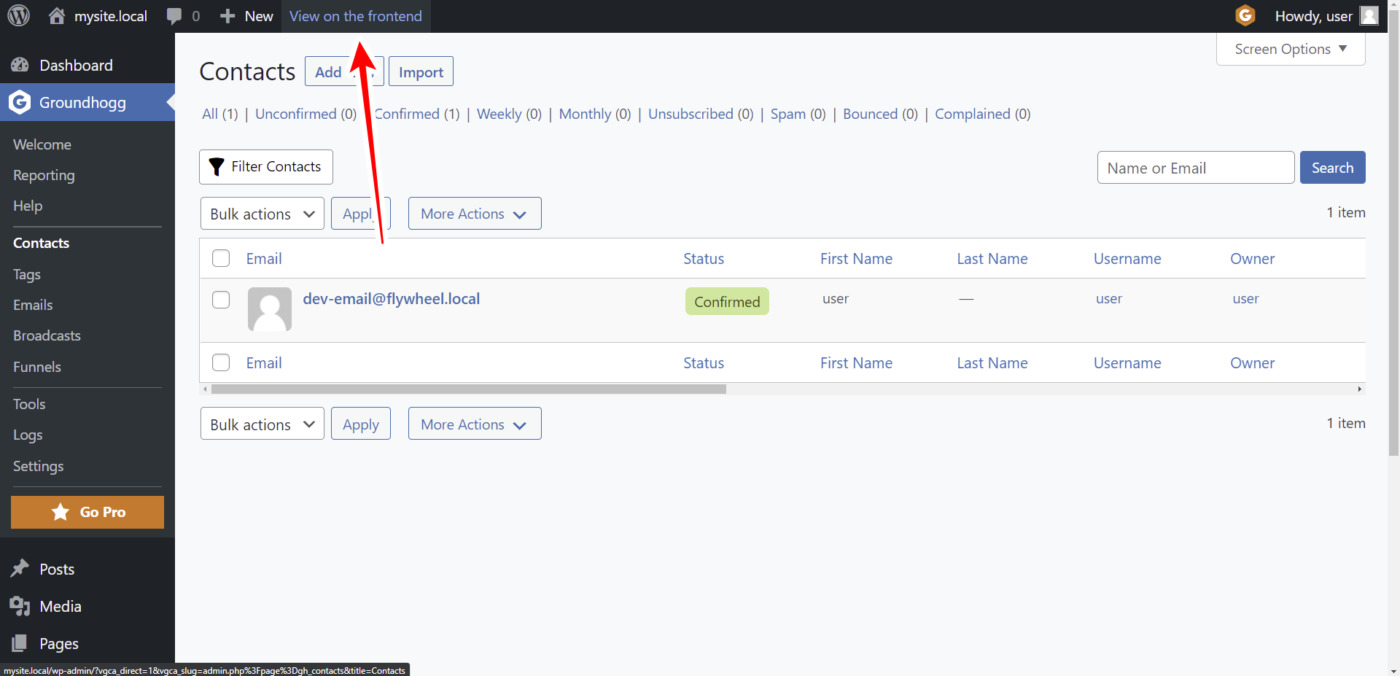
1- Open the “Contacts” page on wp-admin
Go to Groundhogg > Contacts to open the Groundhogs “Contacts” page on wp-admin.

2- Display the Groundhogg Contacts on the frontend
Click on the View on the frontend button to display the “Contacts” page on the front-end.
You can optionally use the following shortcode on any page builder:
[vg_display_admin_page page_url="admin.php?page=gh_broadcasts"]
Make sure you Preview the page to display the contacts page on the frontend.
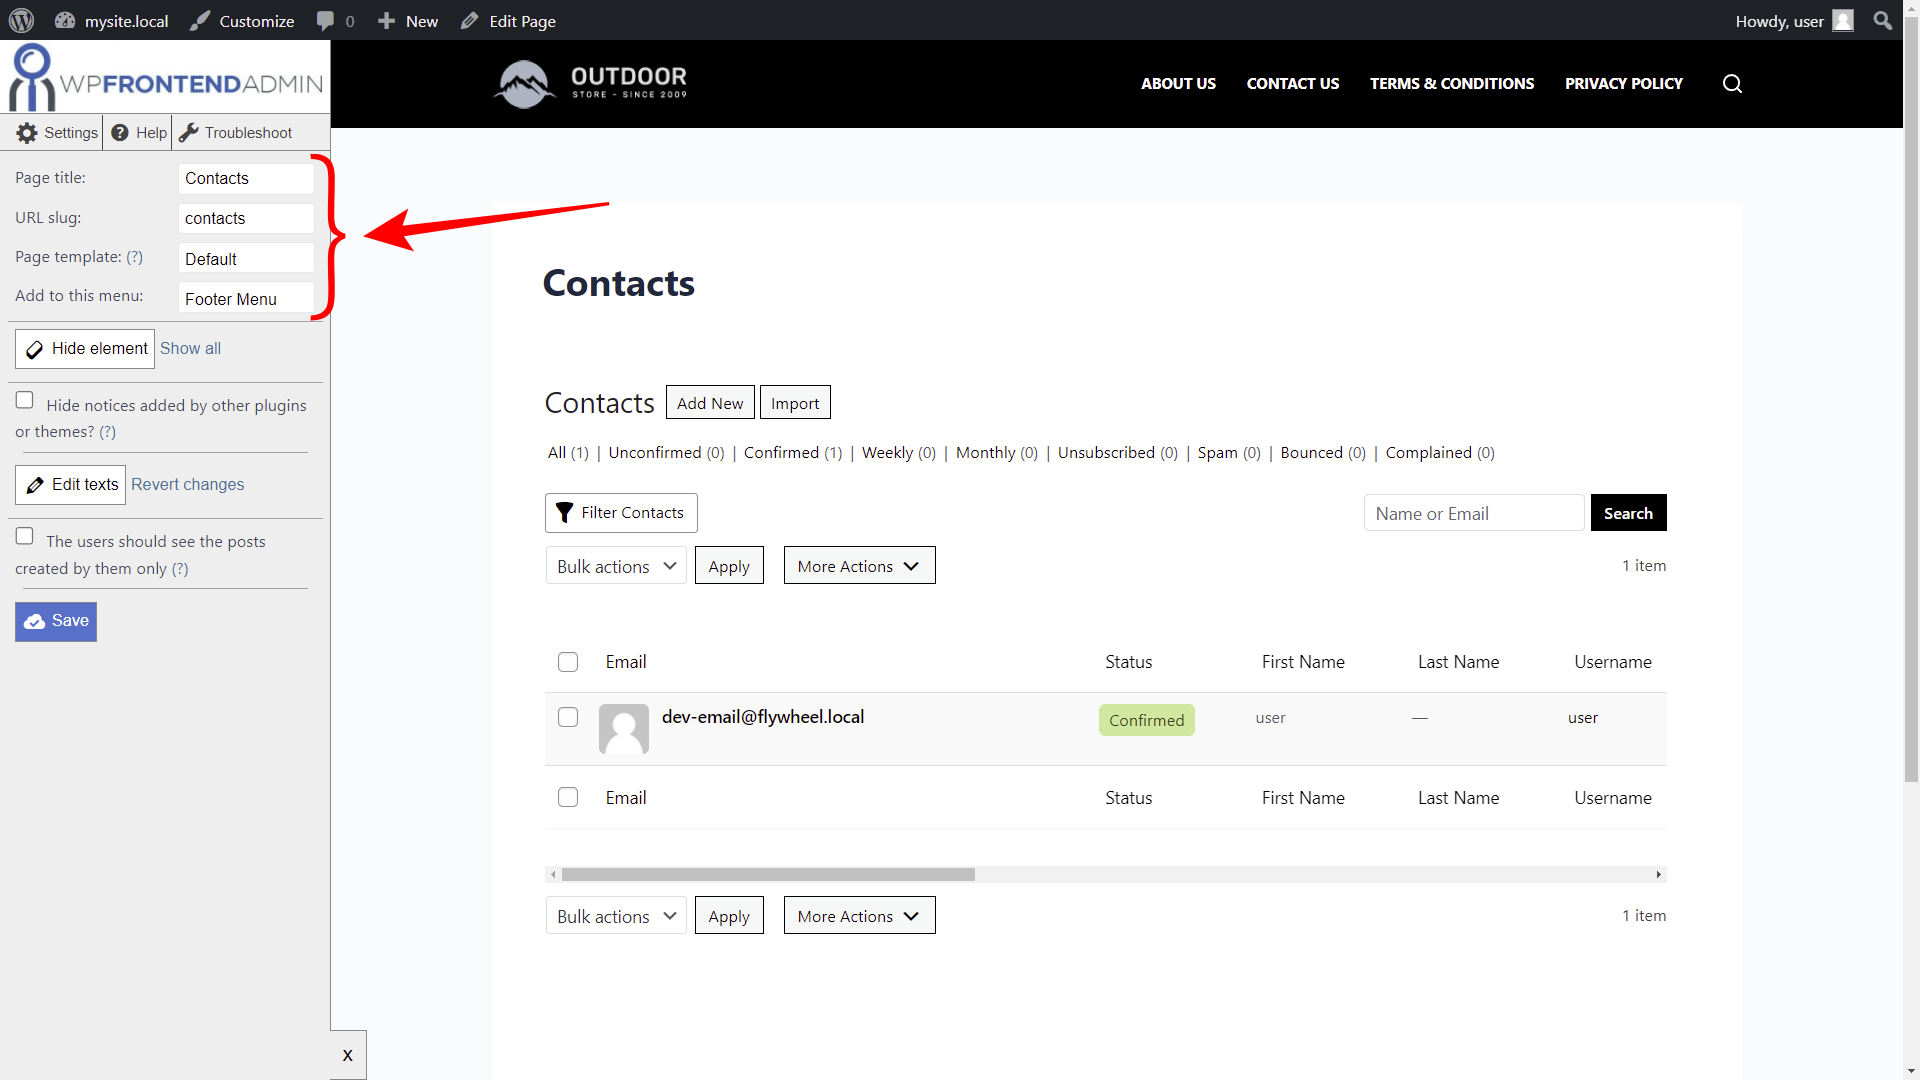
3- Select the new frontend page’s basic information
WP Frontend Admin will display a Quick Settings panel on the left side of the screen.
You can start configuring the contacts page on the frontend by selecting the following general information:
- Page title
- URL Slug
- Page template
- Add to this menu
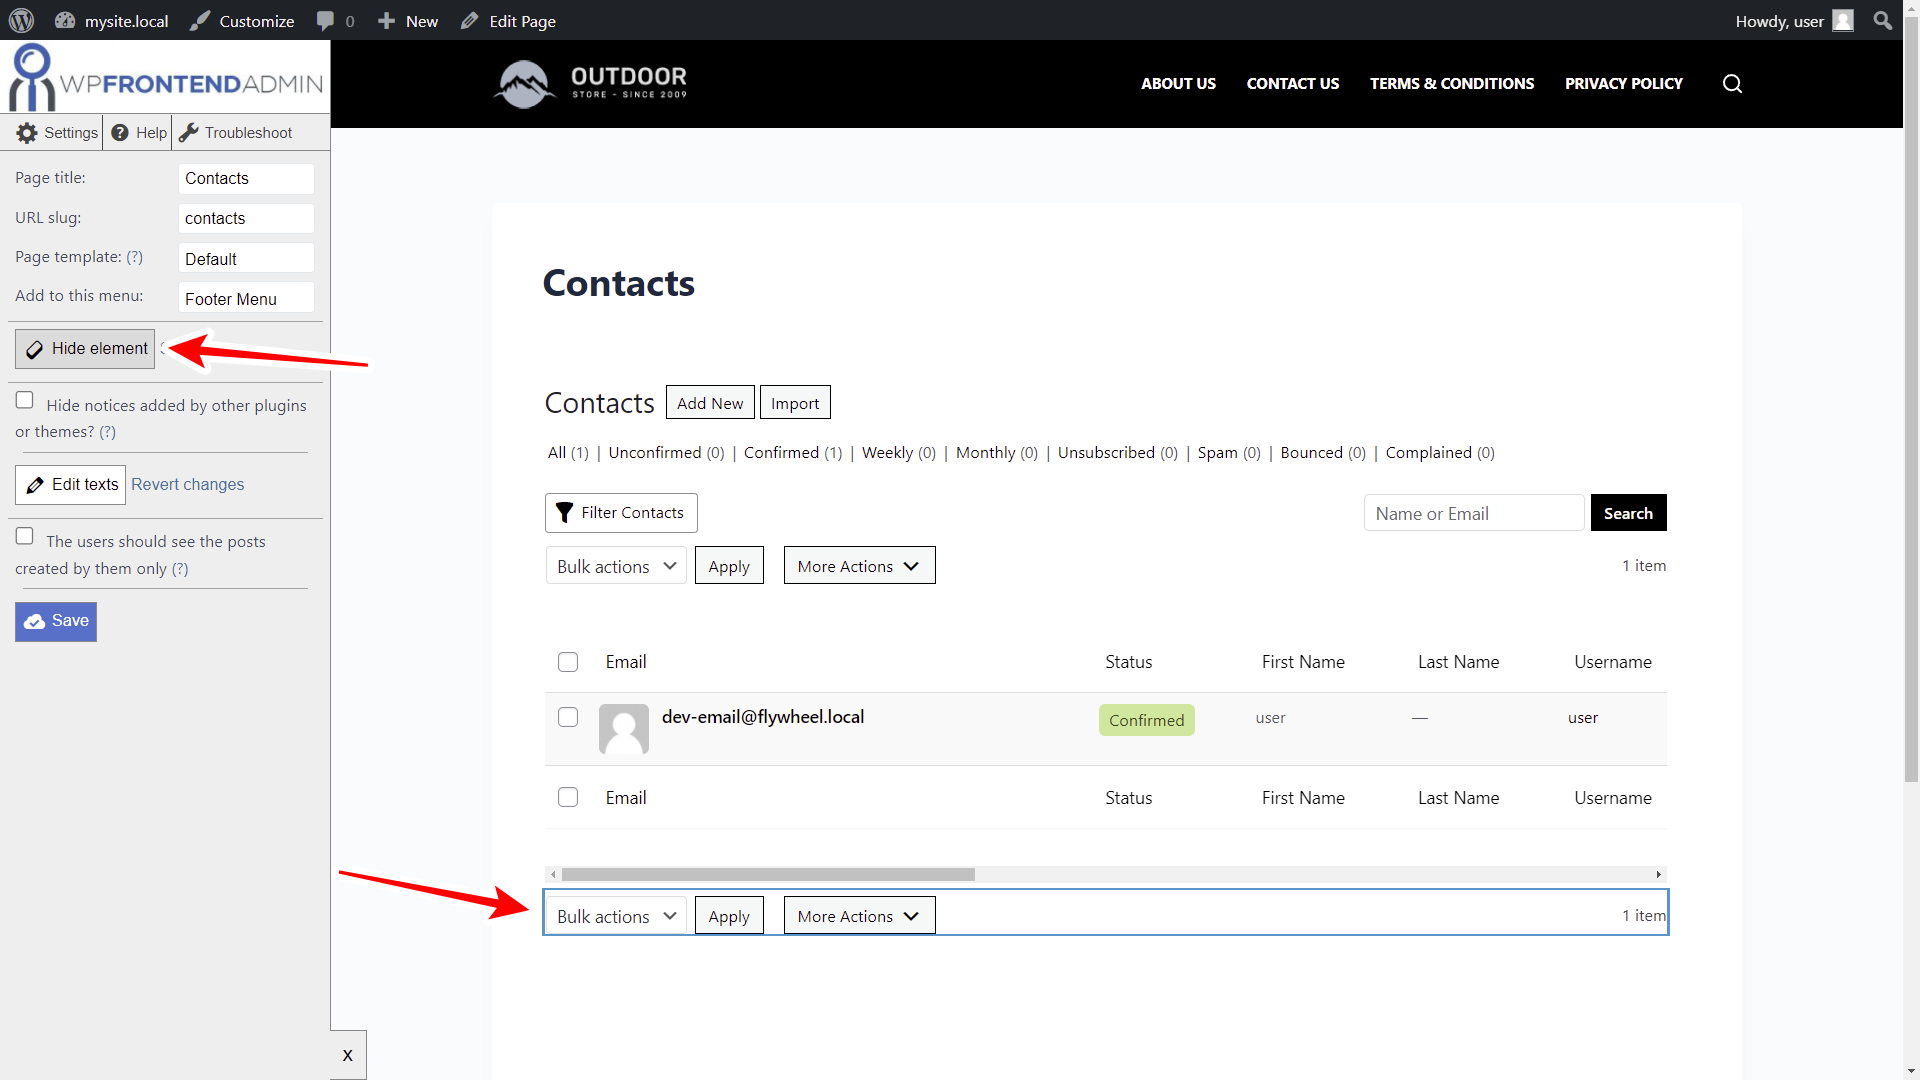
4- Hide any unnecessary elements from the front-end page
WP Frontend Admin allows you to customize your frontend pages by removing any unnecessary elements from them.
Click on “Hide element” and then click on the element you want to hide.
You need to repeat this process with every element you’ll hide from your frontend contacts page.
5- Edit any texts on the frontend page
You can change any text on the frontend page. This is useful if you want to remove any reference to plugins and change them with your own platform’s names.
- Click on the “Edit texts” button
- Edit all the texts you want
- Click on “Stop editing texts”

6- Save changes to the page
Before saving changes, you can tick these two checkboxes:
- Hide notices added by other plugins or themes?
- The users should see the posts created by them only
Now that you’ve made changes to the “Contacts” page on the frontend, you can click on “Save” to apply the changes.

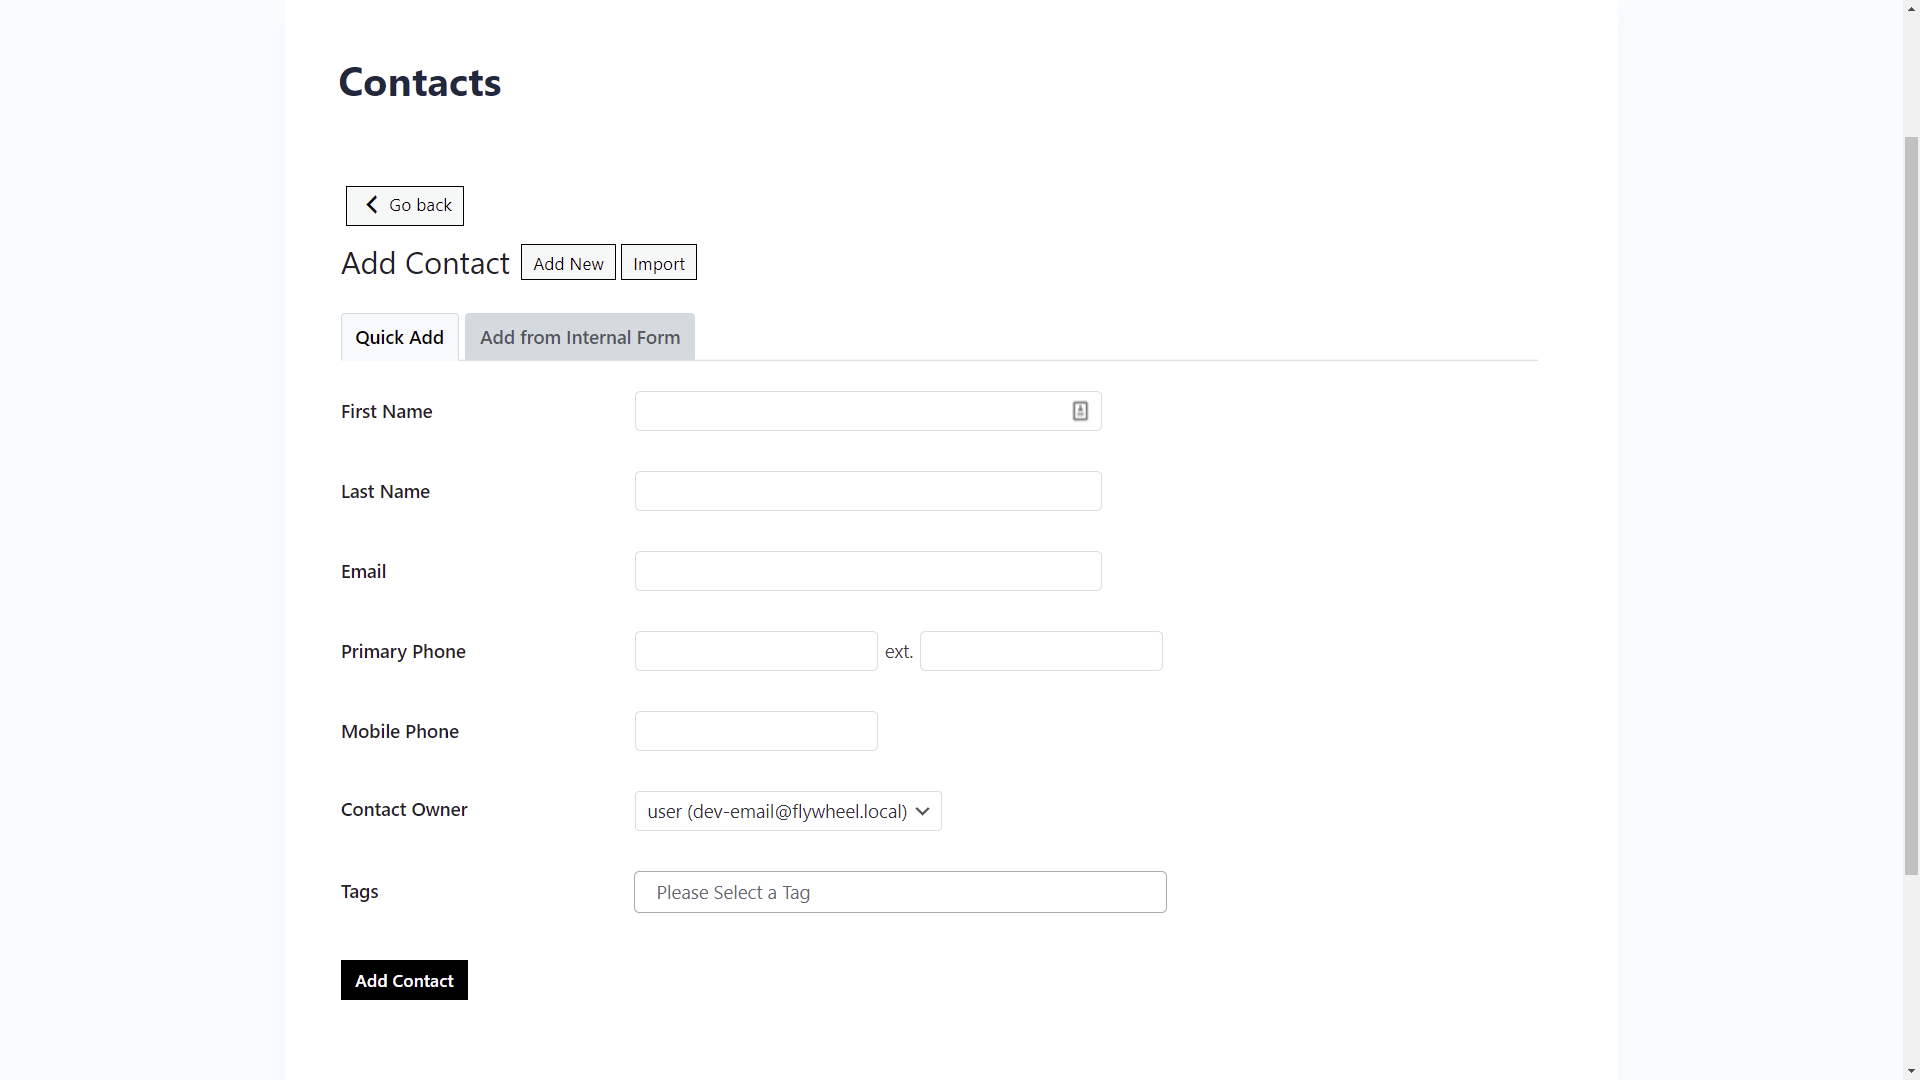
7- Edit the “Add New” form on the front-end
If you click on the “Add New” button, you can edit the form to hide any unnecessary elements and change any texts you want.

This is the “Quick Add” tab, where you can edit any field.

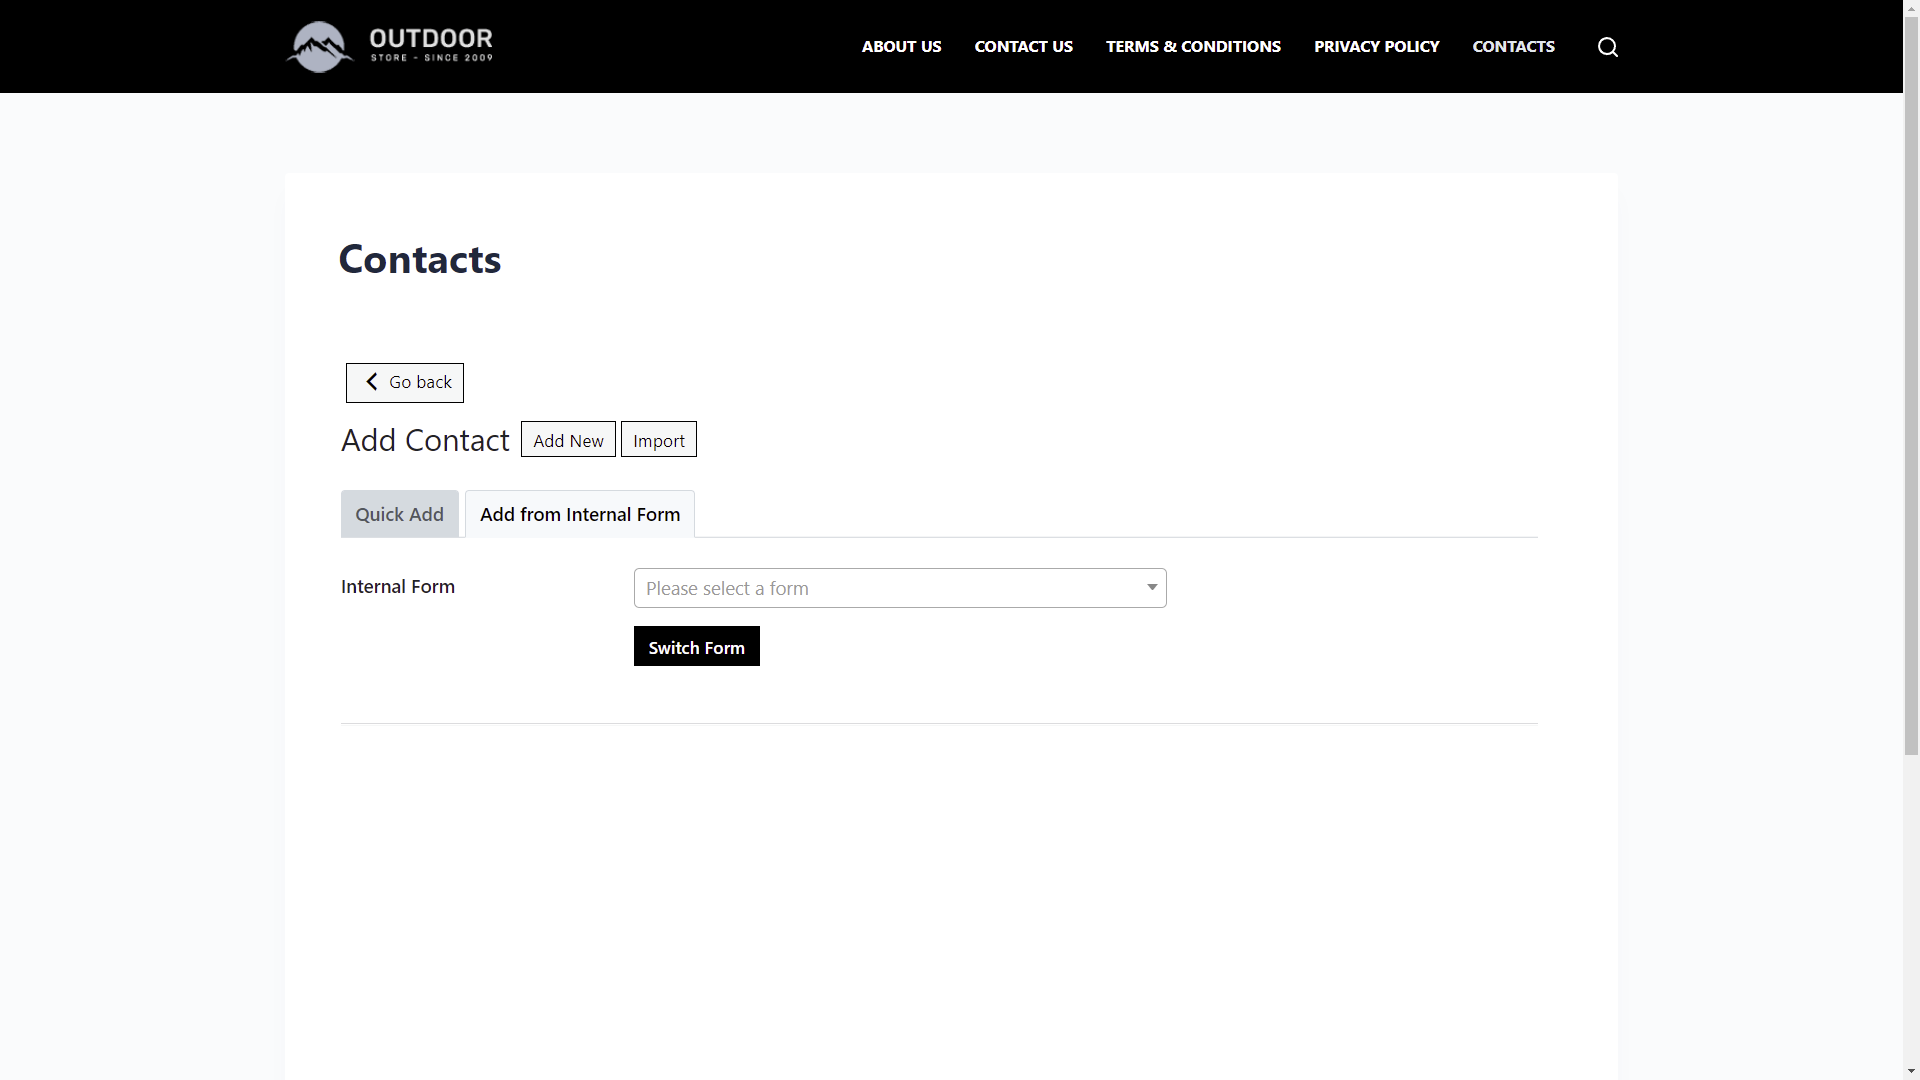
This is the “Add From Internal Form” tab, where you can select contacts from internal forms.
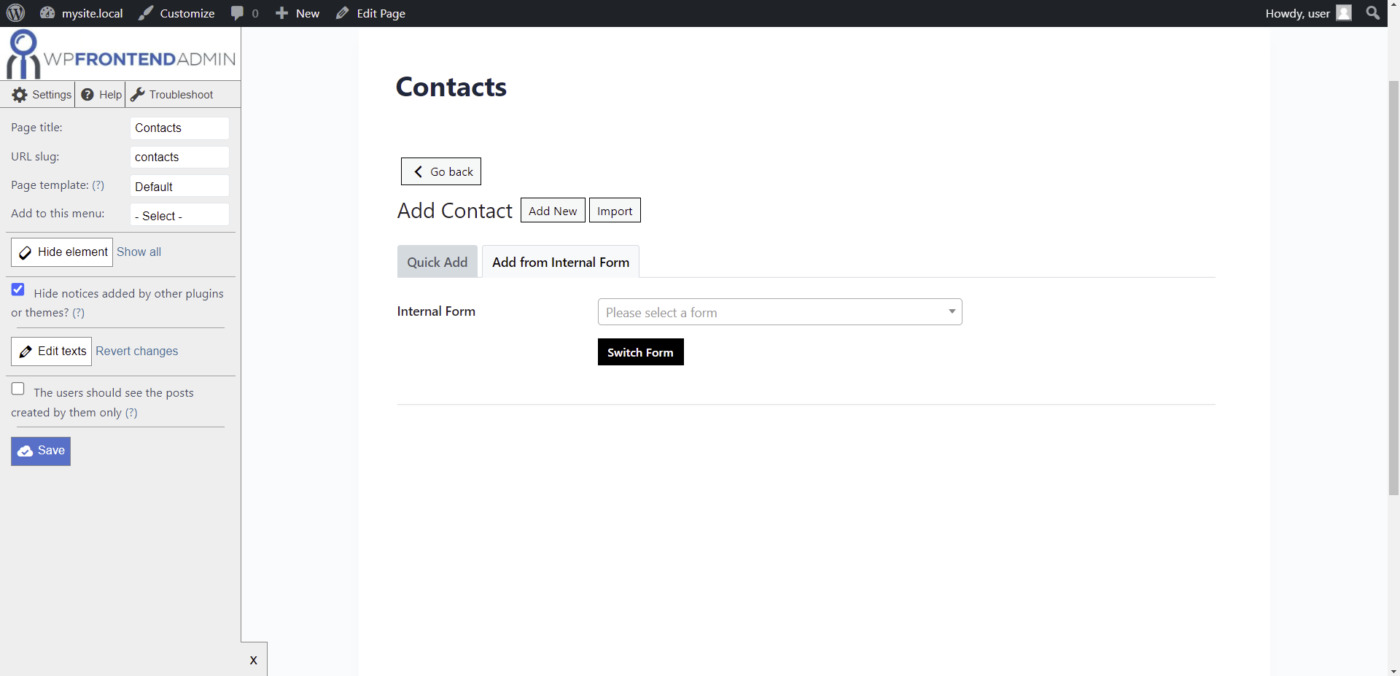
If you apply any changes to this page, make sure you save the changes on the Quick Settings panel.
8- Edit the “Import” page on the frontend
Right next to the “Add New” button, you’ll see the “Import” button, which allows you to import contacts from a CSV file.
You can open that page and edit it.
For example, you can remove the tabs selector because your users won’t need all these tabs to import contacts from the frontend.

Once you’re done, you can click on “Save” on the Quick Settings panel to apply the changes.
Manage the Groundhogg contacts on the frontend
This is what the “Contacts” page looks like on the frontend:
This is what the “Add New” form looks like on the front-end:
And this is what the “Import” tool looks like on the frontend:
With WP Frontend Admin, you can allow your users to manage the Groundhogg “Contacts” page on the front-end.
Read more tutorials on how to build a web app based on the Groundhogg plugin.
You can try the premium plugin on your website for free for 7 days.
