IMPORTANT
The WildCloud platform is no longer available. This page remains published for historical purposes only.
Welcome. This lesson is part of our free course “Building a Restaurant Management Platform with Wildcloud”. In this lesson, we will start building the frontend dashboard that will allow our users to manage their restaurant’s site/store without the need to use the normal wp-admin dashboard.
What you’ll learn in this lesson:
What is a global front-end dashboard
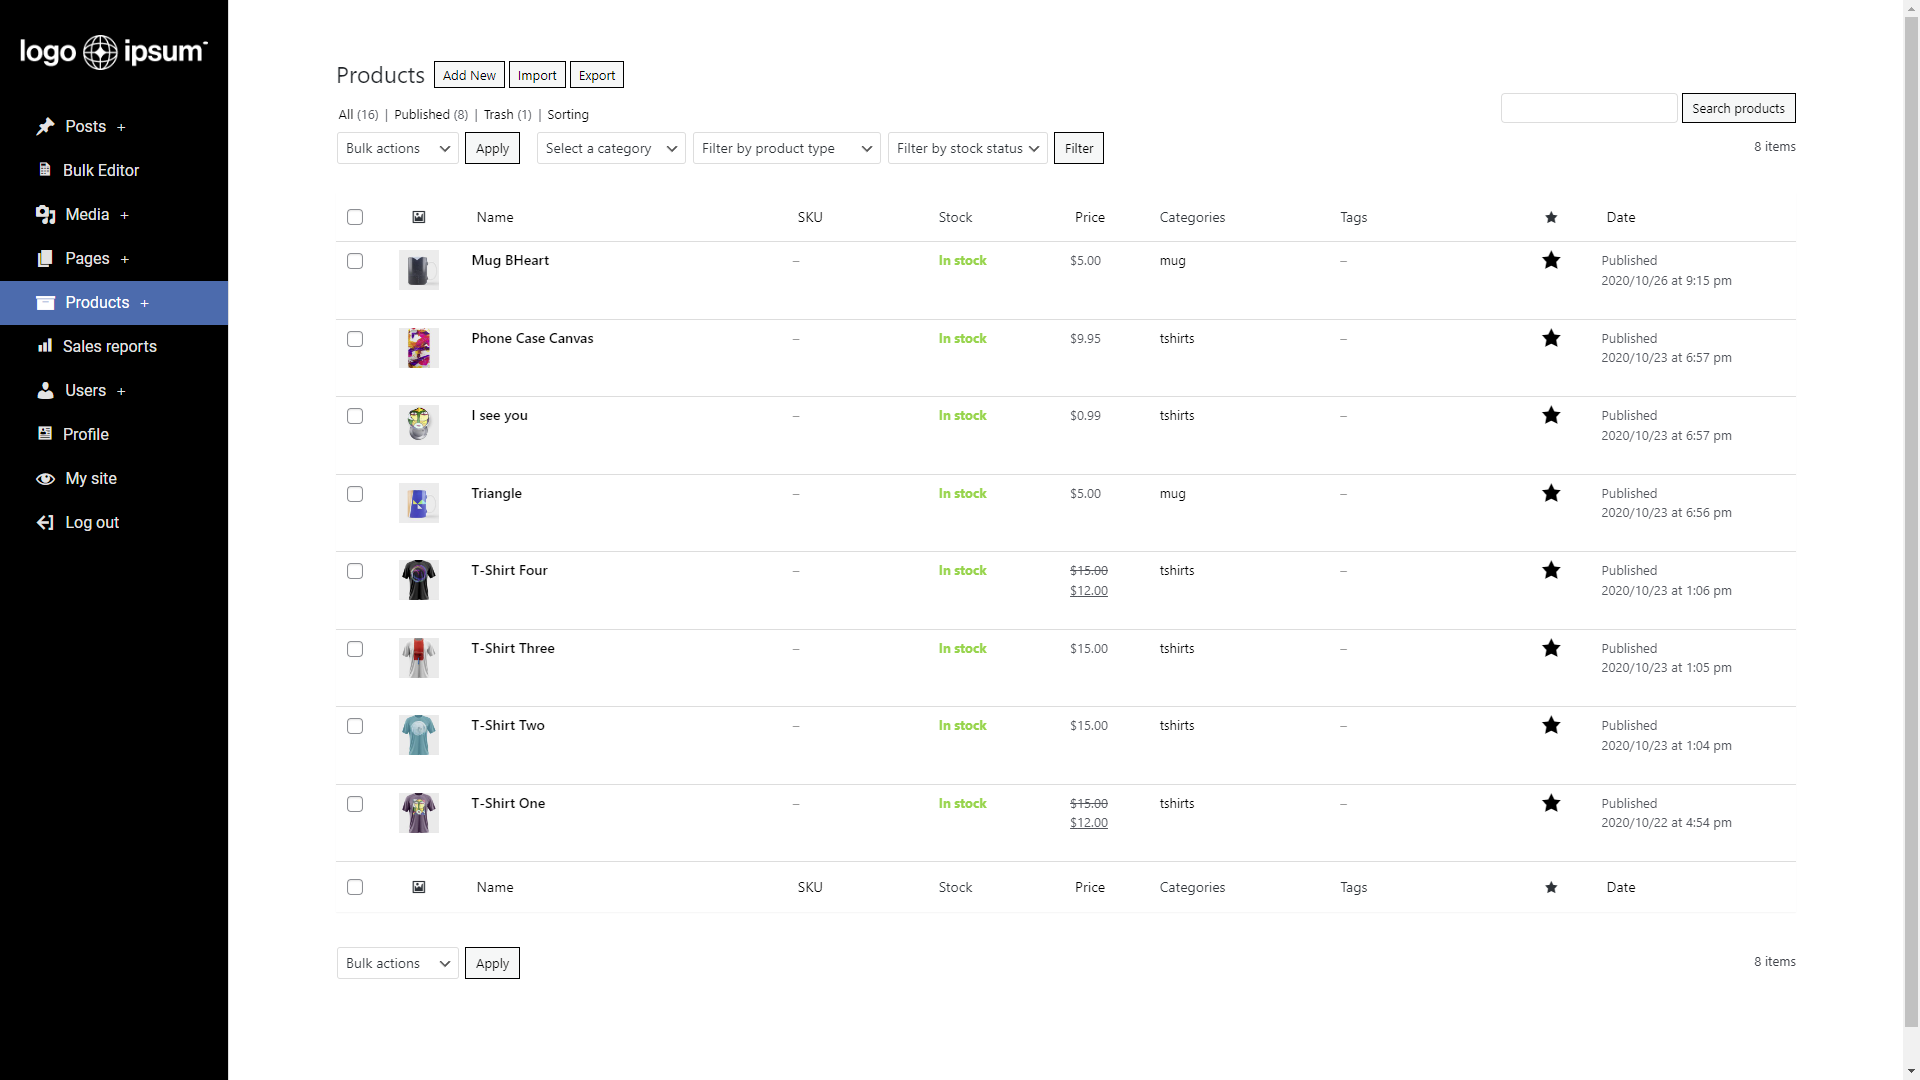
As you know, to manage a normal WordPress site (a tenant in the Wildcloud ecosystem), we must use the wp-admin dashboard. This is what users would normally see when managing their restaurant’s site/store on your restaurant management platform:
However, this is not the best option, especially if you are creating a customized platform to sell sites and allow your platform users to sell food online. This is where the concept of a global front-end dashboard comes in.
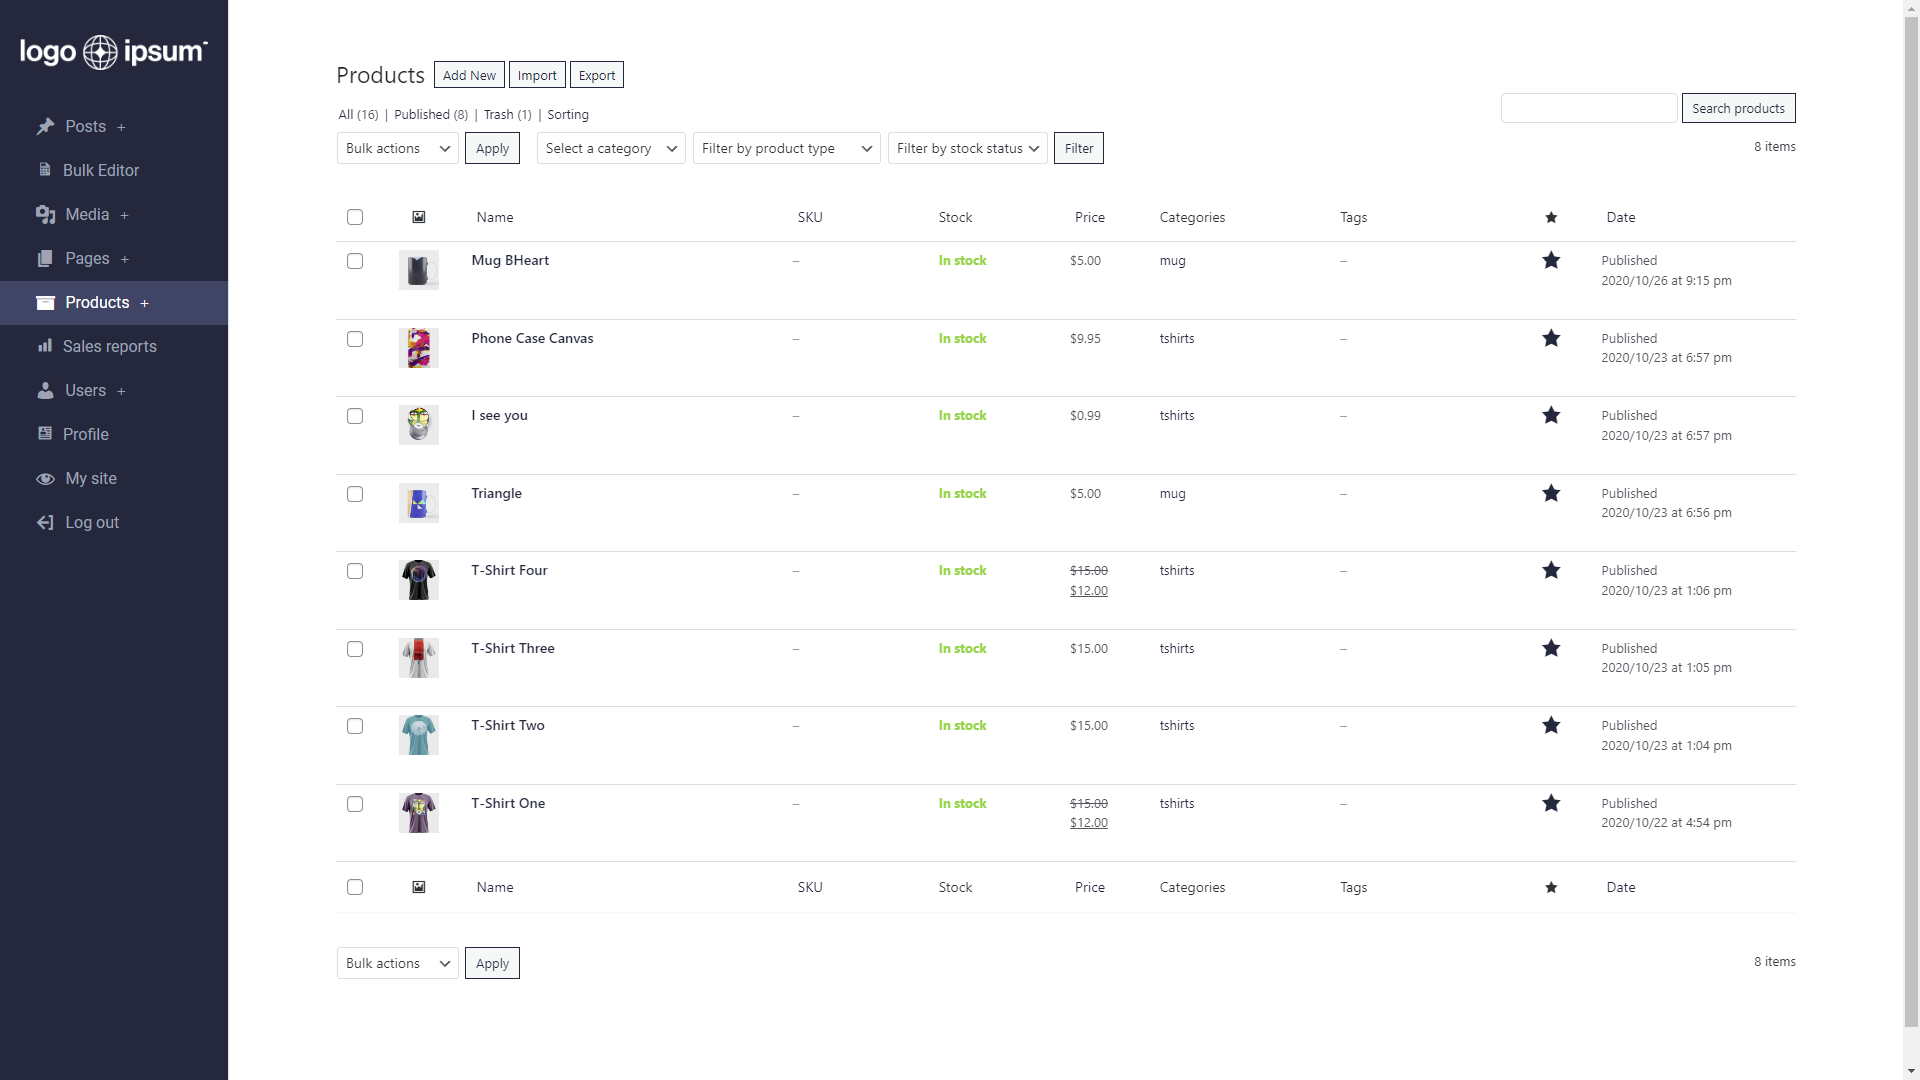
A global frontend dashboard is a normal WordPress site (a tenant in the Wildcloud ecosystem) where you can configure a custom dashboard for your entire platform.
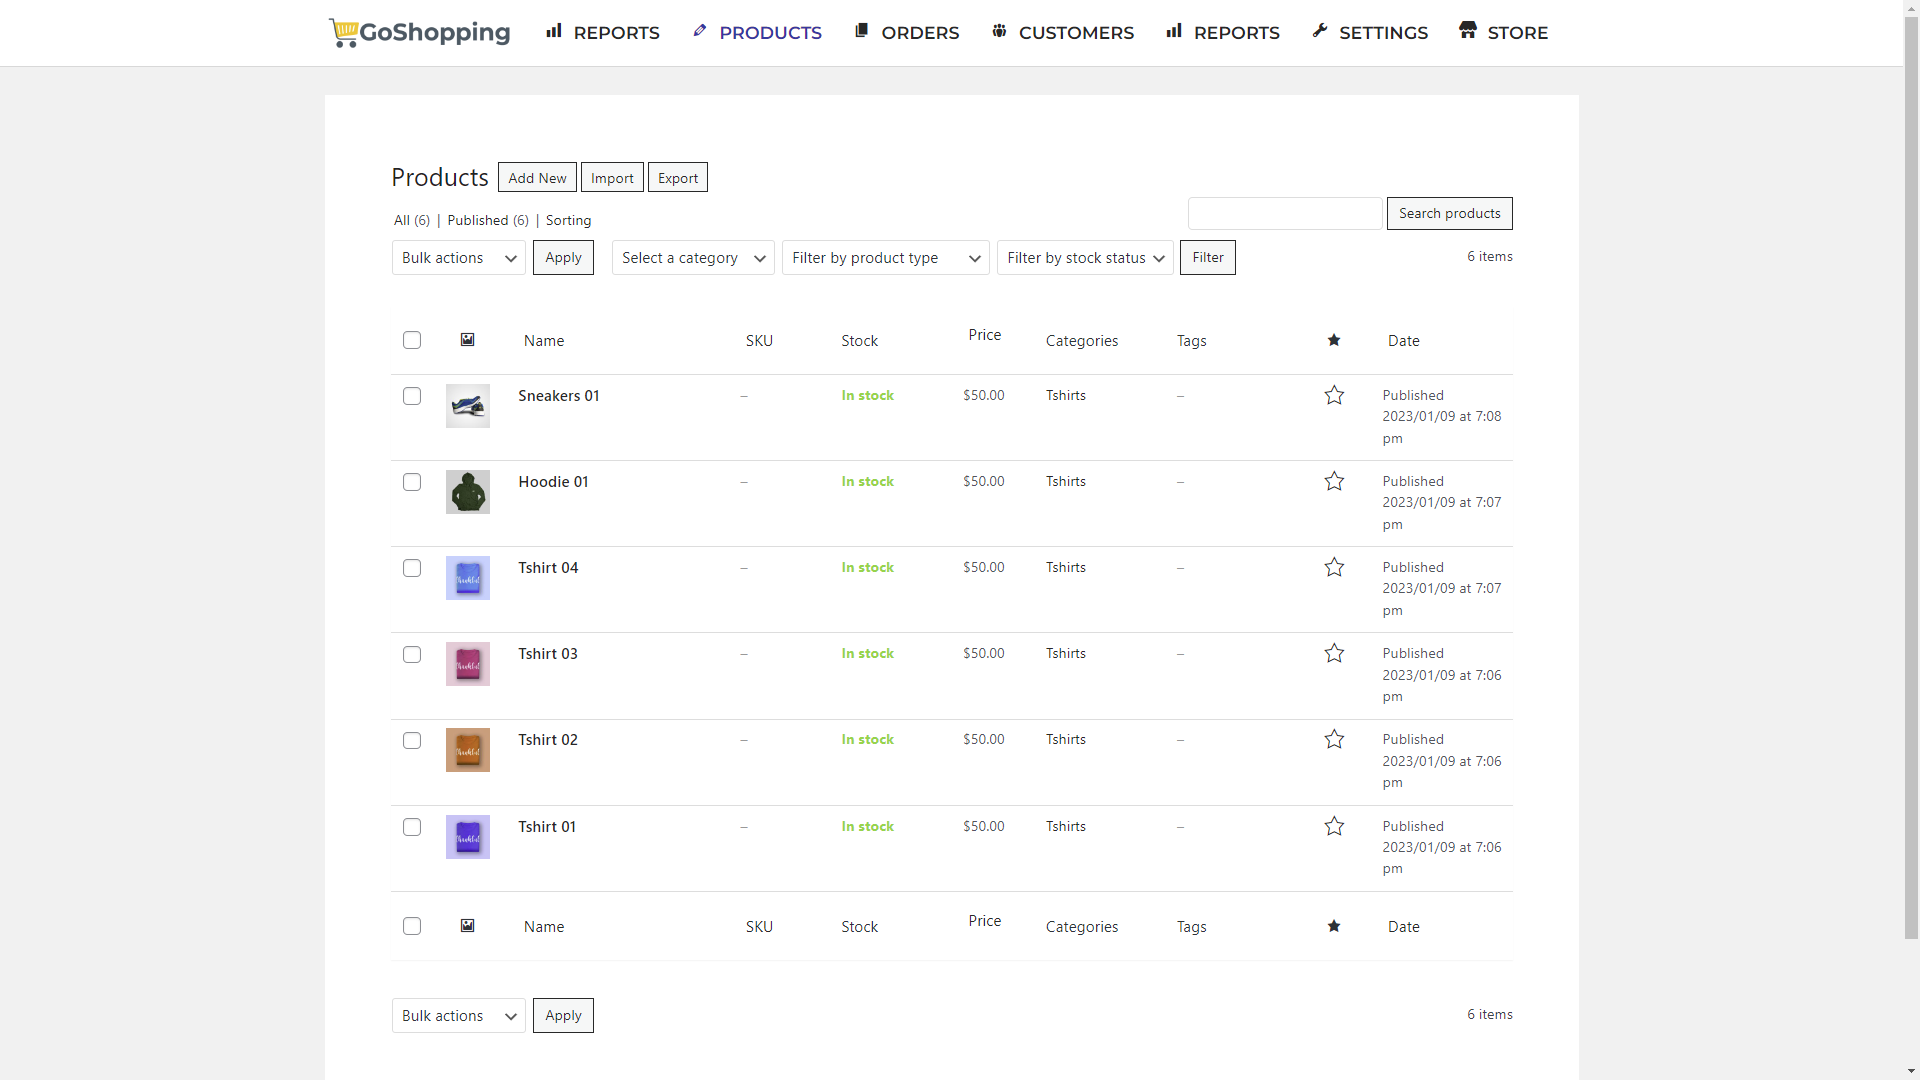
WP Frontend Admin allows you to display any wp-admin page on the frontend to create custom dashboards, web apps based on WordPress plugins, etc.
In the case of multisite networks or Wildcloud applications, WP Frontend Admin allows you to use a specific site/tenant as the global dashboard from which all your clients will be able to manage their own sites. When they try to open the wp-admin dashboard of their own sites, they will be automatically redirected to the global dashboard site.
WP Frontend Admin is compatible with any WordPress theme or page builder, so you can design your frontend dashboards the way you want.
To simplify the creation of your frontend dashboards, we have created some frontend dashboard templates for Elementor that you can download on this page. You can import and use these templates manually, or you can use our Template Wizard to create the frontend dashboard pages automatically. More on that in the next lesson.
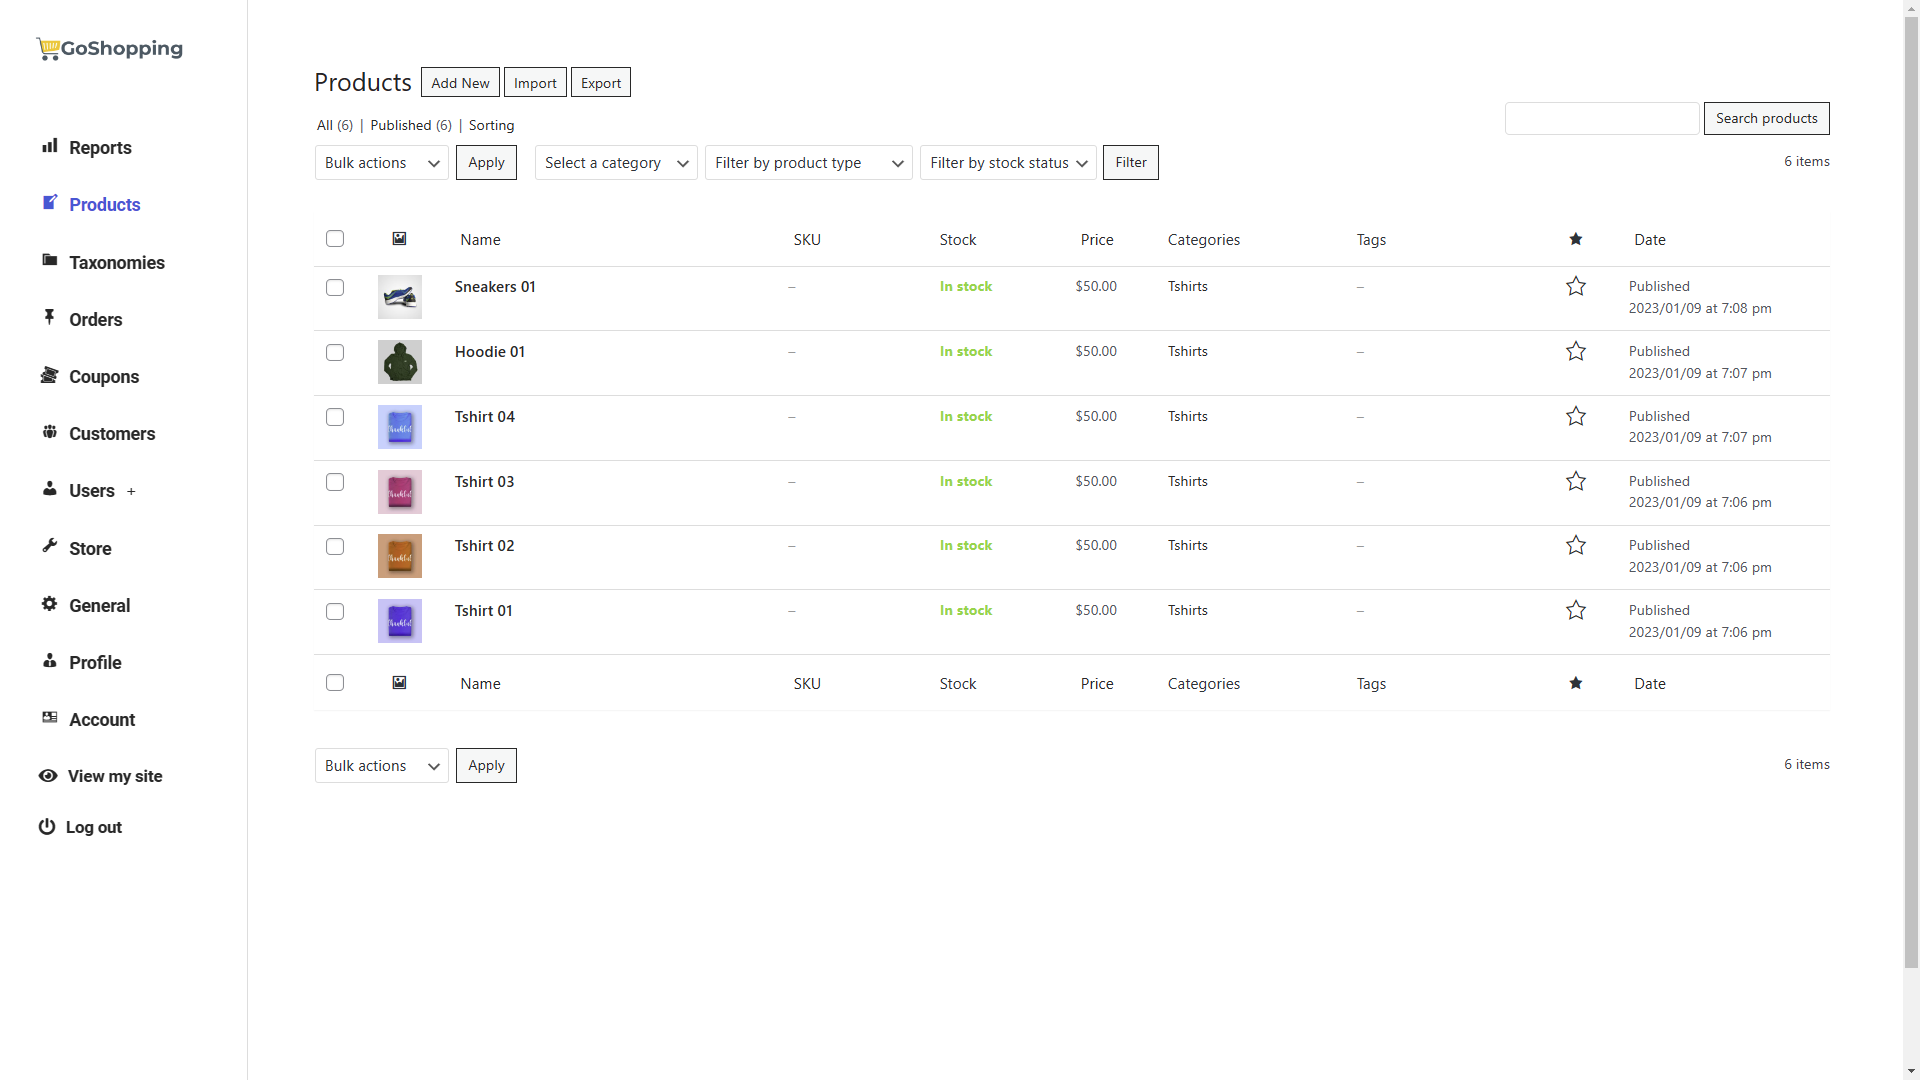
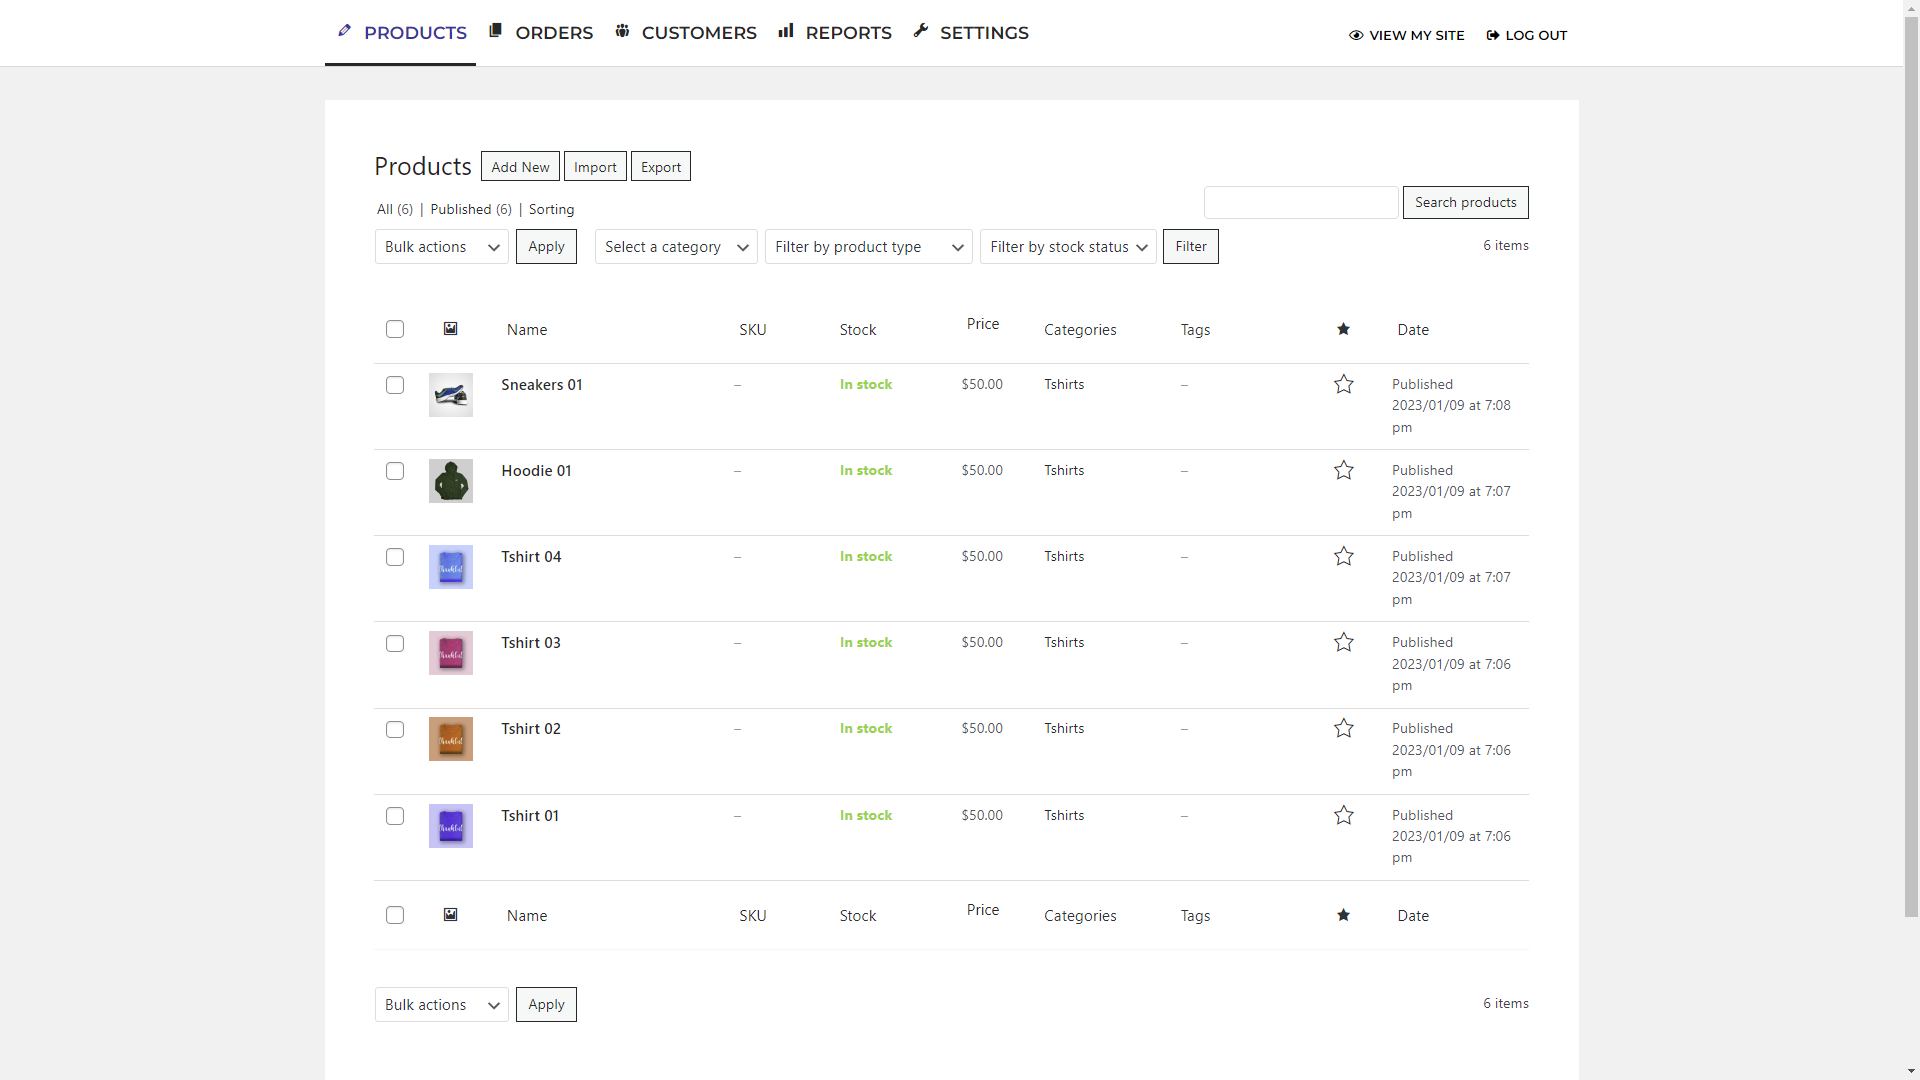
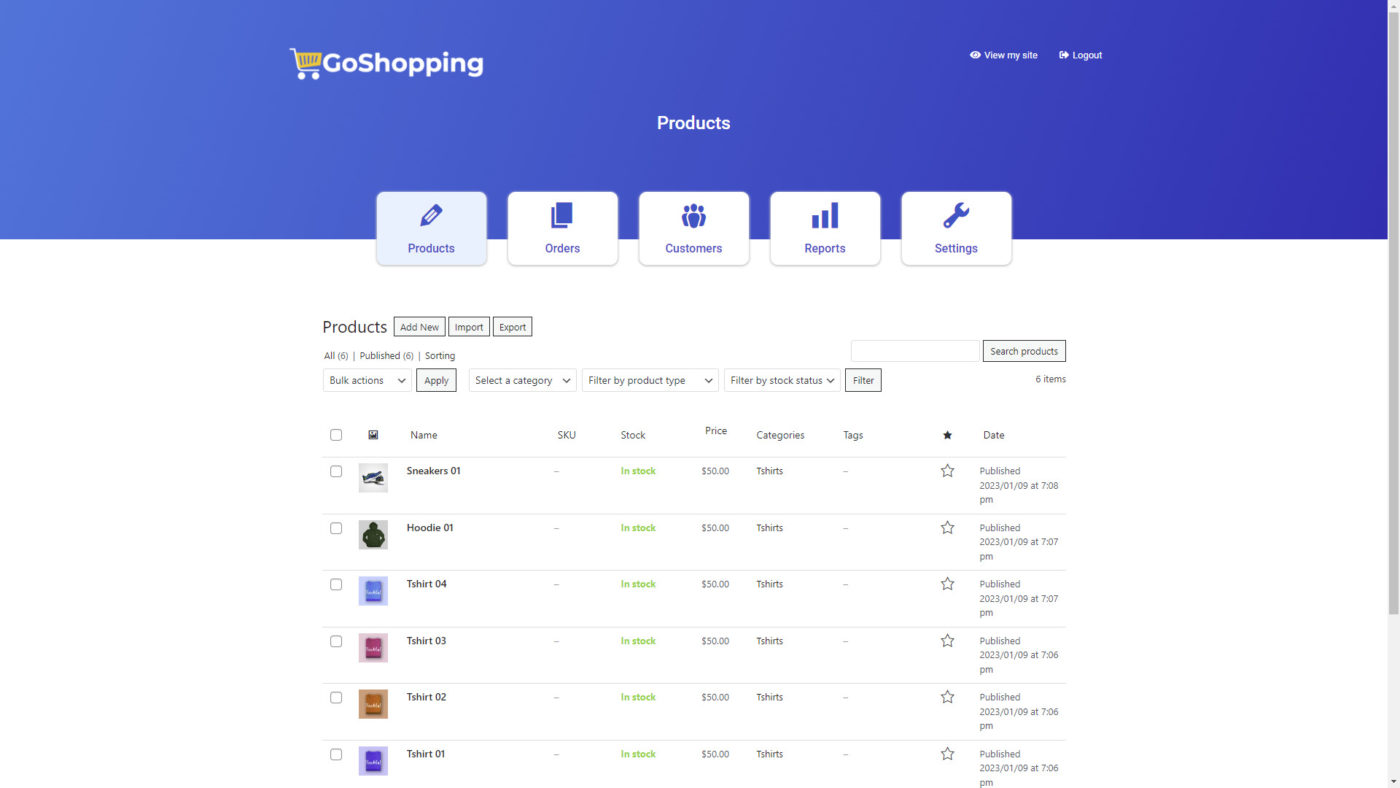
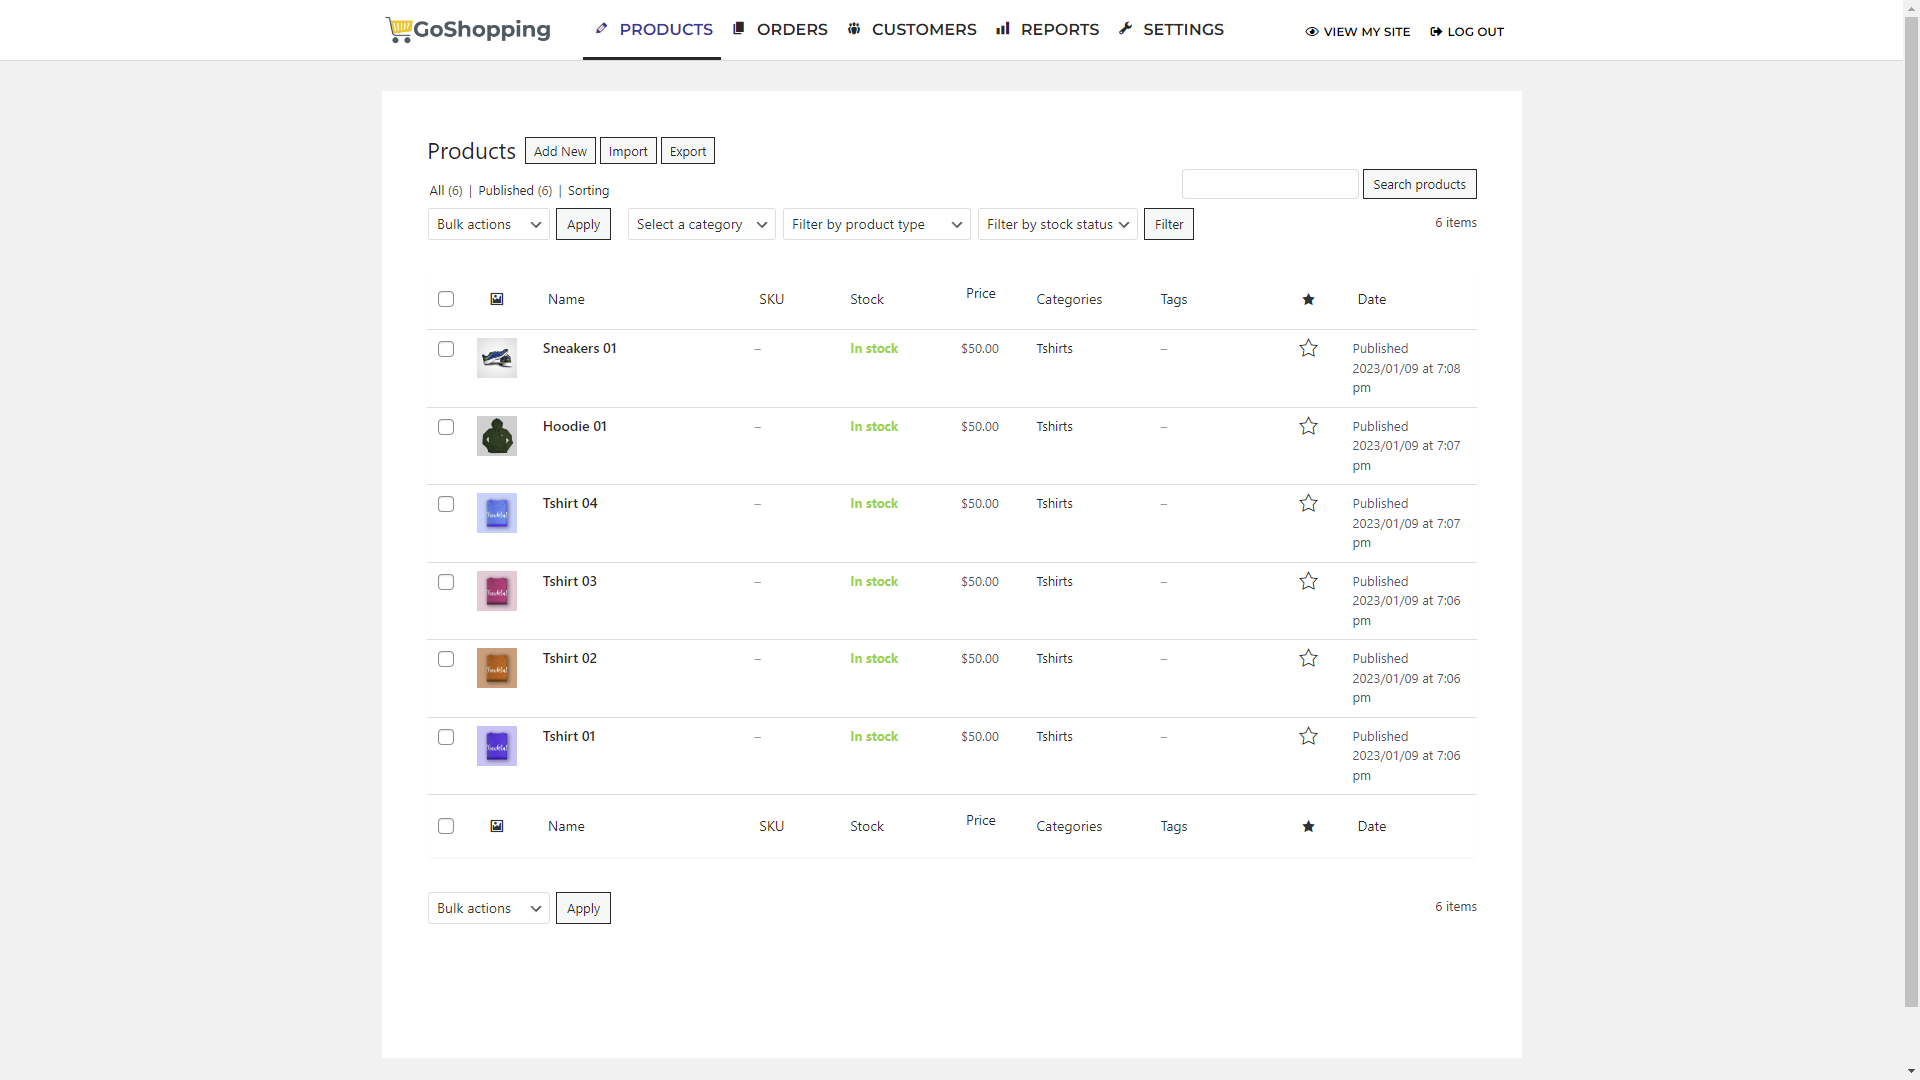
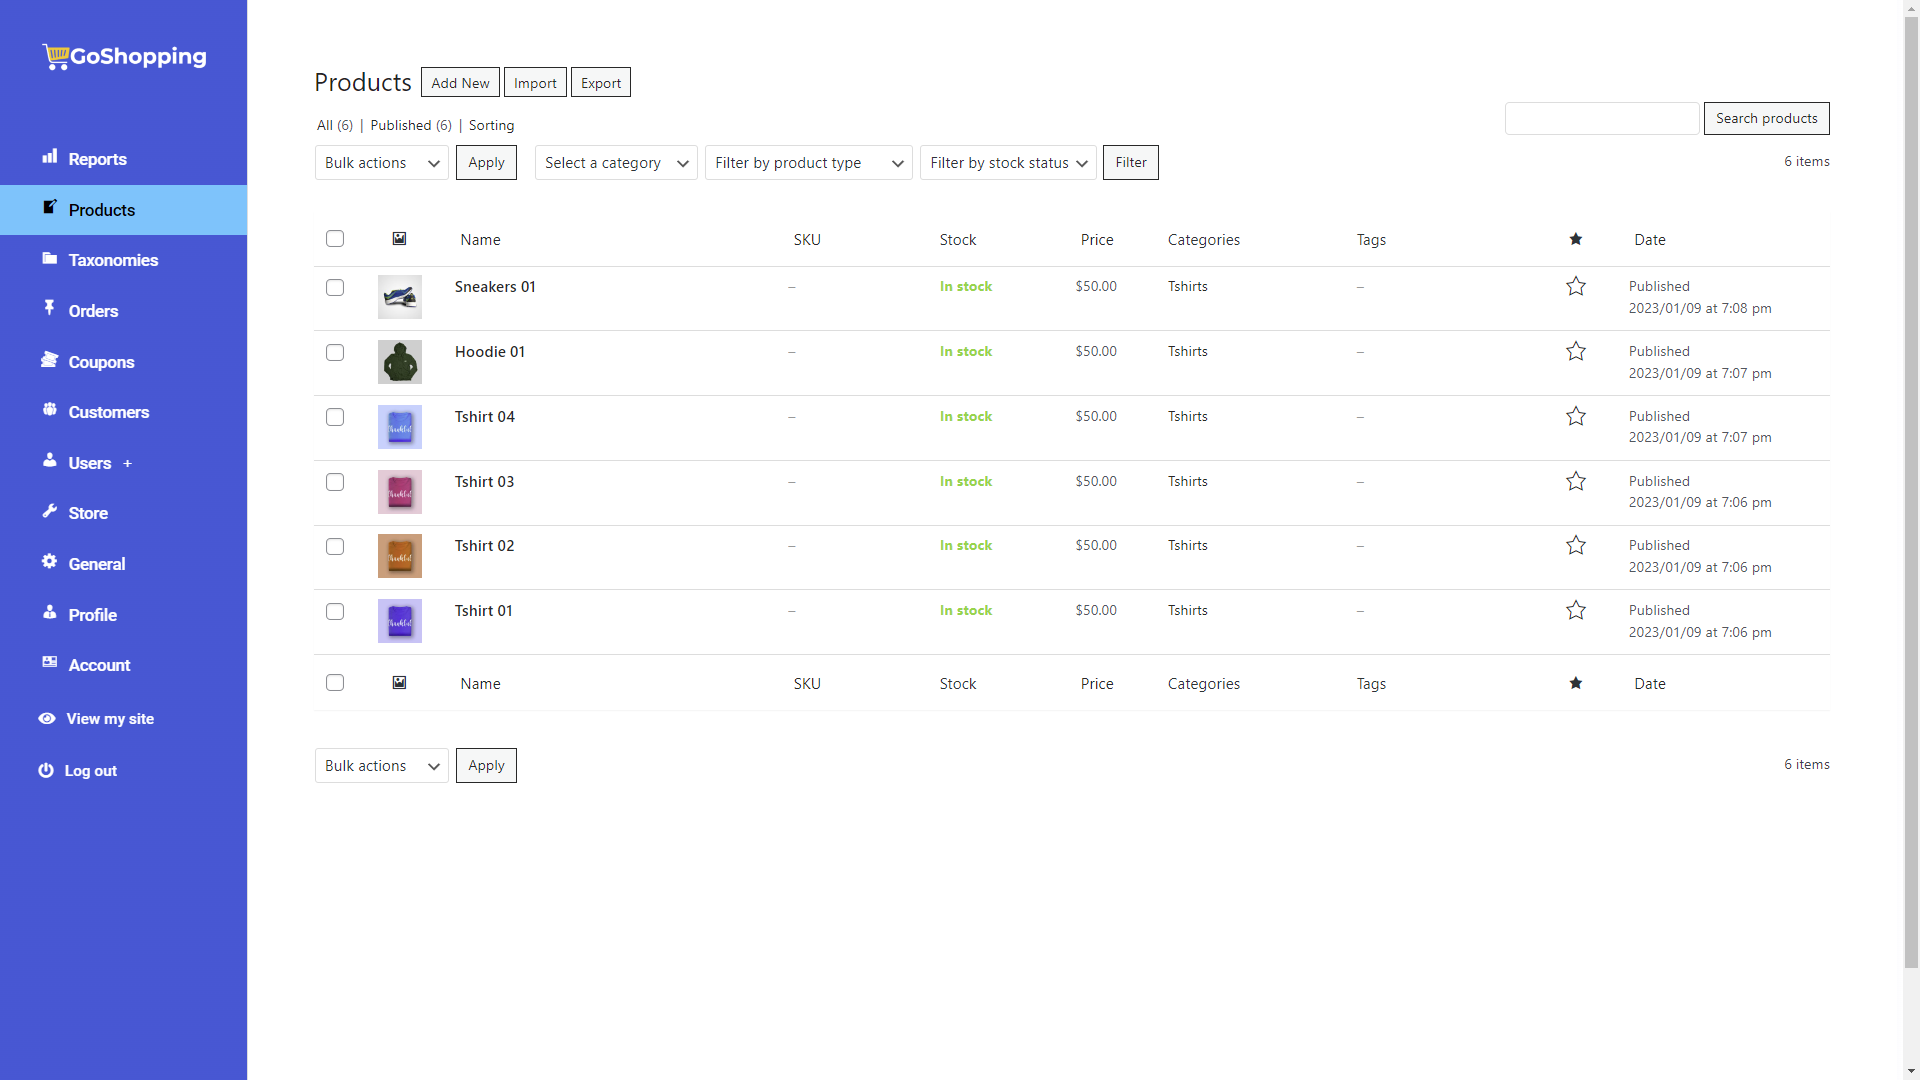
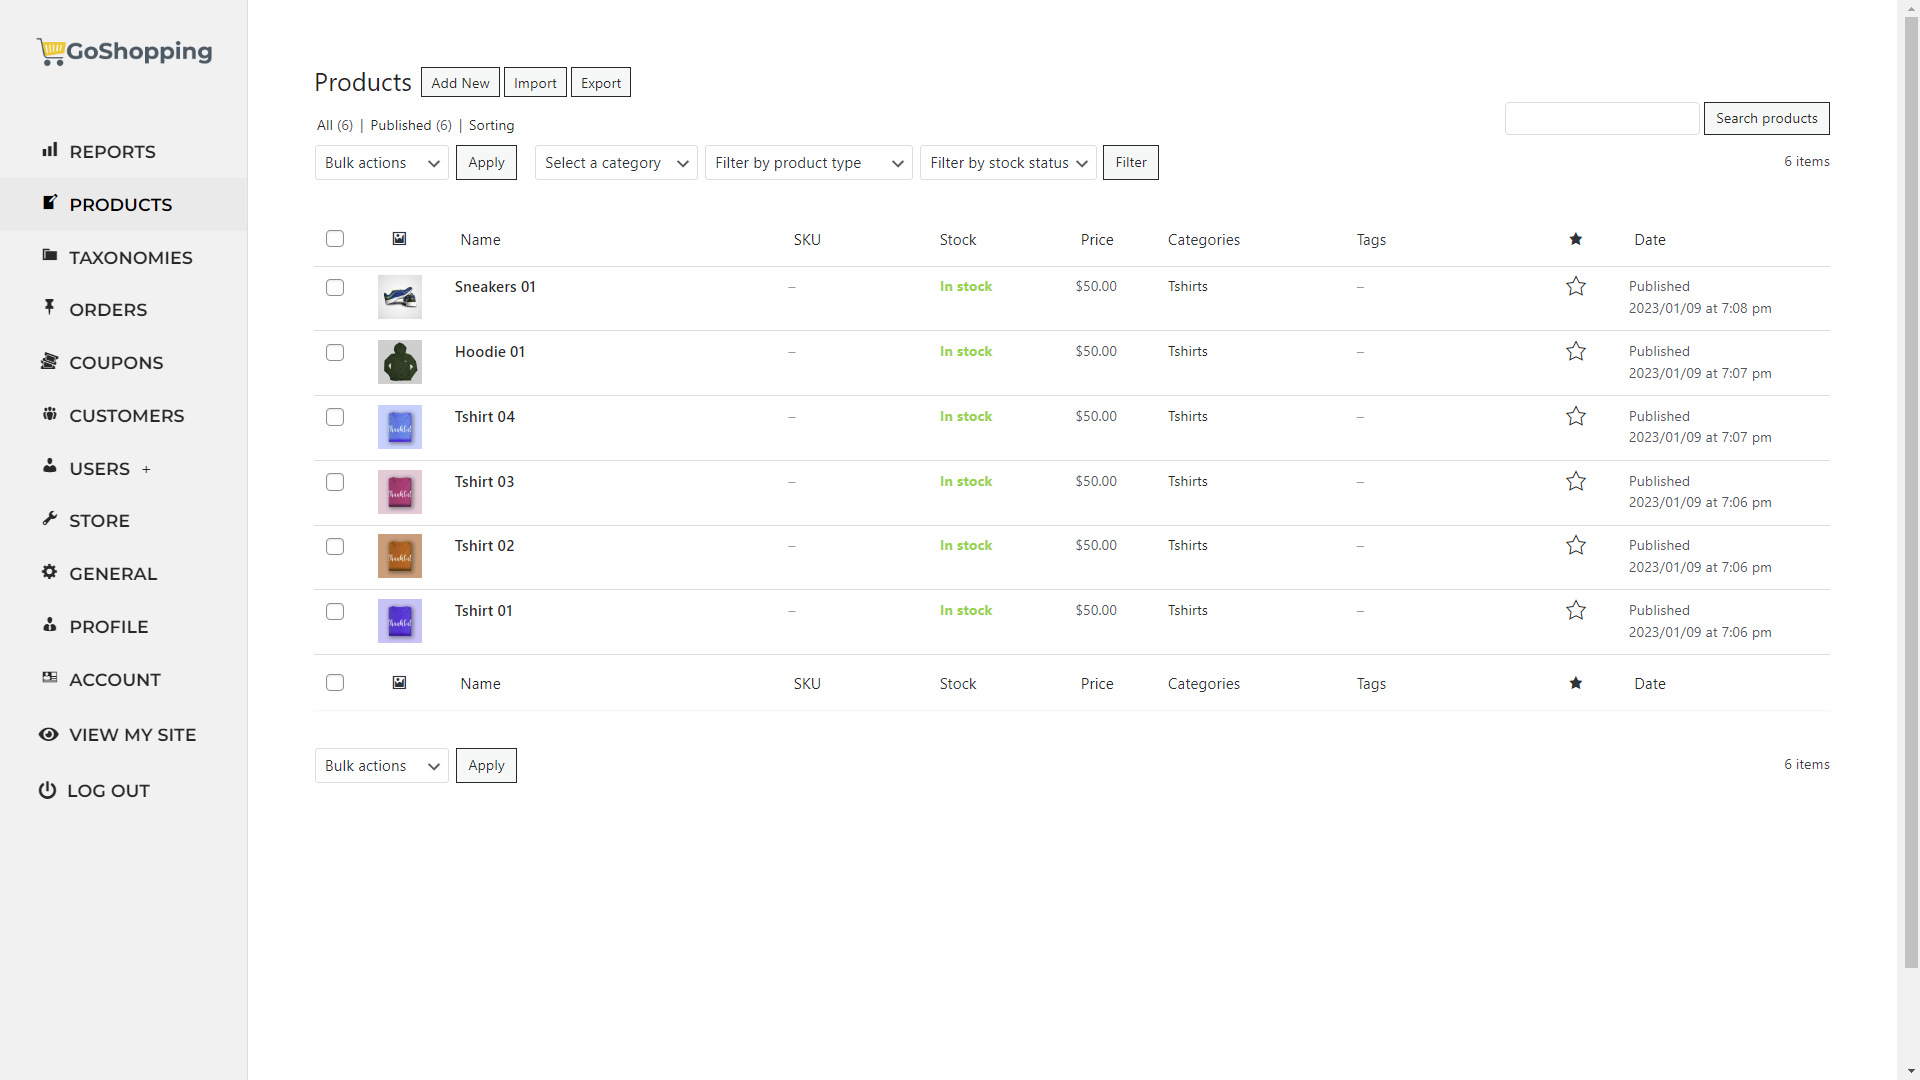
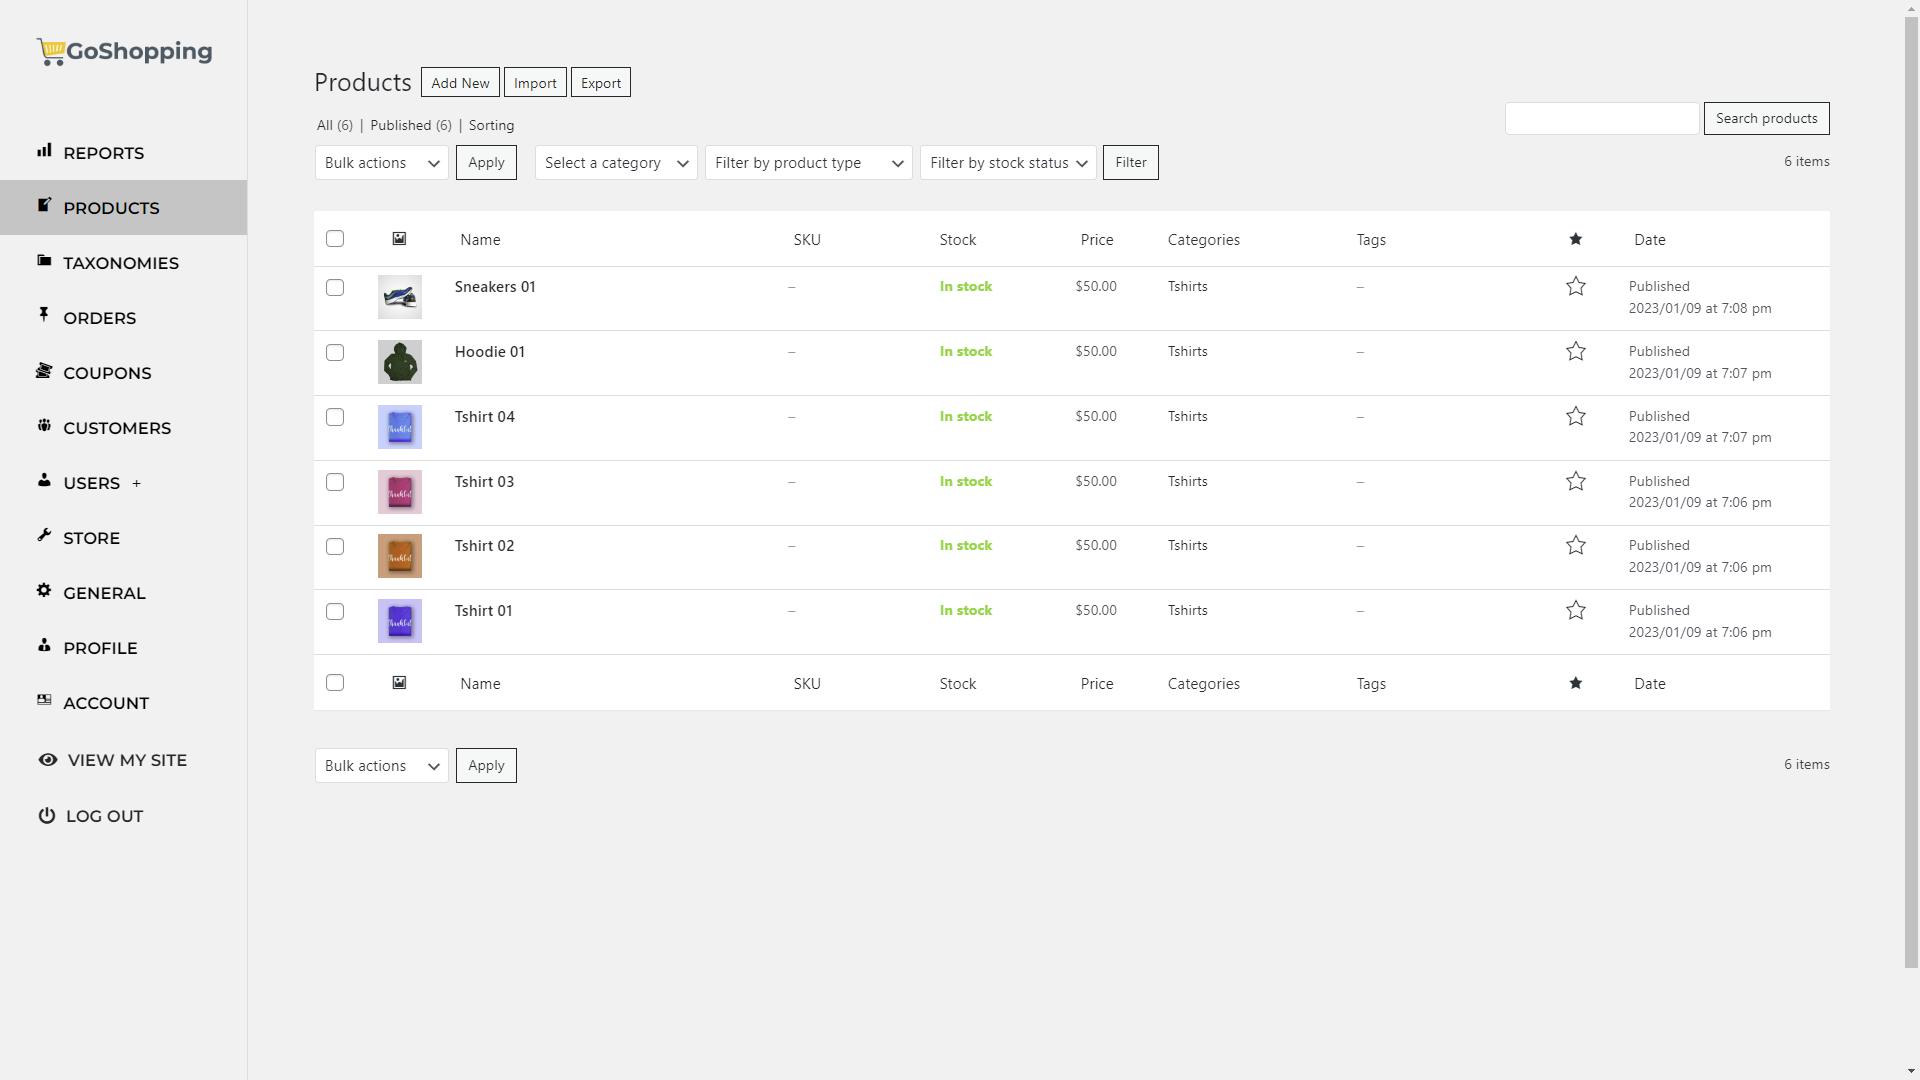
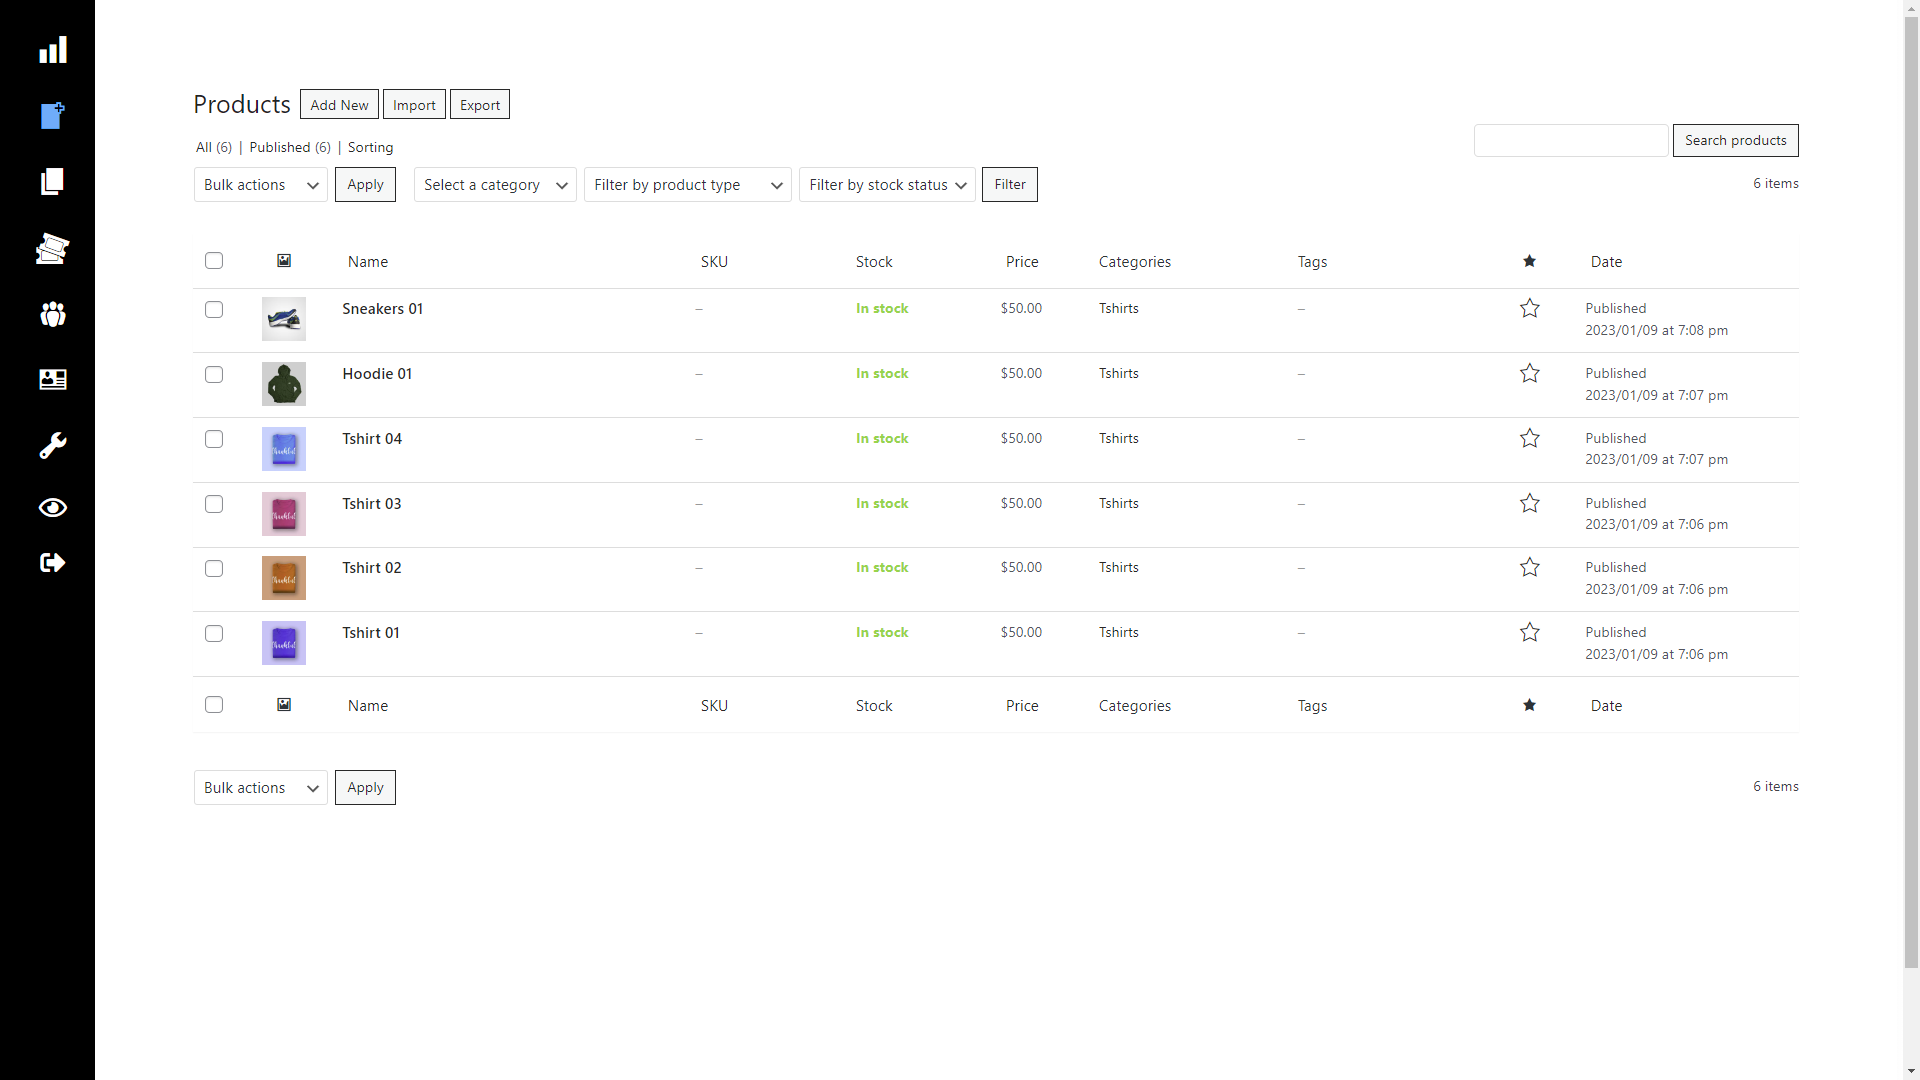
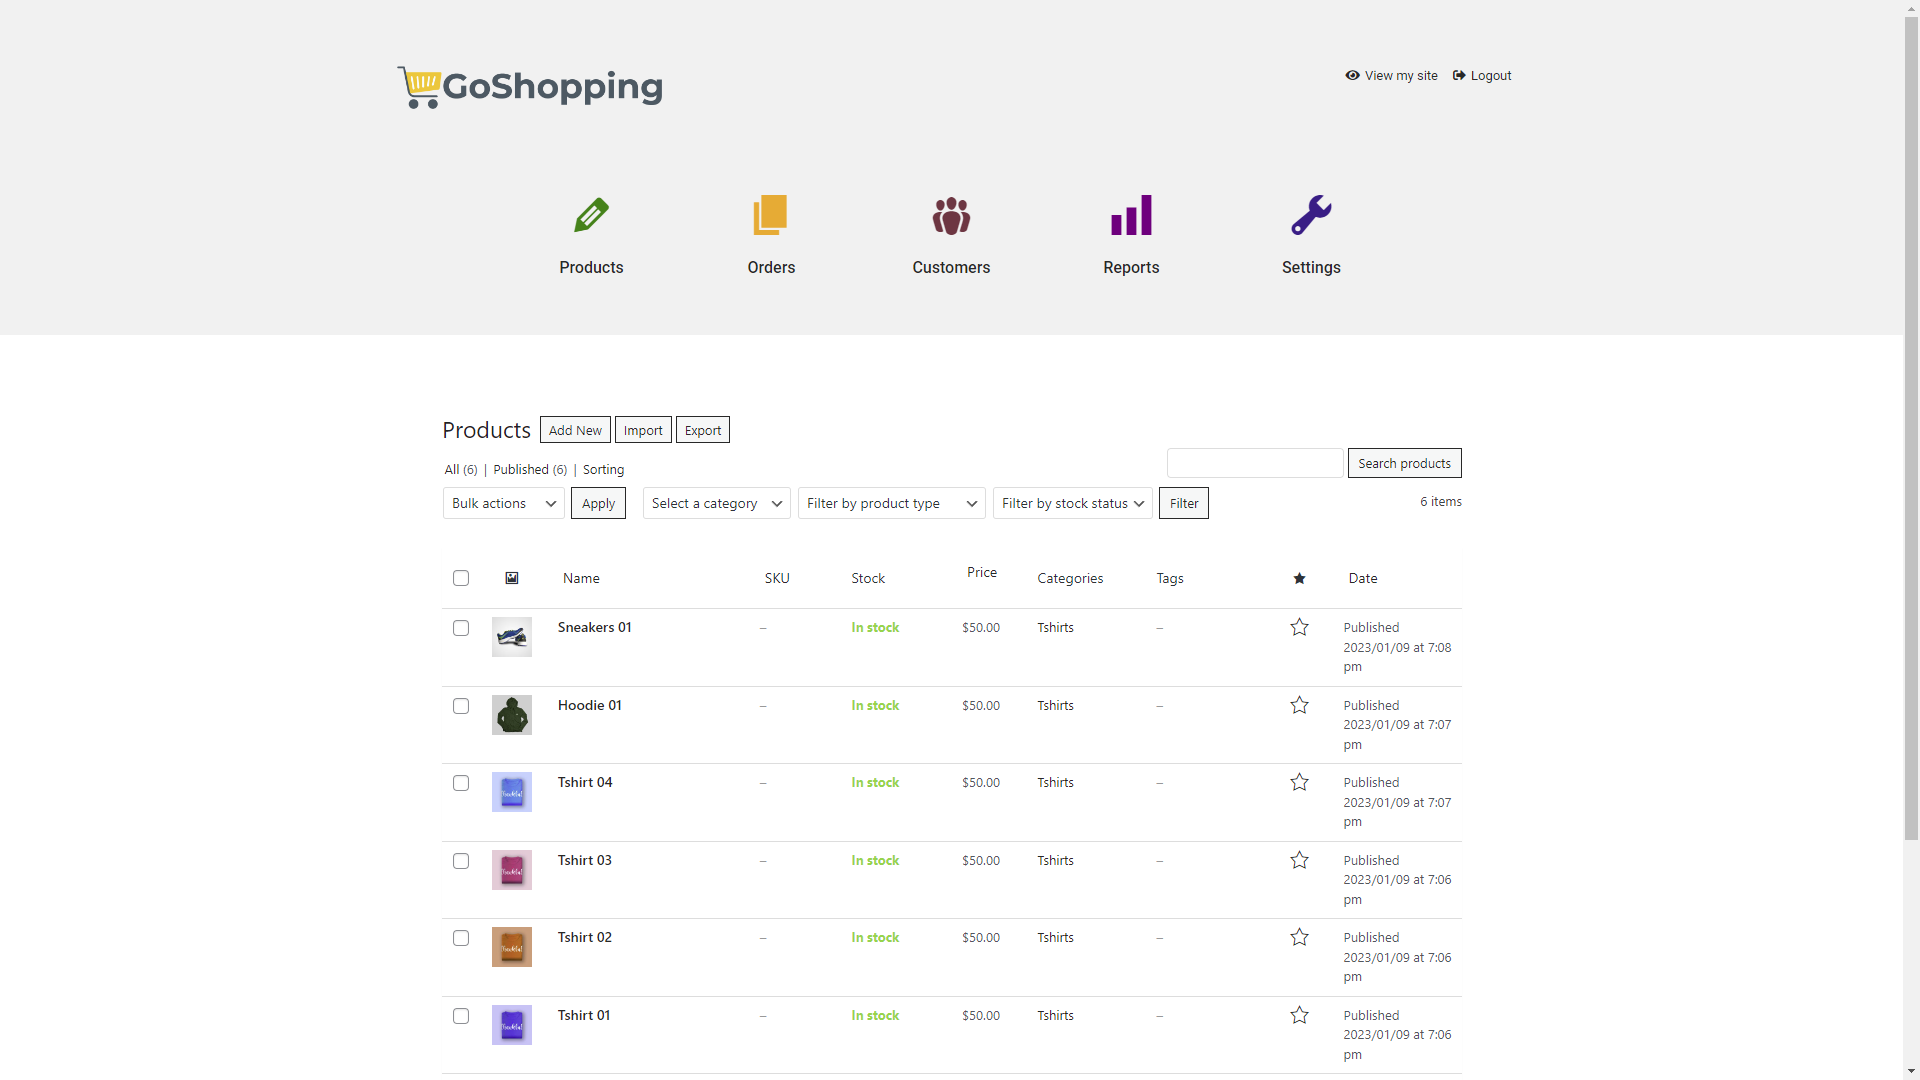
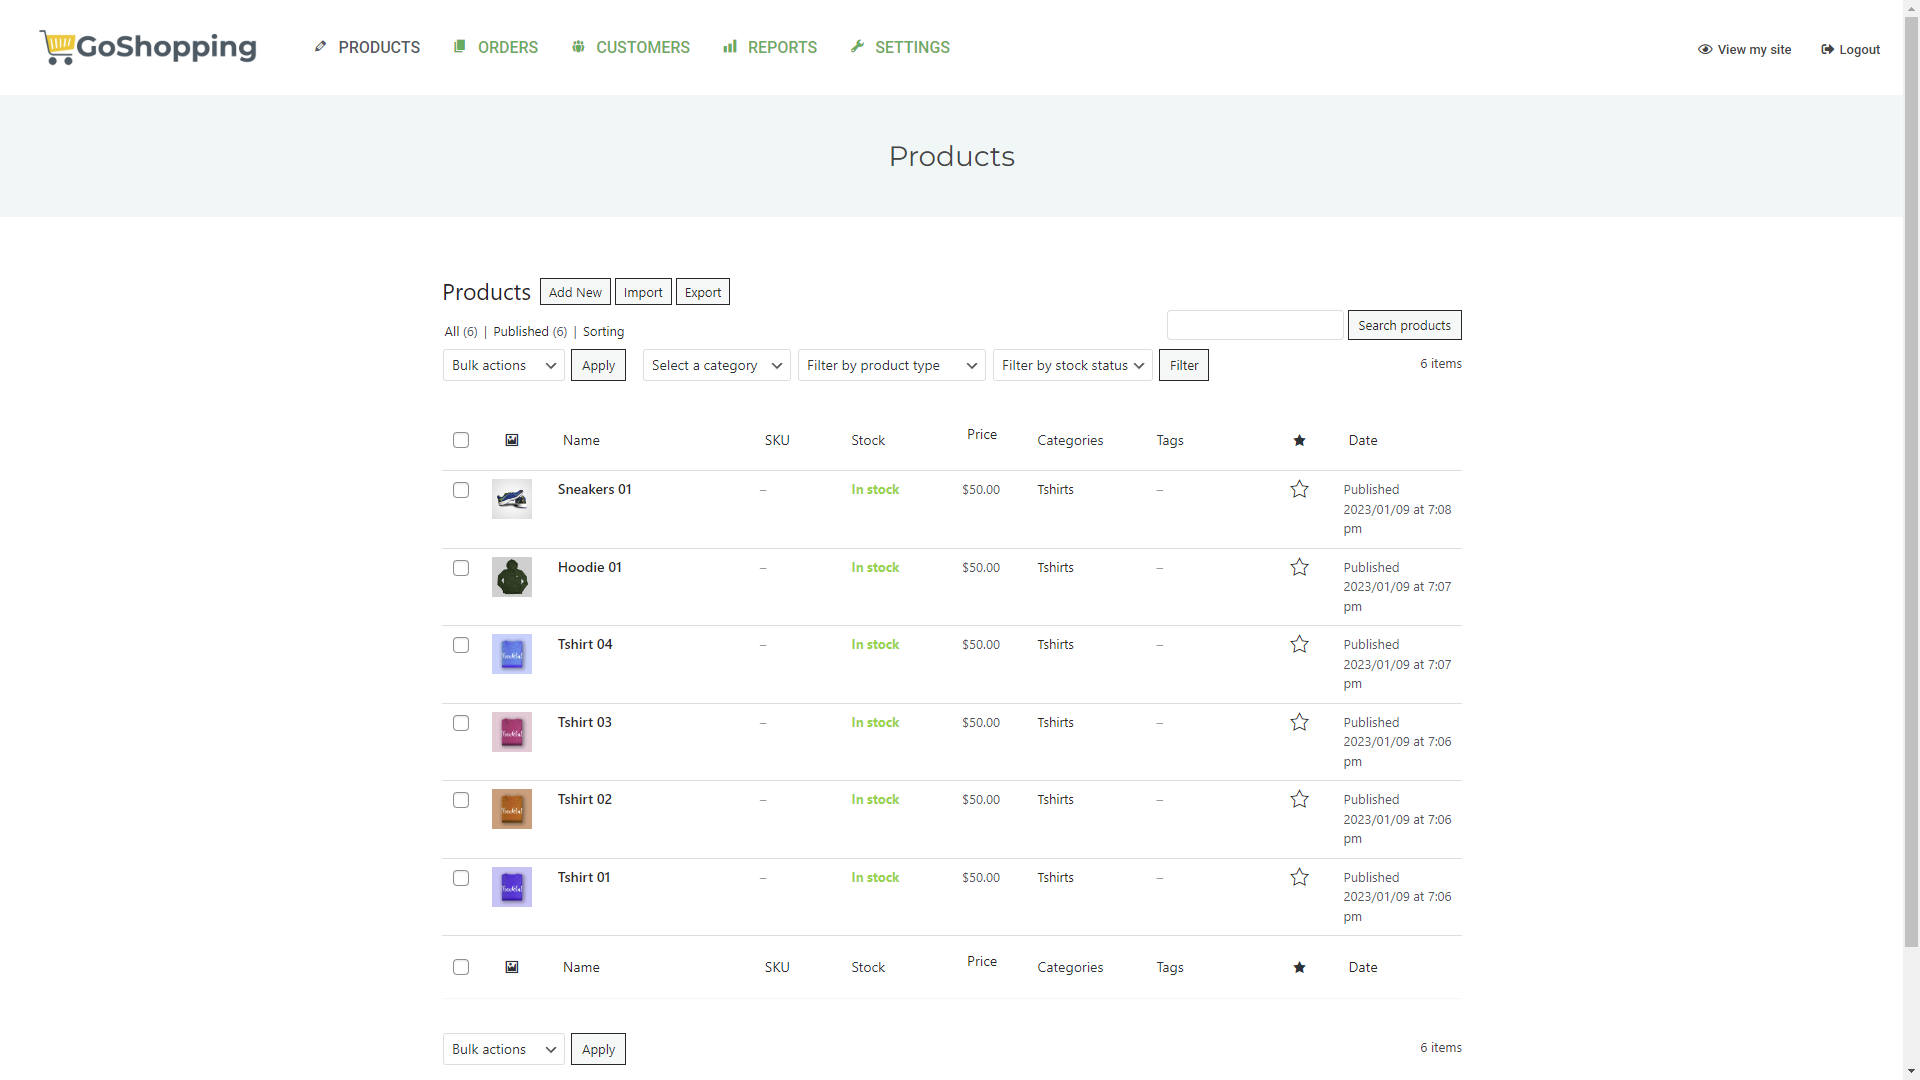
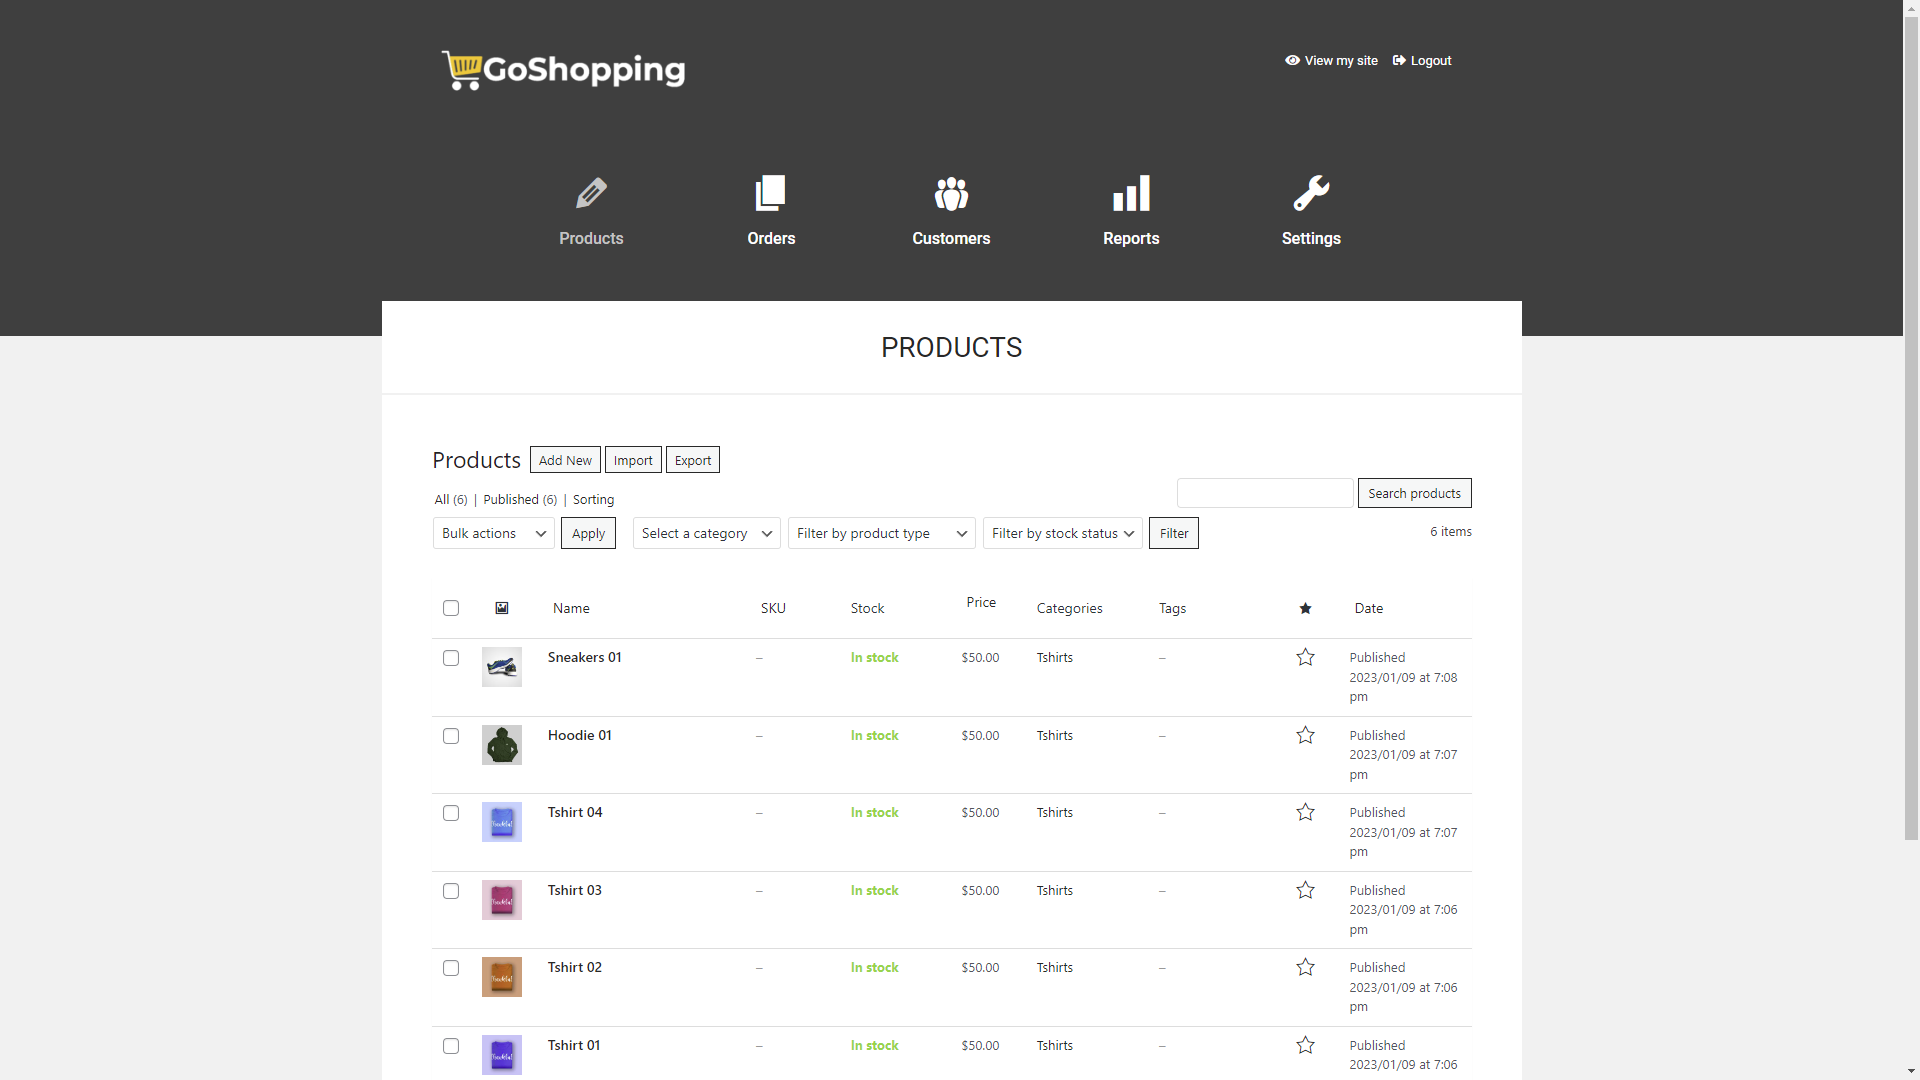
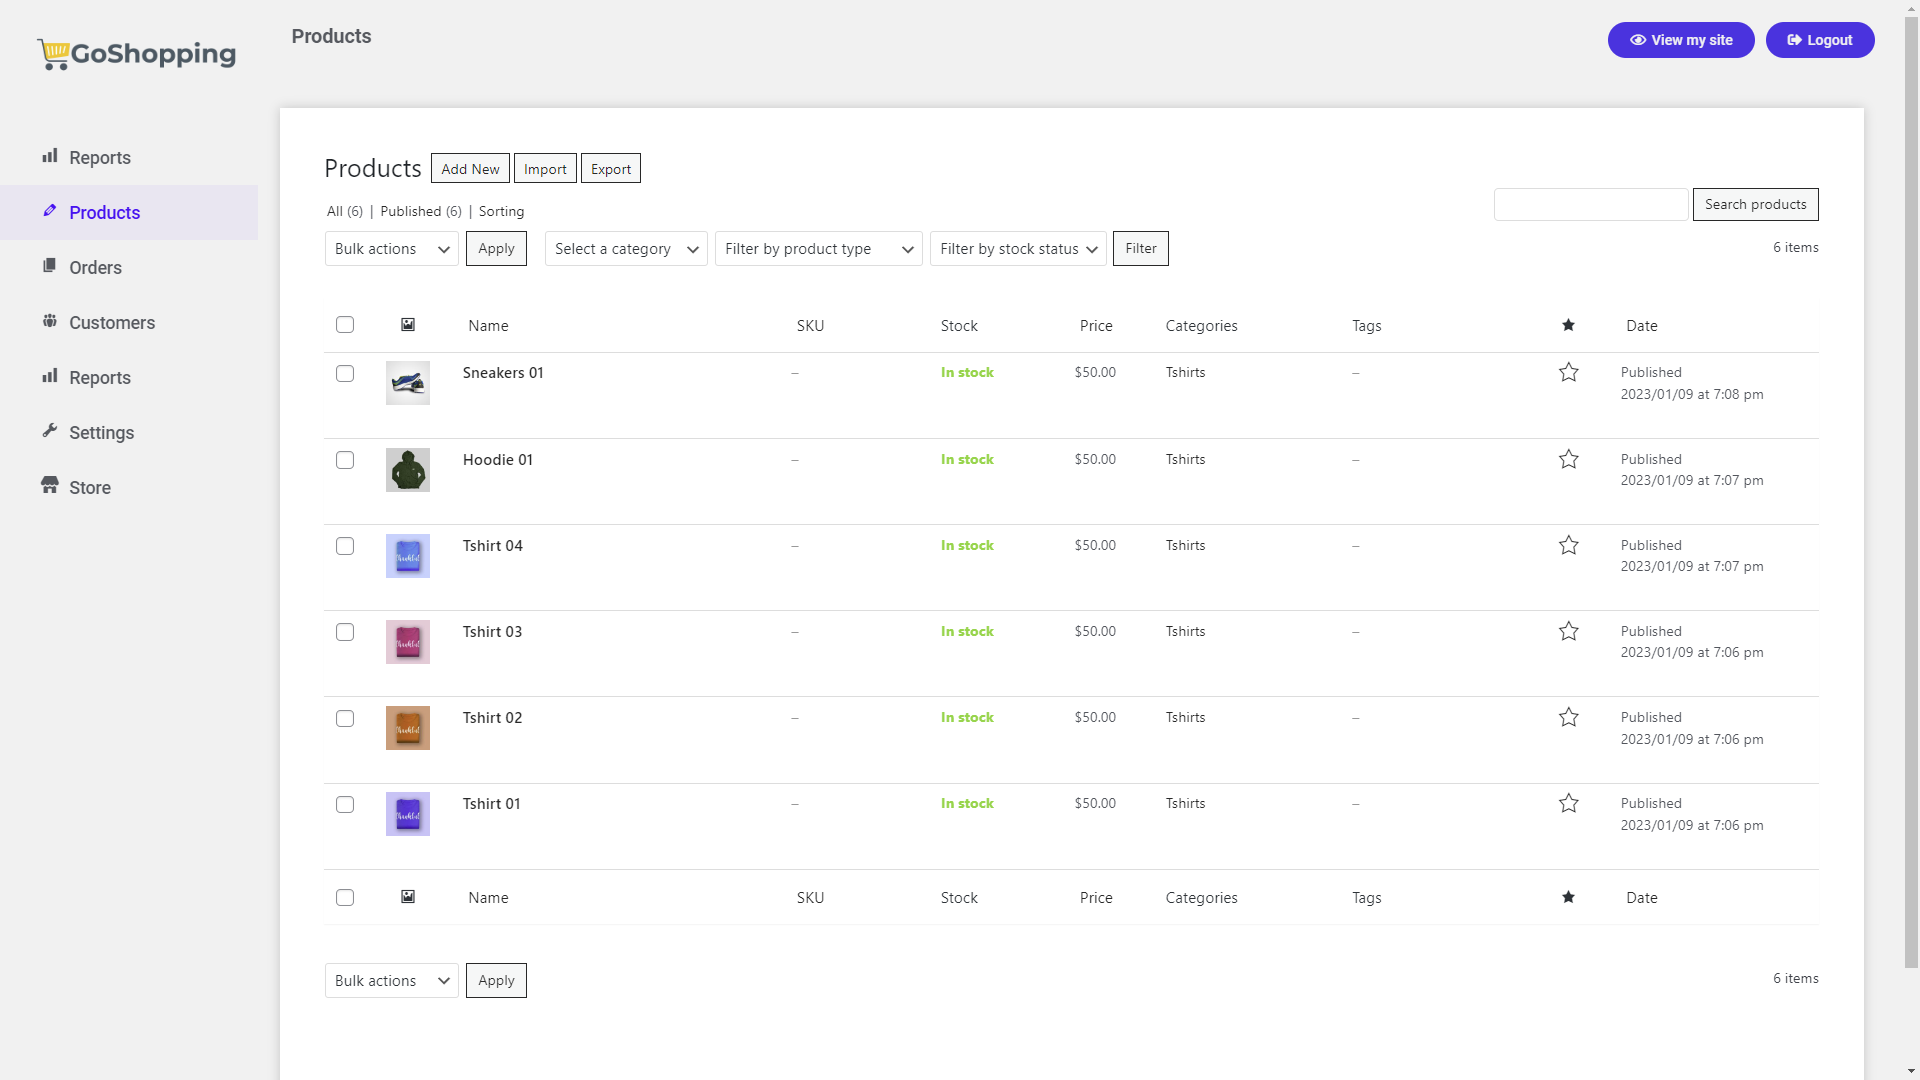
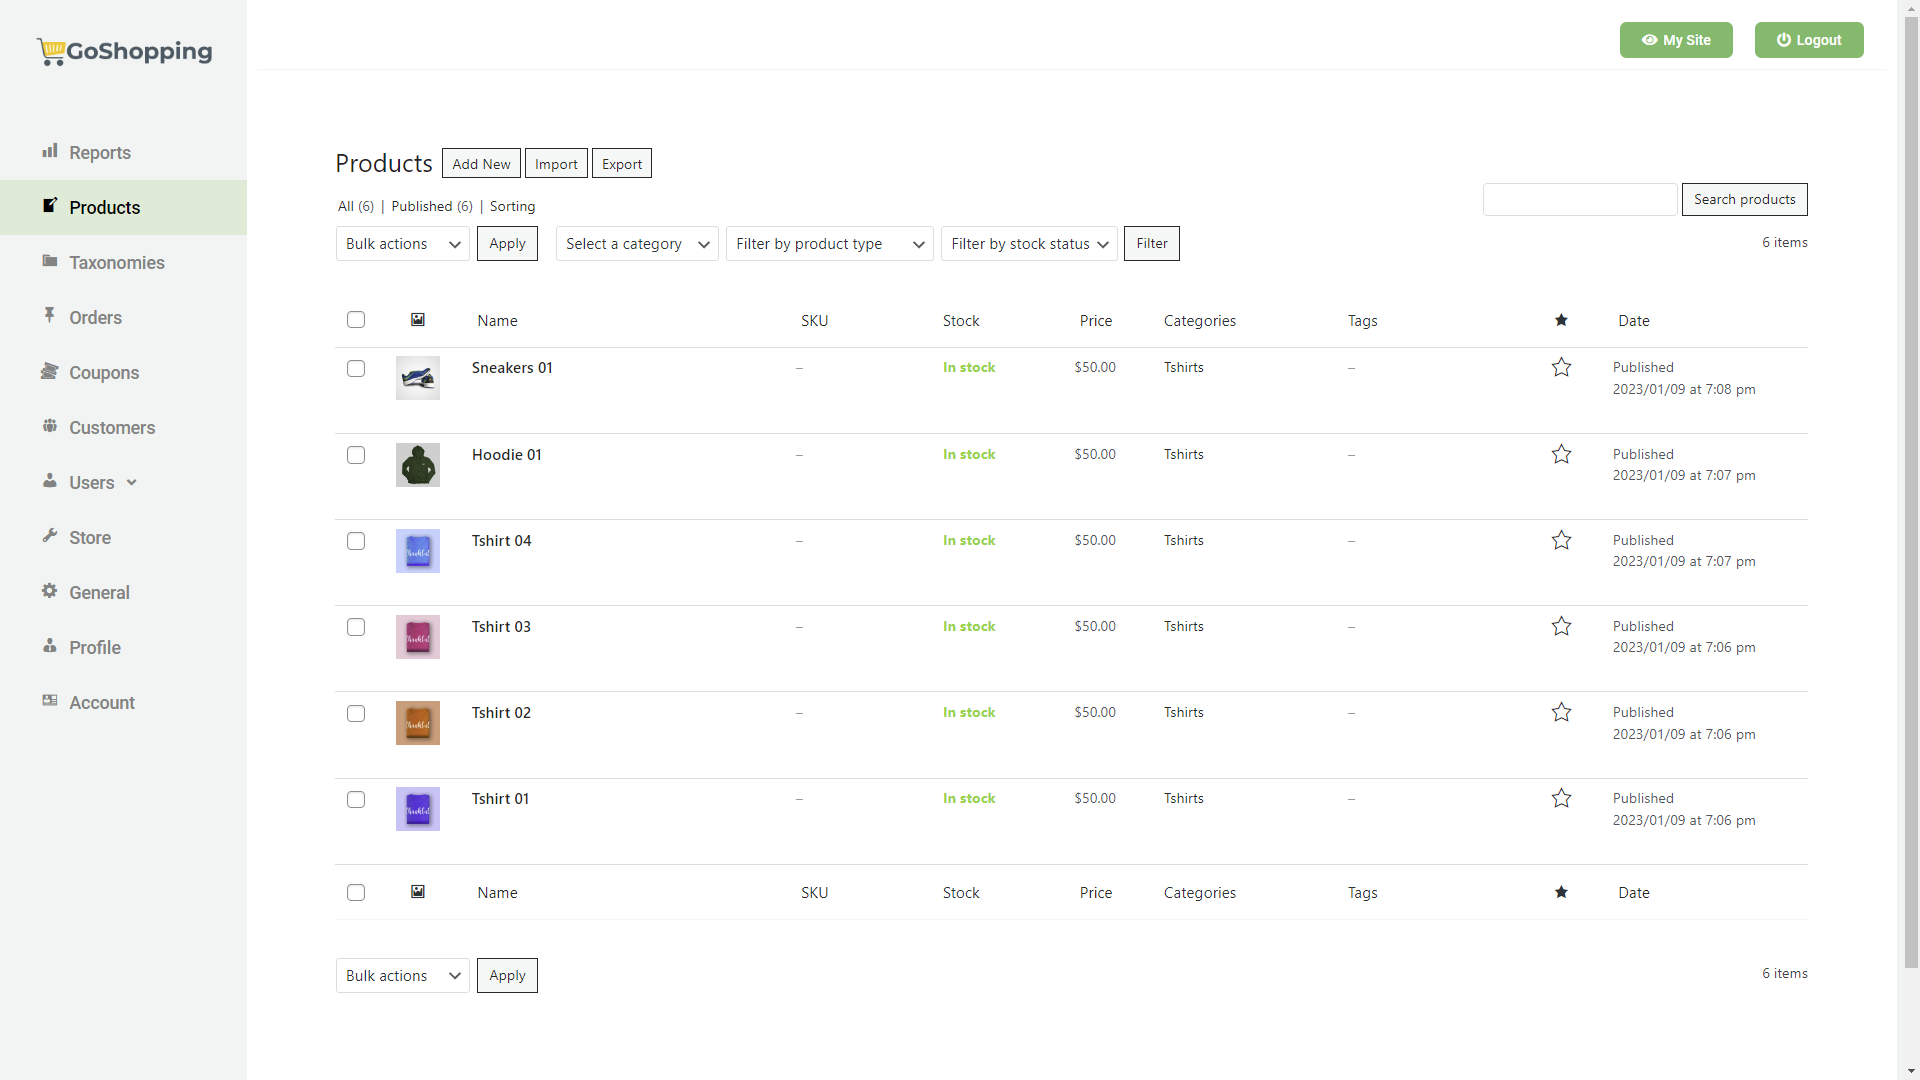
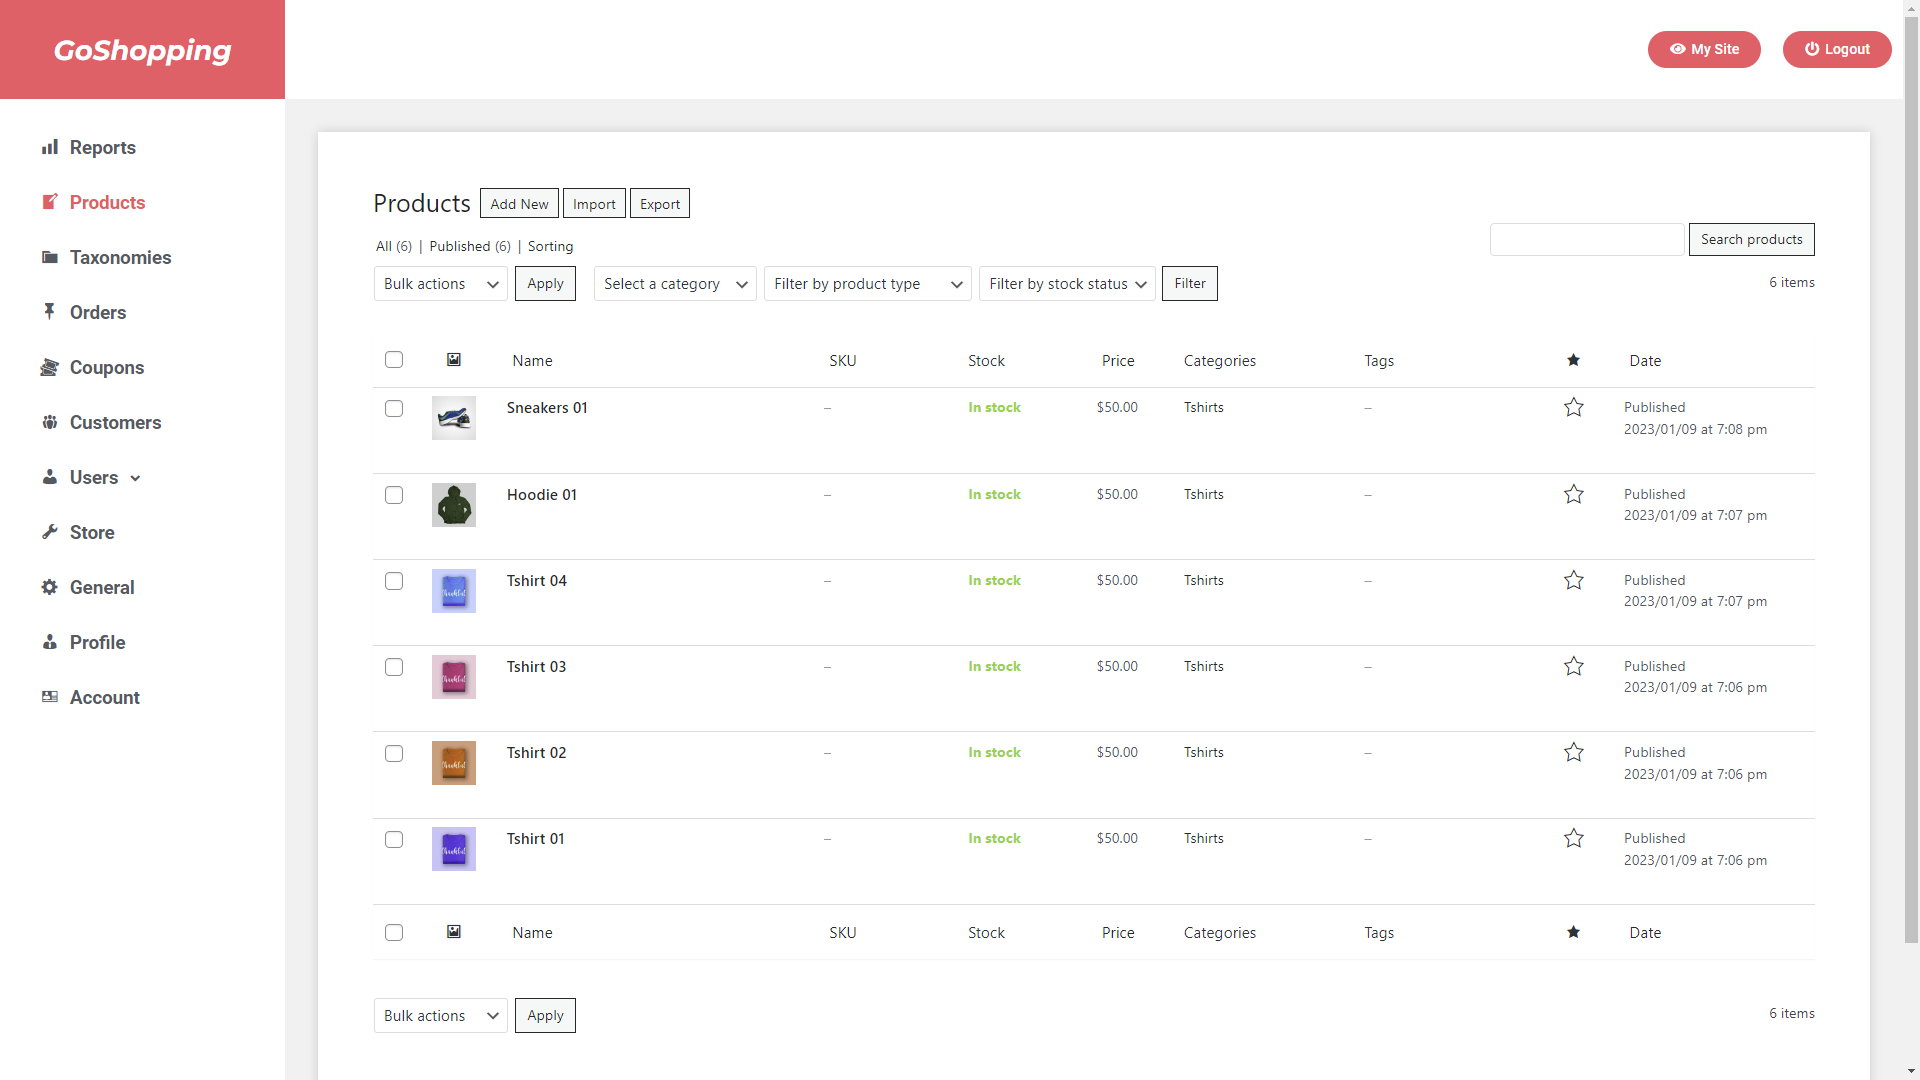
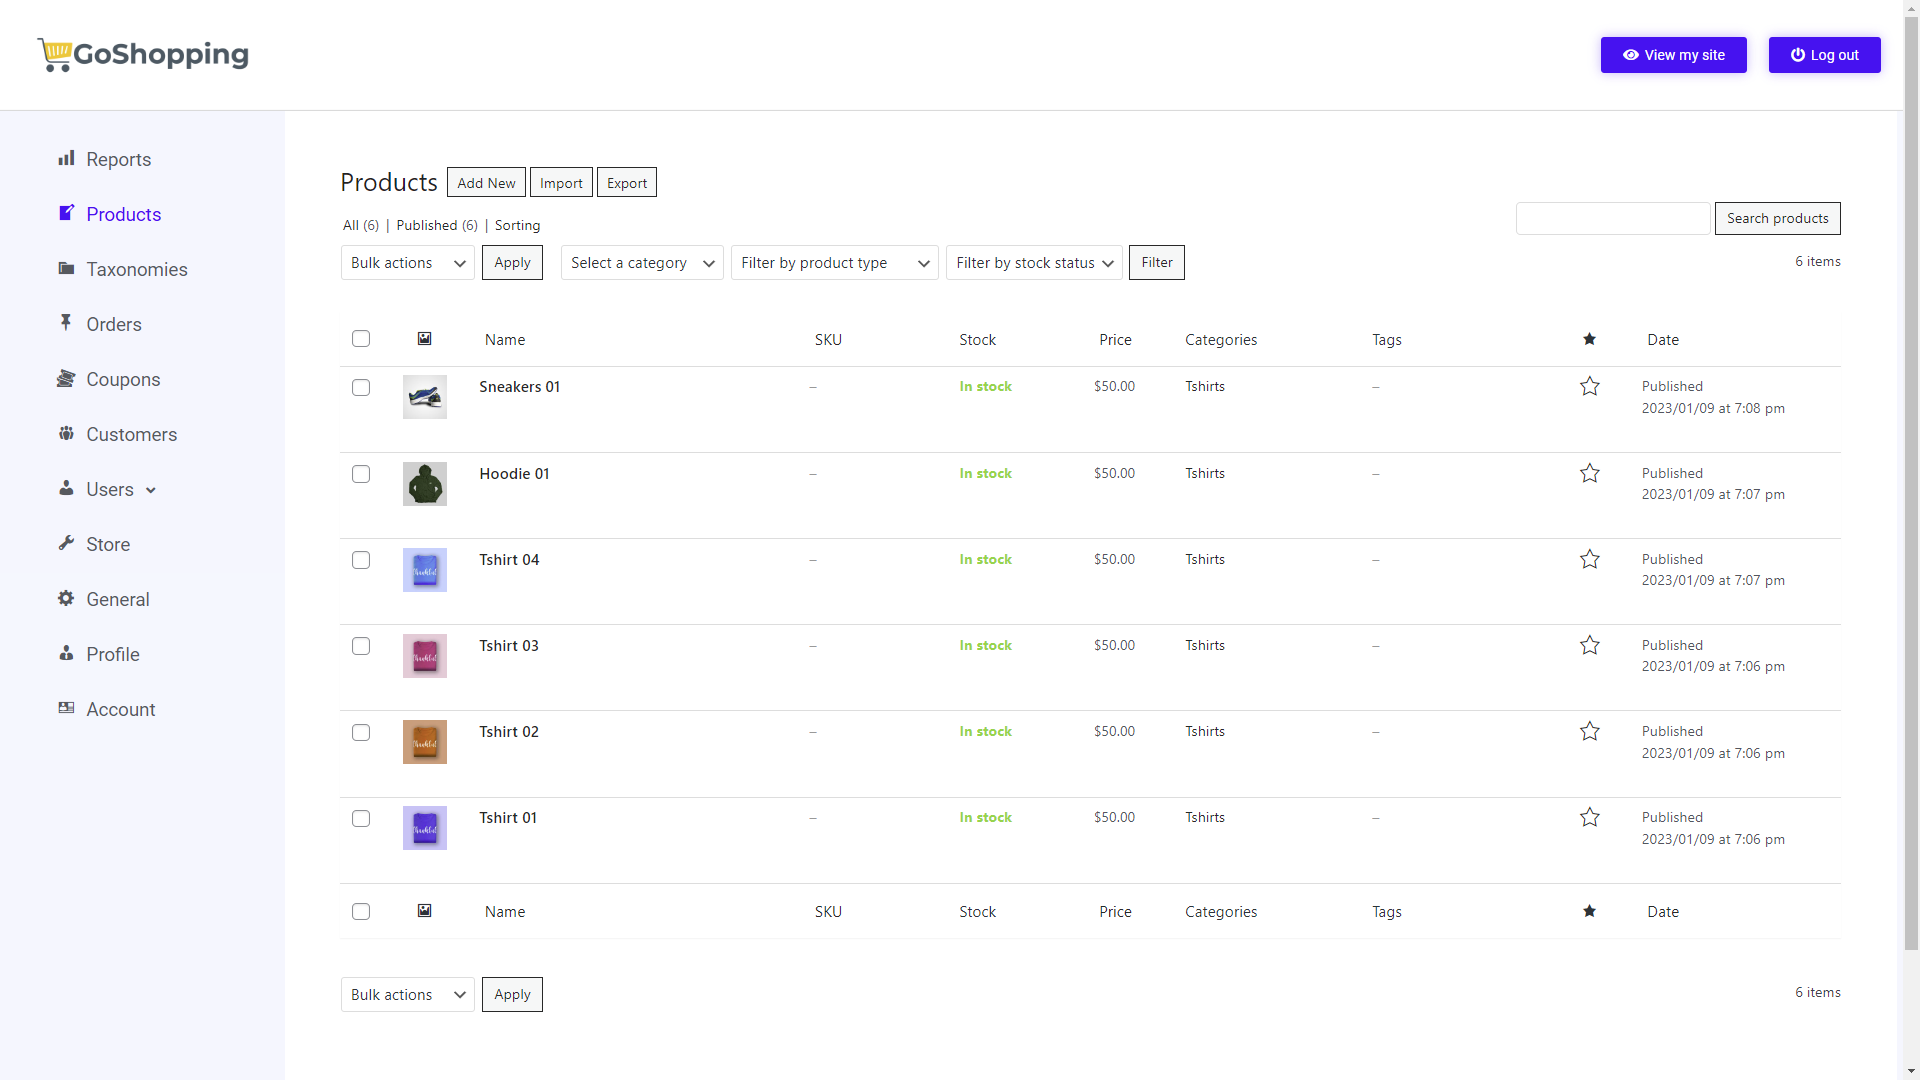
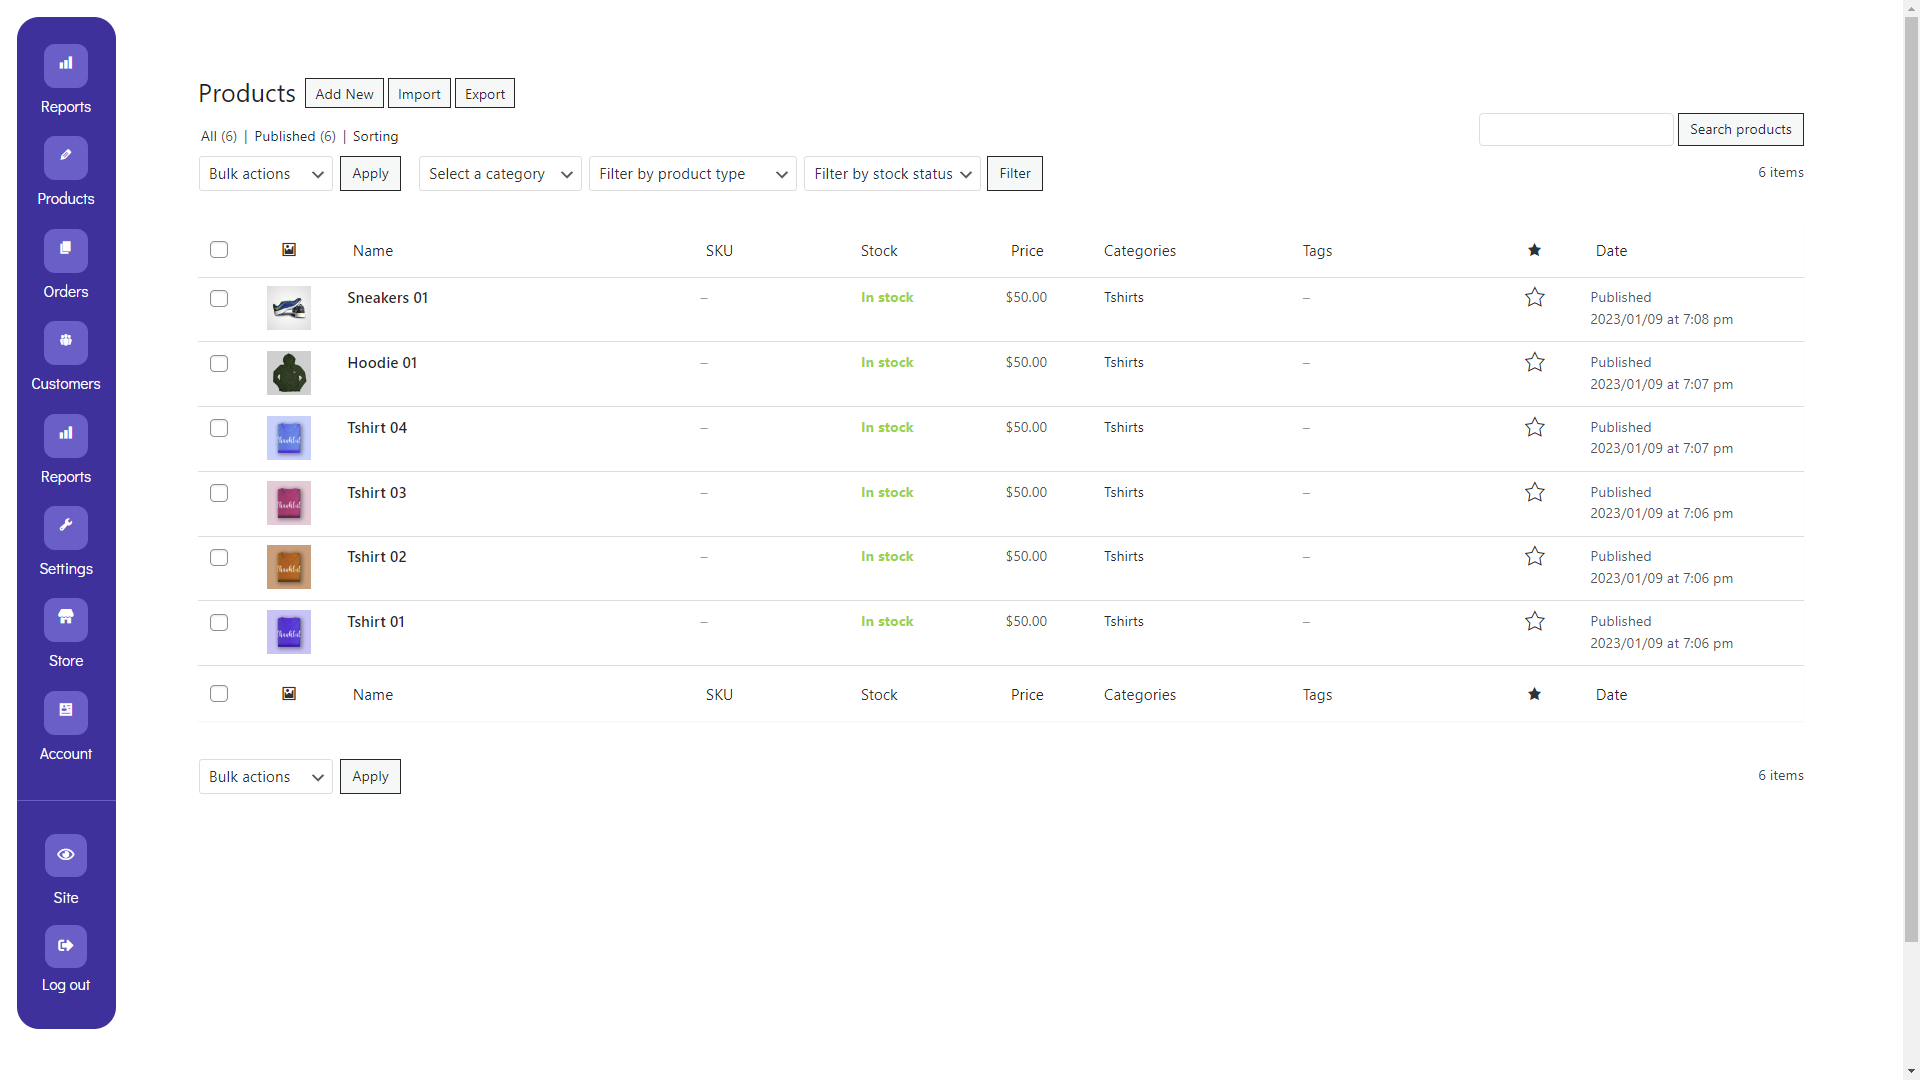
Creating a site for our frontend dashboard
To build a global front-end dashboard for your multitenant restaurant management platform, you first need to create a new site or tenant on Wildcloud.
The client tenants/sites will be automatically connected to our front-end dashboard site so that, when clients try to open the wp-admin dashboard to manage their restaurant sites, they will be redirected to this site, which will contain all the necessary frontend admin pages to sell food, manage payment gateways, view sales reports, etc.
After logging in to your Wildcloud account, you need to open the Restaurant Manager App (not the storefront application) by clicking on Go To App.
Once there, move to Tenants and click on the Add tenant button.
Now you need to add the tenant’s name, which at the same time will be the site’s subdomain prefix.
Note – You can add a custom domain or subdomain later.
Once you’re ready, click on Submit.
You’ll have to wait for some minutes until the tenant’s status is Ready.
After creating the site, you can click on the site’s Name to see more options.
If you want to add a custom domain to this site, just follow the instructions in the Domains tab. Then just select the new domain as Main Domain. However, we will use the default domain in this example.
Important. For this site, we are going to deactivate the “WaaS Client” plugin since this site will not be a client site nor a site template for clients.
For this, go to the WP Plugins tab, select the WaaS Client plugin, and click on Deactivate.
You’ll be asked to confirm the plugin deactivation, so click on Submit.
Now that we have created the site, we’re ready to start building our global front-end dashboard.
To log in to the dashboard site, click on the Login as [your username] button.
Initial configuration of the site
First, we will change the name of the site because Wildcloud adds a generic name to all the sites.
We will call this site “Dashboard”.
Let’s go to Settings > General, where we can change the Site Title and save the changes.
Second, we will remove all the sample content that is created when creating the site/tenant.
For example, let’s go to Pages and remove all the pages. We don’t need the WooCommerce pages on this site.
Third, we can set the site’s logo, since our frontend dashboard Elementor templates will automatically use this logo.
Go to Appearance > Customize, and change the site’s logo.
Note – In this example, we’re using the Kadence theme.
Fourth, we need to select this site as the global front-end dashboard site.
Go to Frontend Admin > Settings > Multitenant > Environment type, and select Dashboard site.
Once you do that, click on Save to apply the changes.
Now we’re ready to start building the frontend dashboard pages, which we will do in the next section.


